DRYWALL CORNER FINISHING: AN ALTERNATIVE TO TRADITIONAL TAPING
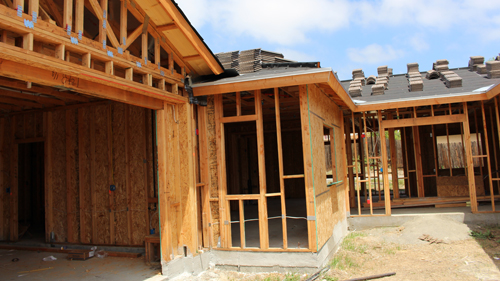
When remodeling or altering an existing floor plan, one of the most frustrating tasks can be tying a brand-new drywall installation into an older, already-finished wall. Traditional methods dictate using paper or fiberglass tape embedded in joint compound to bridge the inside corner. However, when abutting new drywall to a textured or painted surface, achieving a seamless, flat finish with standard taping methods is highly labor-intensive and often yields messy results.
For non-load-bearing and non-fire-rated interior partition walls, there is an alternative approach that streamlines the finishing process while providing a clean aesthetic.
THE ACRYLIC CAULK METHOD
Instead of forcing paper tape into an inside corner where new gypsum board meets a finished wall, you can utilize a high-quality acrylic caulk. To execute this technique, first finish the flat seams and field of the new drywall board using standard joint compound and sanding procedures. Bring the mud finish as close to the existing wall as possible so the new surface is entirely smooth and flat.
Once the drywall mud is cured and sanded, run a clean, continuous bead of paintable acrylic caulk directly down the inside corner joint. Tool the caulk smooth. This creates a sharp, professional corner that blends easily into the existing finish without requiring you to feather out layers of mud over old paint or texture.
MANAGING STRUCTURAL MOVEMENT
A common concern with any drywall joint is the potential for hairline cracking over time. It is important to note that no finishing technique is completely immune to cracking. Whether a corner is finished with traditional paper tape, fiberglass mesh, or acrylic caulk, structural movement within the framing will dictate the longevity of the joint.
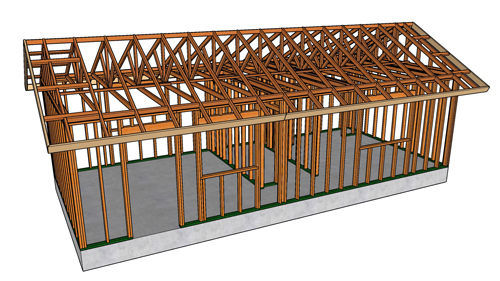
Wood framing naturally expands and contracts with fluctuations in humidity and temperature. Furthermore, seasonal settling, wind loads, and soil movement can cause micro-shifts in a home's structural skeleton. While joint compound and tape create a rigid bond that can easily snap under shear stress, acrylic caulk offers a slight degree of elastomeric flexibility, often making it more resilient against minor seasonal shifts.
Note: Always adhere to the International Residential Code (IRC) and ASTM C840 standards. This caulking technique is strictly for cosmetic, interior partition walls. Any wall assembly requiring a fire-resistance rating, such as a garage-to-house separation, or structural shear panels must be taped and finished with approved joint compound to maintain structural and fire-safety integrity.
THREE ESSENTIAL DRYWALL FINISHING TIPS
Complete all flat drywall finishing and sanding on the new wall before addressing the inside corner joint.
Use a high-quality, paintable acrylic caulk to ensure proper adhesion and a seamless transition to the adjacent finished wall.
Recognize that structural movement dictates joint integrity; if the framing shifts significantly, both traditional tape and acrylic caulk are susceptible to cracking.
BEYOND THE BASICS: TECHNICAL DRYWALL FREQUENTLY ASKED QUESTIONS
To further expand on drywall finishing best practices and ensure your next project meets strict safety and structural standards, here are answers to some advanced technical questions regarding wall assemblies.
CAN I USE CAULK INSTEAD OF TAPE ON A FIRE-RATED WALL ASSEMBLY?
No. According to the International Residential Code (IRC) Section R302.6, wall assemblies that separate a residence from a garage must provide a specific fire-resistance rating. Furthermore, standard drywall installation guidelines (ASTM C840) require all joints in fire-rated assemblies to be continuously taped and finished with joint compound. Standard acrylic caulk will melt or burn away during a fire, compromising the required draft-stopping and fire-containment properties of the wall assembly.
WHAT IS THE STRUCTURAL REASONING BEHIND MAXIMUM DRYWALL FASTENER SPACING?
Proper fastener spacing is critical to preventing joint failure and corner cracks. The IRC (Section R702.3.5) generally dictates that drywall screws must be spaced no more than 12 inches apart on ceilings and 12 inches apart on walls, depending on framing spacing and gypsum board thickness. Structurally, gypsum board relies on the framing for rigidity. If fasteners are placed too far apart, the drywall panels can sag under their own weight or bow outward during humidity changes, putting immense shear stress on the taped joints and causing them to eventually fail.
WHEN ARE DRYWALL EXPANSION JOINTS REQUIRED BY BUILDING CODES?
While residential remodels rarely encounter this issue, large-scale drywall installations must account for thermal and hygrometric expansion. According to the Gypsum Association and ASTM C840 standards, control (expansion) joints must be installed in continuous interior drywall surfaces that exceed 50 feet in either direction, or in ceiling areas exceeding 2,500 square feet. Structurally, gypsum panels absorb moisture from the air and expand. Without a dedicated control joint (a specialized metal or plastic track that allows independent movement), the accumulating stress across a massive surface area will forcibly buckle the boards or severely crack the finished seams.