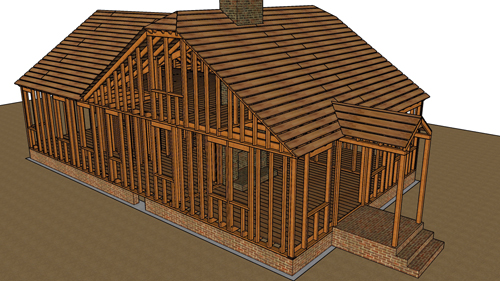
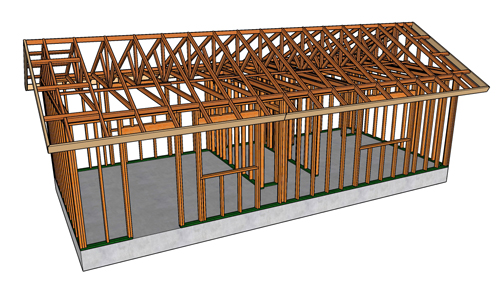
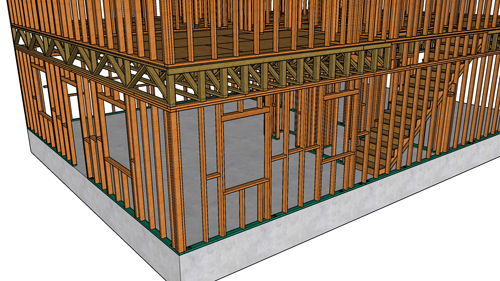
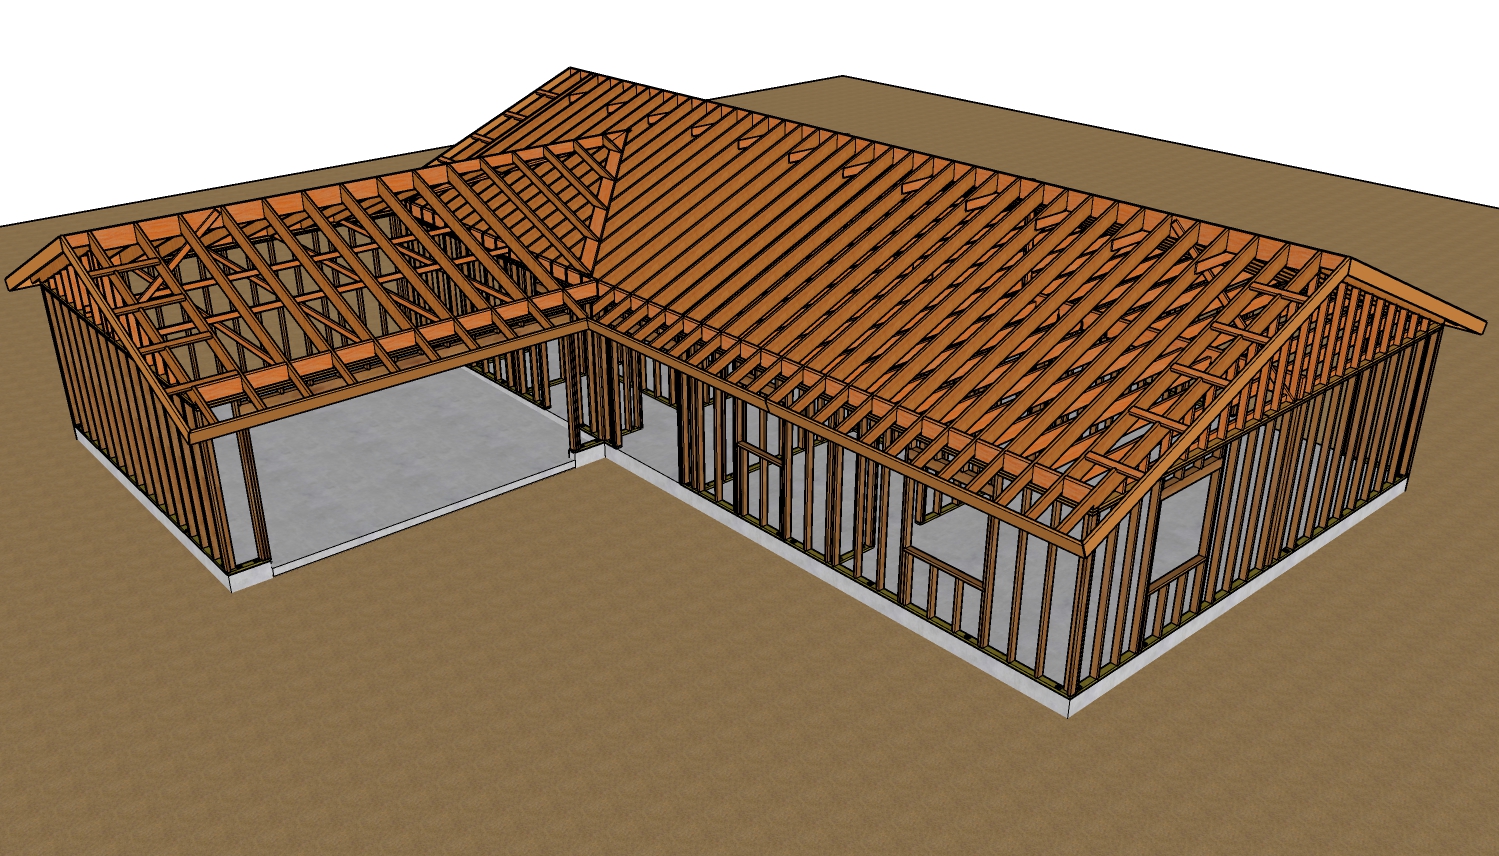
Framing A Shed Roof Addition Between Two Hip Roofs
Integrating a new room addition into an existing architectural footprint requires precise structural planning, especially when connecting a new shed roof between two existing hip roofs. This complex tie-in involves more than simply extending the walls; it requires careful calculation of load paths, roof pitches, and sheathing transitions to ensure structural integrity and weather resistance. The following guide outlines the critical framing methodologies and structural considerations necessary for successfully executing this type of roof integration.
Foundation And Initial Structural Preparation
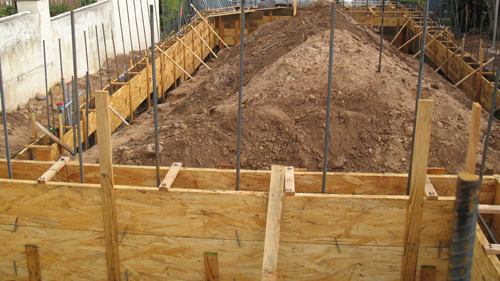
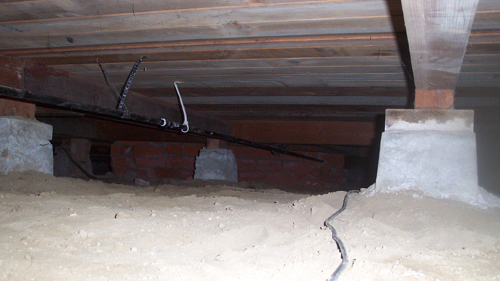
Before any overhead framing begins, the foundation must be addressed. A room addition necessitates extending the foundational footprint. You will tie into the existing continuous foundation, requiring the installation of new load-bearing concrete footings along the perimeter of the new addition. These footings must be engineered to carry the specific dead and live loads of the new roof and wall structures, transferring them safely into the soil.
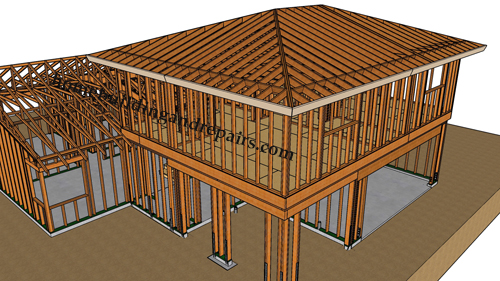
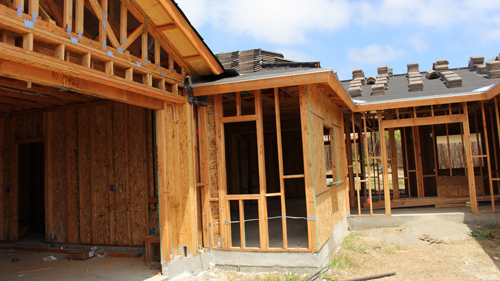
Once the foundation and walls are prepped, the existing roof structure requires heavy modification. The overhangs of the existing hip roofs must be cut back flush with the structural walls. By removing the protruding eaves and hip corners in the connection zone, you create a flat, plumb vertical plane. This modification is critical for establishing a secure, flush structural connection between the new exterior walls and the existing building envelope.
Establishing Roof Pitch And Ceiling Configuration
The design of the interior ceiling dictates the framing approach for the new roof. You must choose between a vaulted, sloped ceiling or a traditional flat ceiling. If a sloped ceiling is desired, the new roof rafters will double as the ceiling structure.
These rafters must be elevated at the rear connection point where they meet the existing home. This is often achieved using structural blocks, framing plates, or an engineered ledger system securely fastened to the existing framing.
When determining the slope, it is crucial to understand that structural framing minimums and roofing material minimums are different. While a pitch as low as one-quarter inch per foot might be mechanically framed using blocking and sleeper boards, building codes strictly regulate what weatherproofing materials can be applied to slopes that shallow.
Furthermore, the depth of your rafters must accommodate modern insulation standards. A standard dimensional lumber size, such as a two-by-ten, is often required simply to provide enough cavity depth for R-30 insulation batts, regardless of whether the structural span requires lumber that large.
Load Transfer And Structural Connections
One of the primary challenges in tying a new roof into an existing one is aligning the framing layout. Older existing homes may utilize a twenty-four-inch on-center rafter spacing, while modern additions are typically framed at sixteen inches on-center. Because these structural members will not perfectly align, you cannot rely on a simple rafter-to-rafter side-nailing technique.
Instead, the new roof load must be distributed safely across the existing roof plane. This is typically achieved by installing sleeper boards flat lumber acting as a sill plate laid over the existing roof sheathing. These sleepers must be positioned directly over existing structural members to avoid punching through the old plywood. The new rafters then rest on these sleepers.
Framing hardware, such as galvanized steel straps, hurricane ties, and engineered structural screws, must be used at all connection points to resist uplift and lateral shear forces. Every block, spacer, and ledger board must be heavily fastened according to local structural engineering requirements.
Flat Ceiling Alternatives And Tapered Rip Strips
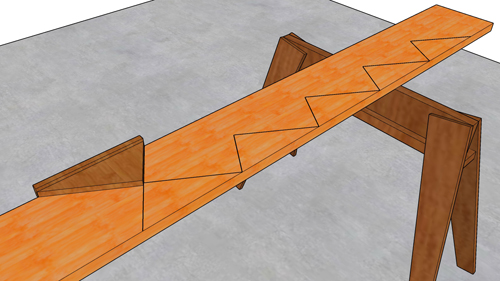
If the architectural goal is to maintain a flat, eight-foot ceiling inside the new addition, standard horizontal ceiling joists will span from wall to wall. However, the roof above still requires a slope for water shedding. To achieve this without pitching the structural joists, builders use tapered rip strips.
These strips are cut diagonally from dimensional lumber, such as a two-by-six, creating a long wedge. The thickest end rests at the house connection, tapering down to nothing at the exterior eaves. These rip strips are attached directly to the top edge of the horizontal ceiling joists. This method creates the necessary slope for the roof sheathing while preserving a level ceiling cavity below. Mid-span blocking must be installed between these joists to prevent rotation and maintain structural rigidity across long spans.
Sheathing And Valley Integration
The final framing phase involves installing the roof sheathing and creating the diagonal valleys where the new shed roof intersects the existing hip roofs. Because the two roof planes intersect at an angle, the new sheathing must be precisely cut to lay flush against the existing roof deck.
Using a long straight edge, builders project the plane of the new rafters horizontally until it intersects the slope of the existing roof, snapping a chalk line to mark the exact valley angle. Solid wood blocking must be installed immediately beneath this transition line. Building codes and structural engineers generally require robust edge-nailing where sheathing panels meet. Installing custom-beveled blocking or a continuous shaped backing nailer ensures the edge of the new plywood is structurally supported and tightly fastened, preventing sagging or structural failure at the valley seam.
Three Key Construction Tips
Always size your roof rafters for insulation and airflow, not just structural span. If local energy codes require heavy insulation, you must ensure your rafter depth allows for the insulation thickness plus a mandatory continuous airspace gap directly beneath the roof sheathing to prevent condensation.
Never bear point loads directly onto unsupported roof sheathing. When landing new rafters on top of an existing roof, always run continuous sleeper boards perpendicular to the existing rafters below to spread the weight, preventing the new structure from crushing the old roof deck.
Anticipate framing layout mismatches early. When transitioning from older twenty-four-inch spacing to modern sixteen-inch spacing, plan to use heavy solid blocking and engineered structural plates at the connection points so load transfer is safely managed even when rafters do not align.
Bonus Questions And Answers
How Do You Properly Flash The Intersection Between The New Shed Roof And The Existing Hip Roofs?
While properly framing the roof sheathing tie-in is critical, managing water runoff at these new intersections is equally important to the longevity of the structure. The International Residential Code Section R905 outlines specific valley flashing requirements based on the roofing material. For a tie-in of this nature, you cannot simply overlap shingles. You must install a continuous, heavy-gauge corrosion-resistant metal flashing or a fully adhered ice and water shield membrane directly into the newly created valley before the final roof covering is applied. This ensures the concentrated volume of water rushing down the slope does not penetrate the seam between the old and new framing.
What Are The Ventilation Requirements For The New Enclosed Roof Cavity?
Beyond sizing the rafters to hold your chosen insulation, you must also ensure the newly created roof assembly can breathe properly, preventing mold and rot. International Residential Code Section R806 mandates cross ventilation for enclosed attic and rafter spaces. Because this shed roof dies directly into an existing roof plane, standard ridge vents may not be possible. You will likely need to rely on continuous soffit vents at the low eaves and install specialized roof deck vents near the high tie-in point. If passive venting is impossible due to the structural design, a locally approved unvented hot roof assembly utilizing closed-cell spray foam insulation may be required by your building inspector.
Does A One Quarter Inch Per Foot Slope Limit My Roofing Material Options?
Deciding on the final slope of your new shed roof addition involves more than just interior aesthetics; it directly dictates what materials you can legally put on top to keep the structure dry. Yes, a one-quarter inch pitch drastically limits your options. While mechanically framing a one-quarter inch per foot pitch is possible, standard building codes prohibit the use of asphalt shingles on roofs with a slope less than two units vertical in twelve units horizontal. For pitches lower than that, codes dictate the use of specialized low-slope materials like modified bitumen, fully adhered synthetic membranes, or built-up roofing. Always consult the roofing manufacturer's minimum slope requirements to ensure your newly framed roof complies with both structural and weatherproofing standards.