Comprehensive Guide to Structural Rough-In Framing and Remodeling Modifications
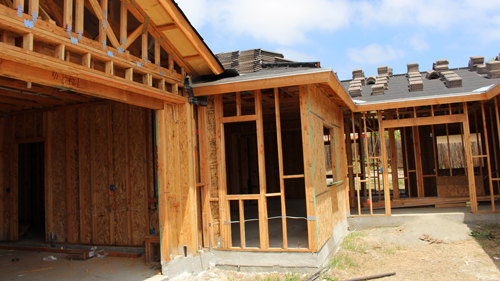
Executing structural modifications during a residential remodel requires a clear understanding of load paths, temporary support systems, and rough-in framing standards. Whether removing non-load-bearing partitions, reconfiguring closet spaces, or resizing window openings, maintaining structural integrity throughout the construction process is critical. This guide breaks down essential framing techniques, load transfers, and site safety practices observed during early-stage rough-in work.
Understanding Temporary Structural Support
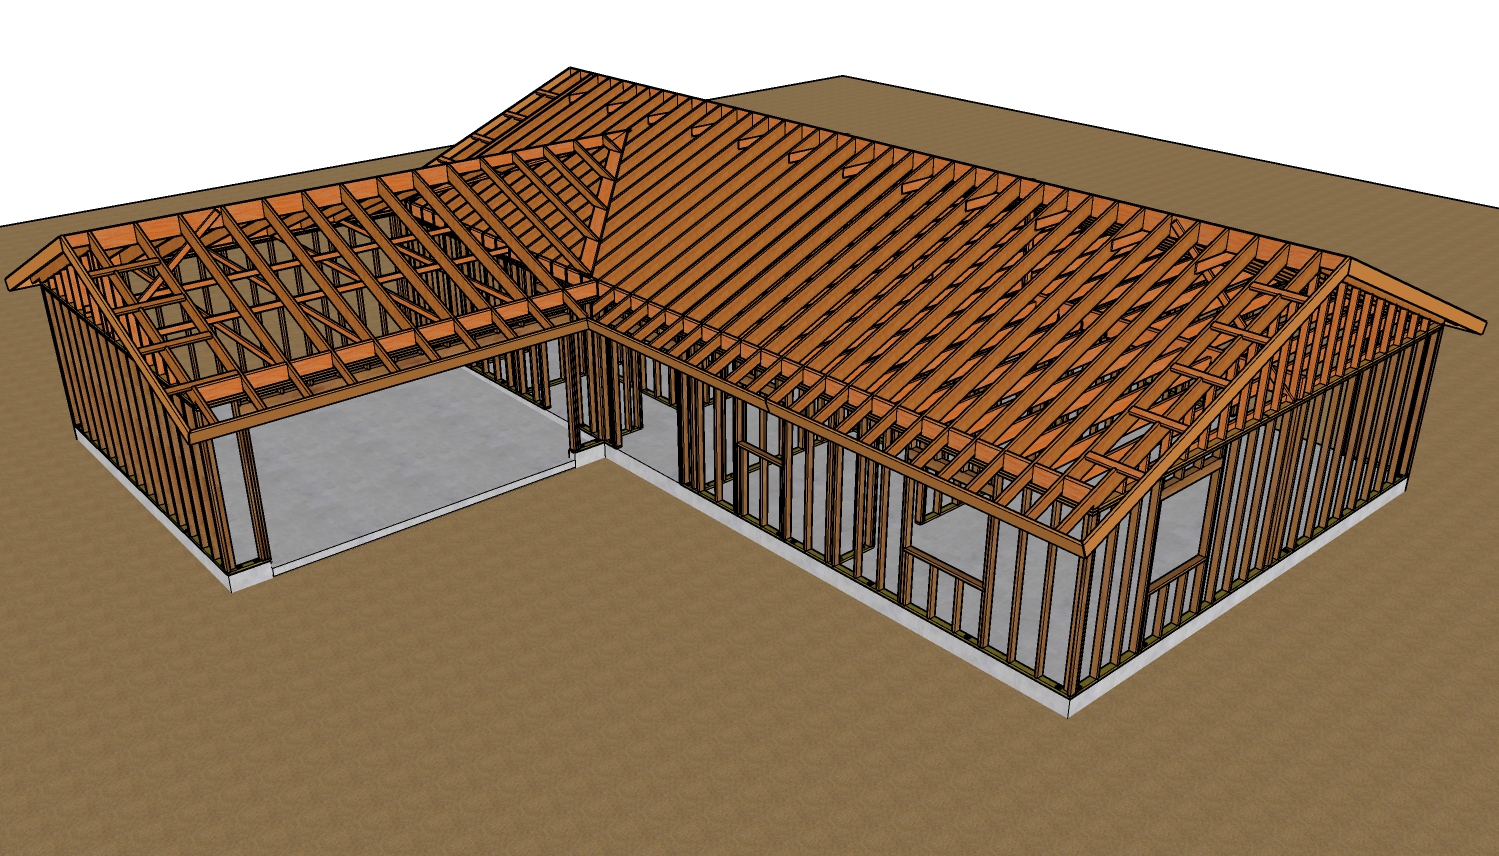
Before modifying or removing any load-bearing wall, door opening, or window header, you must install temporary framing to support the structural loads above. Load-bearing walls carry weight from ceiling joists, roof rafters, or upper floors down to the foundation.
When replacing a door header or expanding a wall opening, temporary shore walls or post supports must be erected to carry the weight of both the ceiling joists and the roof rafters. These temporary supports prevent sag, drywall cracking, or structural failure while the original framing is removed and reconstructed.
Executing Header Replacements and Wall Opening Framing
Headers act as mini-beams, distributing gravity loads from above around wall openings such as doors, windows, and pass-throughs down to the king studs, jack studs (trimmers), and foundation.
Standard Rough-In Header Construction:
Sizing: Openings typically require double or triple dimensional lumber (such as double 2x10 or 2x12 members) sandwiched with a 1/2-inch plywood or OSB spacer to match the thickness of a standard 2x4 wall cavity.
Load Support: Header sizing is governed by the span of the opening, the roof pitch, snow loads, and the building width.
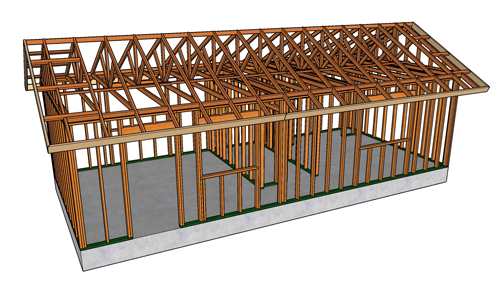
Cripple Studs: Cripple studs must be installed in the space above the header to transfer loads from the top plate down to the header assembly. Missing or improperly spaced cripple studs can lead to deflection in the top plate over time.
Trimmers and King Studs: The header must rest firmly on jack studs (trimmers) at each end, which transfer the vertical loads down to the bottom plate and subfloor.
Reconfiguring Interior Layouts and Mechanical Rough-Ins
Modifying interior footprints such as shifting closet boundaries, expanding a primary bathroom, or adjusting kitchen layout spaces requires coordination between structural framing and mechanical systems.
Plumbing and Vent Protection
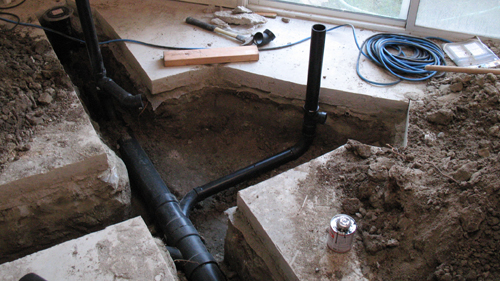
During the demo and rough-in phase, open plumbing waste pipes and vent lines must be sealed tightly with temporary caps or heavy-duty tape. This prevents sewer gas emissions from entering the structure and protects open plumbing lines from construction debris, saw dust, and mortar drops.
Electrical and Mechanical Removals
Existing electrical cabling, junction boxes, and plumbing fixtures must be fully decommissioned and removed from framing sections scheduled for alteration. Cutting into active circuits or unvented plumbing lines creates severe safety and code compliance hazards.
Subfloor and Sill Framing
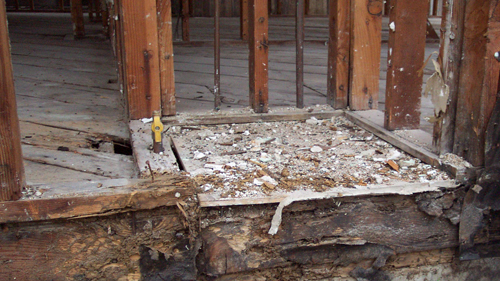
When shifting partition walls or closet spaces, single or double bottom plates (sills) must be anchored directly to the subfloor or concrete slab. Plates installed directly on concrete must consist of pressure-treated lumber to prevent moisture absorption and rot.
THREE KEY TIPS
Always install temporary shore walls or ceiling joist supports before removing structural studs or headers. Ensure the load path transfers directly to a solid floor system capable of bearing the weight.
Seal all exposed plumbing drain vents and soil pipes immediately during rough-in framing to prevent hazardous sewer gas buildup and blockages caused by framing debris.
Ensure all window and door headers are equipped with properly spaced cripple studs above the beam to securely support the top plate and prevent ceiling deflection.
BONUS QUESTIONS AND ANSWERS
Transition to Plumbing and Structural Integrity:
While framing out wet walls for showers and bathtubs, trade contractors frequently run into structural questions regarding plumbing penetrations and wall strength.
QUESTION How does adding an ADU impact water line sizing and backflow prevention requirements?
TRANSITION:
Connecting the ADU fresh water supply to the existing property water source requires balancing water pressure demands while protecting clean drinking water.
EXPLANATION AND CODE REASONING:
Water Supply Fixture Units (WSFU): IPC Chapter 6 and UPC Chapter 6 use WSFU tables to calculate peak water demand based on the total number of bath, kitchen, and laundry fixtures across both structures.
Pipe Sizing and Pressure Loss: Teeing an ADU line directly off an existing 3/4-inch main service line can cause severe pressure drops when fixtures in both dwellings run simultaneously. If total WSFU demand exceeds the capacity of the current supply line or meter, the supply line from the street must be upsized (often to 1 inch or 1.25 inches) to maintain code-required flow rates (typically a minimum of 8 psi flow pressure at the furthest fixture).
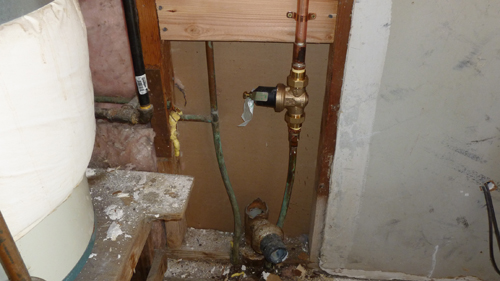
Backflow Protection: Plumbing codes require backflow prevention devices (such as double check valve assemblies or reduced pressure zone assemblies) at cross-connection hazards. This prevents non-potable water or stagnant water from the secondary dwelling from siphoning backward into the main drinking water supply during sudden drops in municipal water pressure.
Q: What determines whether a header needs to be a double 2x8 versus a double 2x12 in residential framing?
A: Header depth is dictated by the clear span of the opening, the building width, and the gravity loads supported from above, as outlined in IRC Table R602.7(1). A double 2x8 header is typically adequate for smaller spans supporting only a ceiling and roof, but wider openings or headers carrying floor loads from a second story require deeper double 2x12 members or Engineered Wood Products (like LVL beams) to prevent deflection and structural failure under load.
Transition to Moisture and Plate Selection:
Understanding material compatibility is just as vital as understanding load paths, particularly when establishing new wall layouts on slab foundations.
Q: Why must bottom plates installed directly on concrete slabs be pressure-treated wood?
A: Section R317.1 of the IRC mandates that all wood framing members in direct contact with concrete or masonry foundations must be naturally durable or preservative-treated wood. Concrete is a porous material that continuously draws moisture from the ground via capillary action. Using standard untreated lumber against concrete leads to moisture absorption, wood rot, and premature structural failure over time.