NAVIGATING BATHROOM REMODELING CHALLENGES: LAYOUT, ELECTRICAL, AND PLUMBING PLANNING
INTRODUCTION
Integrating custom features into a bathroom remodel often presents unexpected spatial and mechanical challenges. Unique elements, such as a solid wood vanity sink, demand precise planning to ensure they function harmoniously alongside bathtubs, walls, and walkways. Successful remodeling relies on thoroughly evaluating spatial clearances, electrical routing, water supply lines, and drain installations before cutting into existing walls or concrete floors.
MOCKING UP CUSTOM FIXTURES FOR OPTIMAL SPATIAL LAYOUT
When incorporating non-standard fixtures into a bathroom design, relying solely on floor plans can lead to field errors. To prevent a custom sink from encroaching on a bathtub or obstructing a primary walkway, building a physical mock-up provides invaluable real-time feedback.
Placing custom fixtures on a mobile cart allows builders and homeowners to test various positions within the room. Laying down lumber, such as a 1x6 board to mark the exact footprint of a 36-inch bathtub within a dedicated 4-foot alcove, clarifies spatial relationships. Mocking up layout boundaries in this manner ensures comfortable clearances, verifies user workflow, and confirms fixture dimensions before finalizing mechanical roughed-in locations.
NAVIGATING ELECTRICAL WIRING IN EXISTING STRUCTURES
Determining outlet locations during a bathroom remodel involves more than picking a convenient wall space. Remodeling existing framing routinely reveals hidden structural obstacles, including solid door headers, engineered beams, and tight wall cavities that block ideal wire pathways.
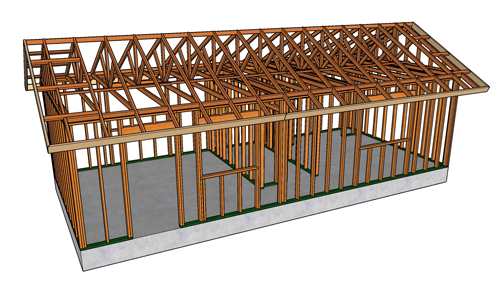
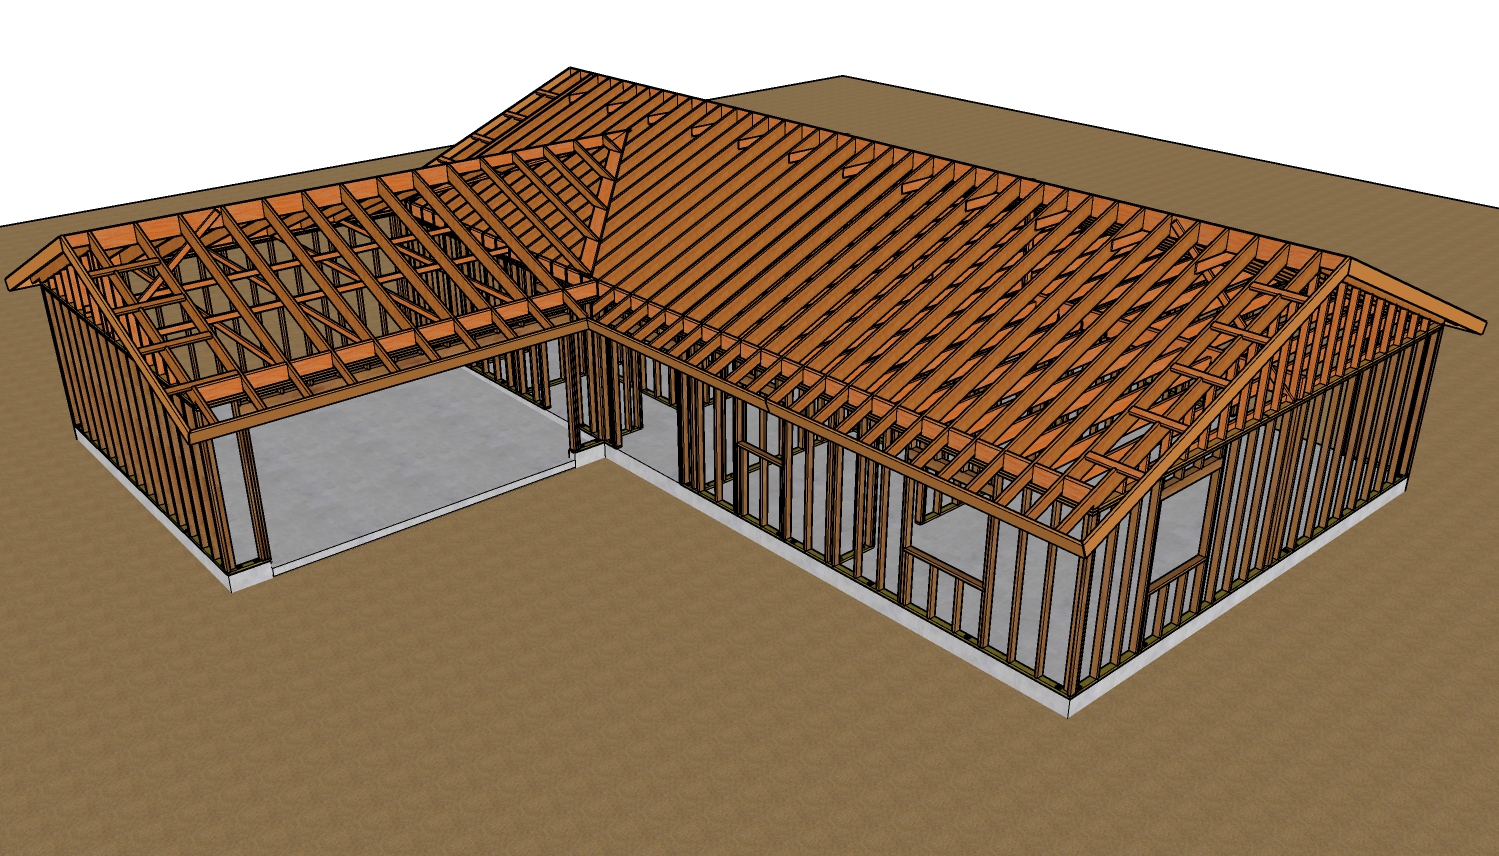
Before finalizing electrical plans, verify that wire routes can be established through existing ceiling joists, wall studs, or adjacent utility spaces. A floor plan may specify an outlet next to a vanity, but if structural members prevent wire feeding from the main panel or junction box, the design must adapt. Identifying these path restrictions early prevents unnecessary dry-wall destruction and avoids costly structural modifications.
ROUTING WATER SUPPLY AND DRAIN LINES
Adding a sink or moving fixtures to an area without existing plumbing requires careful route verification for both hot and cold supply lines, as well as waste lines. While supply lines can often be routed through wall cavities or ceiling spaces, waste and vent lines present greater mechanical constraints due to required gravity slope and pipe diameter.
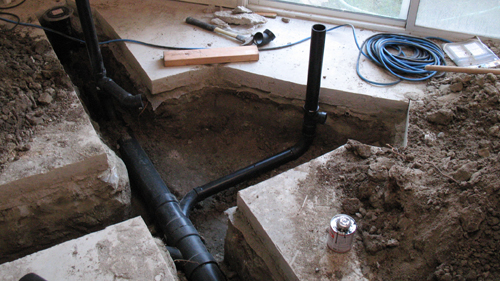
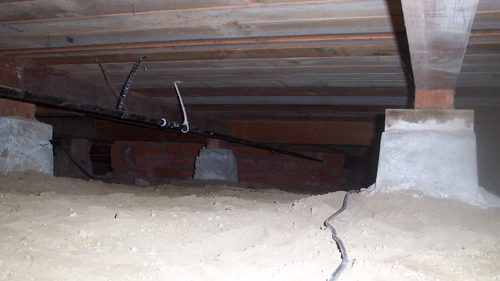
Installing a new drain fixture on a slab-on-grade concrete floor requires saw-cutting and trenching the concrete. On framed floors, it requires routing pipe through or under floor joists without compromising structural integrity. If a proposed drain location forces the pipe through adjoining kitchens, bedrooms, or load-bearing members, the layout must be revised before work begins.
PRE-CONSTRUCTION PLANNING PREVENTS COSTLY SURPRISES
Architectural drawings and interior design renders provide a visual goal, but field conditions determine construction feasibility. Resolving layout, electrical, and plumbing route challenges prior to pulling building permits or initiating demolition protects the project budget and timeline. Thorough pre-construction planning ensures every custom fixture connects safely, cleanly, and fully in compliance with building codes.
THREE KEY CONSTRUCTION TIPS
Test Fixture Layouts with Physical Templates: Before ordering materials or framing walls, construct full-scale physical mock-ups or trace fixture footprints on the subfloor using lumber or framing squares. This verifies human clearance and ensures comfortable movement around tubs, sinks, and doorways.
Verify Mechanical Pathways Prior to Demolition: Map out all electrical feeds, water lines, and drain routes from the source to the fixture before starting tear-out. Confirming that joist bays, wall cavities, and chase spaces are unobstructed avoids mid-project structural re-routing.
Assess Concrete Trenching Requirements Early: For slab-on-grade remodeling, identify existing main sewer line connections before cutting concrete. Ensure the proposed sink or shower location can tie into the main line while maintaining necessary fall, preventing costly sub-slab plumbing re-engineering.
FREQUENTLY ASKED QUESTIONS
QUESTION 1: What are the minimum code-required clearances for installing a bathroom sink and adjacent fixtures?
Transition: While testing your bathroom layout using physical mock-ups helps ensure user comfort, your fixture spacing must also comply with mandatory minimum clearances set by local building codes.
Answer: According to standard Residential Code guidelines (such as IRC Section R307.1), a minimum clear space of 21 inches must be provided in front of a lavatory sink, toilet, or tub. Additionally, a minimum clearance of 15 inches is required from the centerline of the sink to any adjacent side wall, partition, or neighboring fixture. Adhering to these minimum dimensions guarantees safe operational clearance, prevents cramped fixture placement, and ensures compliance during final inspection.
QUESTION 2: What are the primary electrical safety requirements for receptacles installed near a bathroom vanity?
Transition: After confirming that your wall framing can accommodate electrical wiring routes, you must plan the specific circuit protection and placement required for vanity outlets.
Answer: Standard building codes (including National Electrical Code Section 210.8 and IRC Section E3902.1) mandate that all 125-volt, single-phase, 15- and 20-amp receptacles installed in bathrooms must have Ground-Fault Circuit-Interrupter (GFCI) protection. Receptacles must be installed within 3 feet of the outside edge of each lavatory basin, and must be served by a dedicated 20-amp branch circuit that supplies power strictly to bathroom receptacle outlets. Furthermore, outlets must never be installed face-up on countertops or inside tub/shower enclosures to prevent water intrusion and electrical hazard.
QUESTION 3: What pipe diameter and slope are required when installing a new bathroom sink drain line?
Transition: Beyond routing supply lines to your new sink, establishing the proper drain pipe sizing and slope is vital to long-term performance and code compliance.
Answer: Standard residential plumbing rules (IRC Section P3005) require a minimum trap and drain pipe size of 1-1/2 inches for a bathroom lavatory sink. When running horizontal gravity drain piping, pipes with a diameter of 2 inches or smaller must maintain a uniform downward slope toward the main waste stack of at least 1/4 inch per foot (approximately a 2 percent grade). This precise slope ensures adequate liquid scouring velocity to transport solids, preventing sediment buildup, siphonage, and premature drain line clogging.