INTRODUCTION
Standard roof overhangs typically feature a plumb cut, where the fascia board sits vertically square to the ground. While this is the industry standard, modifying the overhang to feature a curved or coved bottom profile can dramatically elevate the architectural character of a home. Transitioning from a standard angled or flat soffit to a custom radius requires careful planning, upsizing your exterior trim, and precise blocking. This guide breaks down the process of shaping the fascia, managing structural rafter tails, and properly installing tongue-and-groove sheathing to achieve a seamless curved transition.
UPSIZING THE FASCIA BOARD FOR RADIUS CUTS
To create a curve at the bottom of the roof line, the traditional dimensions of the fascia board must be increased to accommodate the removed material. If a roof design originally calls for a standard five-and-a-half-inch board, upgrading to a seven-and-a-half-inch board will provide enough excess wood to cut a two-inch curve without compromising the board's integrity. The exact radius can be drawn from the front outside edge of the fascia board back to the inside block. To avoid creating sharp points that flatten out awkwardly, the arc should be drafted carefully using a custom template that allows the curve to flow smoothly from the fascia into the soffit blocks.
MANAGING STRUCTURAL RAFTER TAILS AND OVERHANG BLOCKS
Creating a pronounced curve requires shaping the underlying support system. This involves creating custom framing blocks. You can create a master template for the blocks that dictates the exact shape of the curve, ensuring uniformity across the entire roofline.
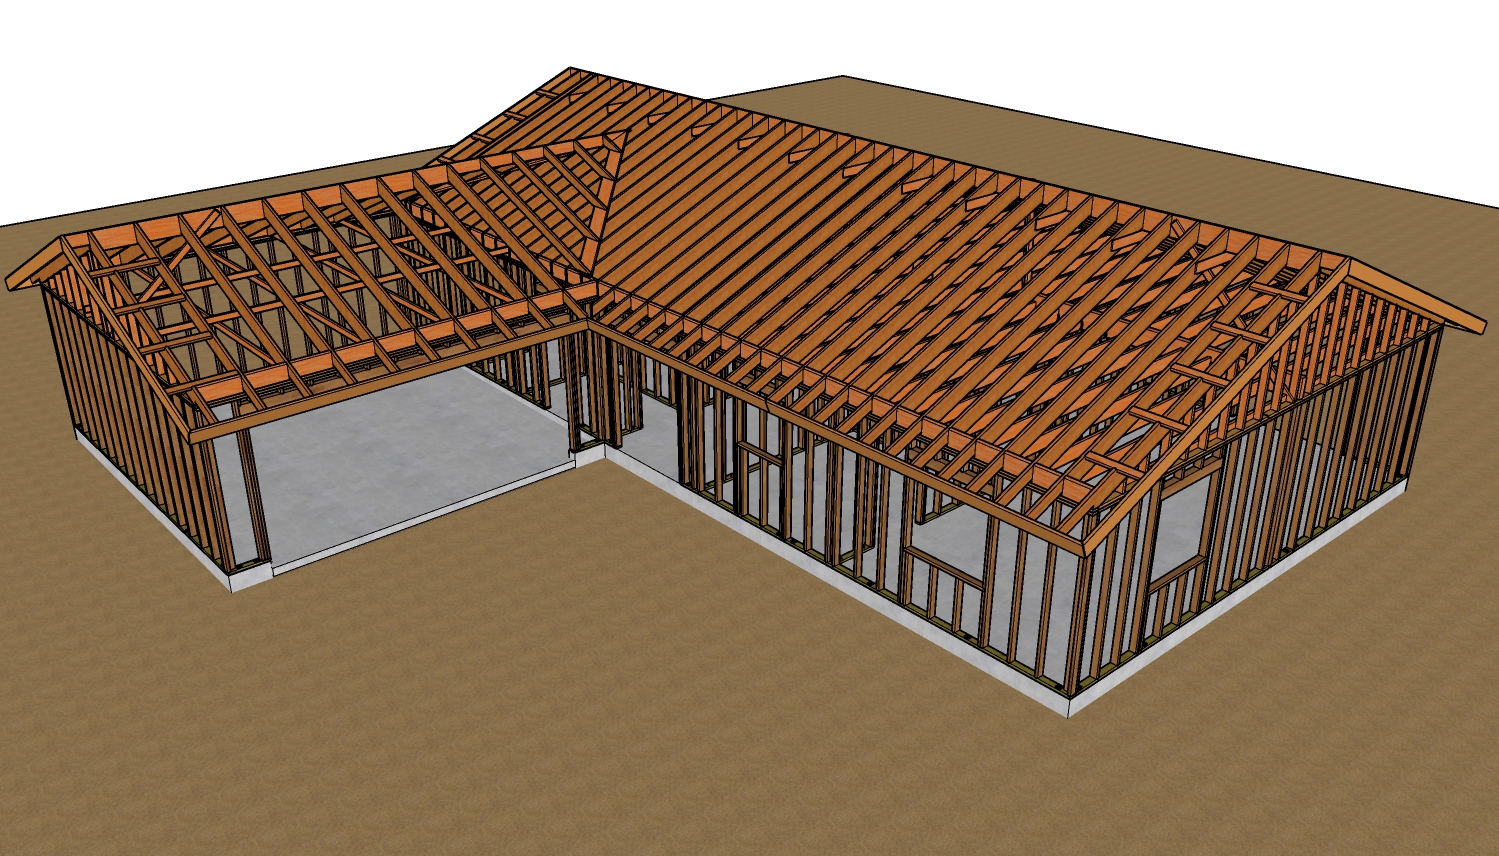
A critical consideration is how this curve interacts with the existing roof rafters or trusses. Achieving a deeper curve might tempt builders to cut directly into the structural rafter tails. However, the overhang relies on those tails for cantilevered support. Removing structural wood here is heavily dependent on the dead load of your roofing material. Lighter roofs, such as composition shingles or wood shake, may tolerate minor shaping of the rafter tails. Conversely, heavy materials like clay or concrete tile require maximum structural support, making it unwise to notch the truss ends. In these heavy-load scenarios, it is better to draw the arc entirely within the added blocking and fascia rather than compromising the structural framing.
INSTALLING TONGUE AND GROOVE SHEATHING ON A RADIUS
Once the shaped blocking and fascia are secured, the final step is cladding the curved underside. A popular material for this application is one-by-four tongue-and-groove sheathing. Because standard tongue-and-groove boards have square edges designed for flat surfaces, installing them along a radius presents a unique geometric challenge.
As the sheathing wraps around the steepness of the curve, gaps will naturally form at the bottom edges of the boards while the tops remain tight. To solve this, the edges, tongues, or grooves of the boards must be carefully trimmed or back-beveled. This custom trimming allows the boards to follow the transition smoothly without exposing large V-shaped gaps from underneath. Always test-fit the boards and observe the layout from the ground level before beginning the final nailing sequence.
THREE KEY CONSTRUCTION TIPS
PRESERVE RAFTER INTEGRITY: Do not over-notch rafter tails to achieve a deeper curve. According to standard structural engineering principles, cutting into the tension side of a cantilevered framing member severely reduces its load-bearing capacity. Always achieve your curve by adding shaped secondary blocking rather than removing material from the primary structural framing.
DOUBLE NAIL SOFFIT BOARDS: Standard building codes and fastening schedules dictate that one-by-lumber requires two appropriately sized framing nails at every bearing point. Relying on a single nail for one-by-four tongue-and-groove boards will inevitably lead to wood cupping and warping as the exterior material expands and contracts with changing humidity.
STAGGER SHEATHING JOINTS ON FRAMING: When running the one-by-four sheathing across the overhang, ensure that all butt joints land dead-center on a solid framing block or rafter tail. Stagger these breaks evenly across the span to maintain the structural rigidity and visual appeal of the soffit.
ADVANCED ROOF OVERHANG FAQS
While the techniques above cover the primary framing and sheathing process, taking your project to the next level requires understanding a few additional building science principles. Here are answers to common questions that arise when constructing specialized overhangs.
QUESTION: How do I properly ventilate a curved tongue-and-groove soffit?
ANSWER: The International Residential Code (IRC) requires balanced attic ventilation to prevent moisture buildup and ice damming. Because solid tongue-and-groove sheathing blocks all airflow, you must manually integrate ventilation into your curved design. This is typically achieved by installing continuous hidden strip vents along the flattest portion of the curve near the fascia, or by routing out sections of the wood to insert circular, screen-backed louver vents that fulfill the required net free ventilating area.
QUESTION: Can I still install standard gutters on a curved fascia?
ANSWER: Standard K-style or half-round gutters require a plumb, flat surface for proper mounting and structural support. If your curve extends up the entire face of the fascia board, standard hidden hangers will not sit flush. To resolve this, you must either leave the top several inches of the fascia perfectly plumb before starting the curve, or manufacture custom angled wedge-blocks (standoffs) that fit inside the curve and provide a vertical face for the gutter brackets to mount securely into the rafter tails.
QUESTION: Does the wood used for custom curved soffits need to be specially treated?
ANSWER: While the building code may not explicitly mandate pressure-treated lumber for elevated eaves that are well above grade, building science dictates that exterior horizontal surfaces and tight radius joints are prone to trapping moisture and condensation. To prevent premature rot in your custom trim work, it is universally recommended to use naturally decay-resistant wood species, such as cedar or redwood, and to thoroughly prime all six sides of your sheathing boards and fascia prior to installation.