HOW TO FRAME A ROOF OVER A CURVED WALL
INTRODUCTION
Framing a roof over a curved wall is a complex architectural challenge that requires precision, custom cuts, and a solid understanding of structural geometry. While a standard straight wall utilizes uniform joists and rafters, a curved structure demands unique angles and careful calculation for every framing member. Before beginning any custom roof framing project, it is essential to consult with local structural engineers and your municipal building and safety department. Building codes vary by jurisdiction, and a design that works in one region may require modifications to meet the specific wind, snow, or seismic loads of another.
PREPARING THE WALL AND INSTALLING JOISTS
Once the curved wall is constructed, the next step is installing the rafters or joists. In a curved roof assembly, these framing members are installed one at a time, and they are not identical. Each rafter requires a specifically shaped or angled top and bottom cut to seat properly against the curve. The rafters located at the lower section of the curve will require a much steeper angle than those near the top. In many cases, the top-most framing members may only need to be ripped down and will not require a complex angle at all. Custom calculating these pitch changes is critical for maintaining the smooth exterior radius of the roof.
FASCIA BOARDS AND EXTERIOR FINISH CLEARANCE
When building a structure without a traditional roof overhang, proper detailing at the eaves is vital for weatherproofing. A standard practice is to install a 3/4-inch spacer, often a 1-by-6 board acting as furring, behind the fascia board. This intentional gap allows the exterior wall finish, such as stucco or wood siding, to tuck cleanly underneath the fascia board. Angling the back of the fascia board also provides a better surface for perimeter nailing, ensuring a tight, secure fit against the shaped rafters.
MID-SPAN BLOCKING FOR STRUCTURAL STABILITY
Solid mid-span blocking is a necessary structural component in this type of roof design. Blocking prevents the rafters from twisting under load and provides lateral stability to the entire roof diaphragm. Using 2-by-6 material, individual blocks must be custom-cut to fit the changing angles between each rafter. The bottom of the block should be held flush with the bottom edge of the rafters, creating a level and secure nailing surface. This flush alignment is especially important if the interior ceiling will be finished with drywall.
SHEATHING THE CURVED ROOF
The final step in the initial framing phase is applying the roof sheathing. While standard 1/2-inch plywood is often used for roof decks, bending it over a radius presents a challenge. Depending on the severity of the curve, standard 16-inch on-center rafter spacing may not perfectly align with the edges of the plywood once the material is bent. As plywood curves, its linear footprint effectively shortens. To ensure that every sheet of plywood breaks directly on the center of a rafter, the framing layout may need to be tightened, spacing the rafters slightly closer together than standard dimensions.
THREE KEY TIPS FOR CURVED ROOF FRAMING
CALCULATE INDIVIDUAL RAFTER ANGLES: Do not attempt to batch-cut your rafters. Because the roof pitch changes along the curve, the top and bottom plumb cuts for a rafter at the base of the curve (e.g., 20 degrees) will be vastly different from one near the peak (e.g., 3 degrees).
PLAN YOUR FINISH CLEARANCES EARLY: Always factor your exterior siding or stucco thickness into your framing layout. Leaving a 3/4-inch spacer gap behind your fascia board prevents water intrusion and creates a professional, seamless transition between the wall and the roofline.
ADJUST SHEATHING LAYOUT FOR THE CURVE: Bending wood changes how it lands on a framing grid. You must account for the arc length versus the straight-line chord length. Test-bend a sheet of your sheathing to determine the exact on-center spacing required so all panel edges are fully supported by structural framing members.
BONUS QUESTIONS AND ANSWERS
While the above steps cover the basic assembly of a curved roof, several other structural factors must be considered to ensure your project is safe, durable, and fully up to code.
WHAT IS THE BEST PLYWOOD THICKNESS FOR SHEATHING A TIGHTLY CURVED ROOF?
While 1/2-inch sheathing can successfully bend over gentle sweeps, tighter architectural radiuses often cause standard 1/2-inch boards to snap or splinter. For extreme curves, the universally accepted best practice is to install two overlapping layers of 1/4-inch or 3/8-inch exterior-grade plywood. Thinner panels easily conform to tight curves. Once installed and properly fastened together with staggered seams, this double-layer approach provides the necessary shear strength required by the International Building Code (IBC) while maintaining a smooth, continuous structural arc.
HOW DOES THE INTERNATIONAL RESIDENTIAL CODE (IRC) ADDRESS VENTILATION IN CURVED ROOF ASSEMBLIES?
A curved roof without an attic space functions similarly to a vaulted ceiling, which means proper airflow is critical to prevent moisture buildup, mold, and wood rot. The IRC (Section R806) mandates cross-ventilation for enclosed roof framing spaces. For a curved roof, this typically requires installing continuous soffit vents at the eaves and an exhaust vent at the highest point of the roof. Builders must ensure an uninterrupted minimum 1-inch airspace between the top of the insulation and the underside of the roof sheathing to allow air to flow freely from bottom to top.
What are the specific challenges and framing techniques involved in constructing a blind valley (California valley)?
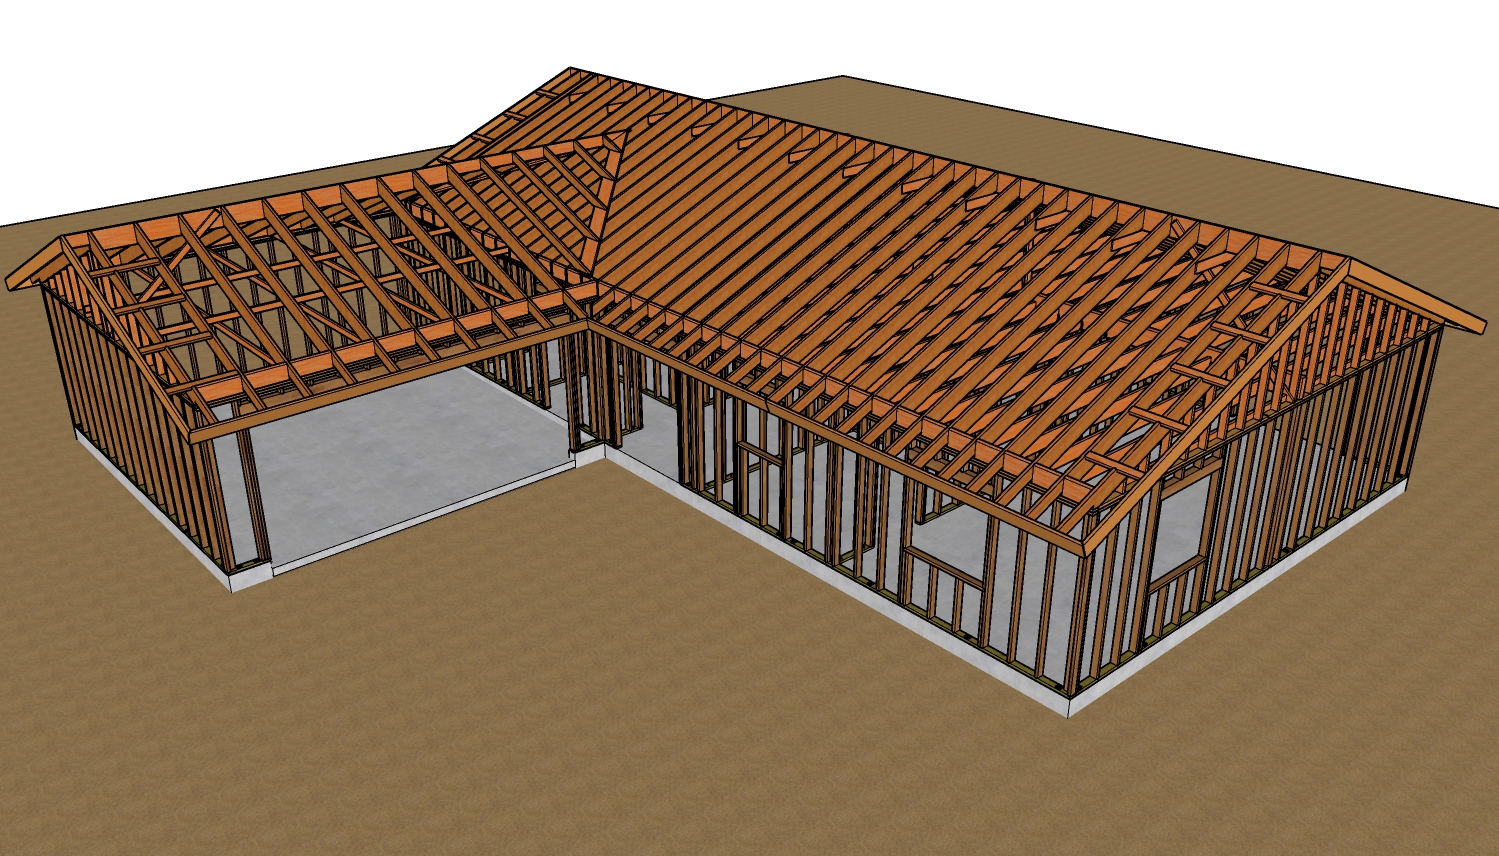
A blind valley, frequently referred to as a California valley, is a framing method used when a new roof ties into an existing roof plane, or when framing intersecting gables of different spans. Instead of installing a traditional valley rafter bearing from the plate to the ridge, the main roof is fully sheathed first. Then, a sleeper board (usually a 2x material) is laid flat over the sheathing along the calculated centerline of the valley. The jack rafters of the intersecting roof are then cut with a specific bevel to lay perfectly against this sleeper. The primary challenge lies in accurately establishing the sleeper's exact position and calculating the compound bevels for the jack rafters. While this technique significantly speeds up production and simplifies complex tie-ins, the framing must be meticulously laid out to ensure the structural loads are properly distributed across the main roof.