HOW TO ESTABLISH A PERFECTLY SQUARE LINE USING THE INTERSECTING CIRCLES METHOD
Creating perfectly square, 90-degree lines is a foundational skill in construction. Whether you are dealing with a complex building lot, laying out an irregular foundation, or simply finding yourself on a job site without a framing square, understanding how to use basic geometry can save your project.
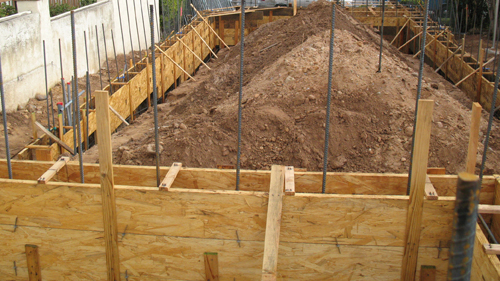
When you encounter exterior building foundations that have no 90-degree corners, it can be extremely difficult to create straight, perpendicular lines on the interior. However, by using the intersecting circles method, you can easily establish interior walls that are perfectly square and parallel to a primary reference wall.
THE GEOMETRY OF SQUARING A LAYOUT
This technique relies on the mathematical principle of the perpendicular bisector. By drawing two circles of the exact same size from two points on a straight baseline, the points where those circles intersect will always create a line that is perfectly perpendicular, or 90 degrees, to the original baseline.
This method requires nothing more than a tape measure, a marker, and a pivot point, making it highly versatile for both small-scale sheet goods and large-scale concrete foundations.
STEP BY STEP GUIDE TO LAYING OUT SQUARE LINES
ESTABLISH A BASELINE: Start by creating a straight, reliable reference line. If you are working on a subfloor or foundation, measure a set distance parallel from the straightest edge (for example, measure in one foot from the edge) and strike a chalk line.
MARK TWO CENTER POINTS: Choose two points on your newly established baseline. Make sure they are not spaced too far apart relative to the size of the arcs you intend to draw.
SWING YOUR ARCS: From the first point, measure out a specific radius (such as 10 inches for a small layout, or 10 feet for a foundation) and draw an arc or full circle. Move to the second point and draw another arc using the exact same radius measurement.
CONNECT THE INTERSECTIONS: The two arcs will cross each other at two distinct points. Use a straight edge or chalk line to connect these two intersection points. The resulting line is perfectly square to your original baseline.
PRACTICAL APPLICATIONS ON THE JOBSITE
This strategy is highly effective for establishing a square edge on a piece of plywood or OSB that has been cut unevenly. Once your perpendicular line is drawn, you can measure parallel off of it to create your cut lines.
More importantly, this layout tool is vital for framing. When a building footprint is irregularly shaped, you must designate one continuous primary wall as your baseline. From there, use the intersecting circles technique to generate a master perpendicular control line through the center of the structure. All subsequent interior framing can then be measured parallel to these control lines, ensuring your rooms, floor finishes, and ceiling grids remain square even if the exterior envelope is angled.
THREE KEY TIPS FOR LAYOUT ACCURACY
USE RIGID MEASURING TOOLS: When striking arcs over long distances on a foundation, do not use a standard nylon string line, as it will stretch and compromise the radius. Use a non-stretch steel tape measure or build a custom trammel from a straight piece of 1x4 lumber with a screw at the pivot point and a pencil hole at the radius mark.
OVERLAP YOUR RADII SUFFICIENTLY: For this method to work, the radius of your circles must be substantially larger than half the distance between your two center points. The wider the distance between the two intersection points, the more accurate your final perpendicular line will be.
VERIFY WITH THE 3-4-5 RULE: Always cross-check your completed layout using the Pythagorean theorem. Measure 3 feet down your baseline, 4 feet up your new perpendicular line, and check that the diagonal distance between those two points is exactly 5 feet.
TO FURTHER EXPAND ON THE IMPORTANCE OF PRECISE SITE LAYOUT, HERE ARE A FEW CRITICAL QUESTIONS REGARDING THE STRUCTURAL AND CODE IMPLICATIONS OF SQUARE FRAMING.
WHY IS A PERFECTLY SQUARE FOUNDATION REQUIRED FOR STRUCTURAL SHEATHING?
Establishing a square foundation and wall layout is not just an aesthetic choice; it is a structural necessity dictated by the International Residential Code (IRC). Under IRC Section R602.10, which governs wall bracing, structural panels like OSB or plywood must transfer lateral shear loads effectively. This requires specific edge-nailing patterns into the framing members. If the framing layout is out of square, the edges of the rigid sheathing panels will not align properly with the center of the studs. This prevents the required edge-nailing, ultimately voiding the designed shear capacity of the wall and compromising the building's resistance to wind and seismic events.
HOW MUCH OUT-OF-SQUARE TOLERANCE IS ACCEPTABLE UNDER STANDARD FRAMING PRACTICES?
While building codes focus heavily on structural load paths, standard industry practice provides strict guidelines for layout tolerances. According to the widely accepted National Association of Home Builders (NAHB) Residential Construction Performance Guidelines, a foundation or wall layout should not be out of square by more than 1/2 inch over a 20-foot span. Excessive out-of-square conditions can cause eccentric loading on bearing walls, which violates IRC Section R301 (Design Criteria) by improperly distributing vertical gravity loads from the roof down through the foundation.
WHAT HAPPENS TO THE ROOF SYSTEM IF THE EXTERIOR LOAD-BEARING WALLS ARE NOT LAID OUT SQUARE?
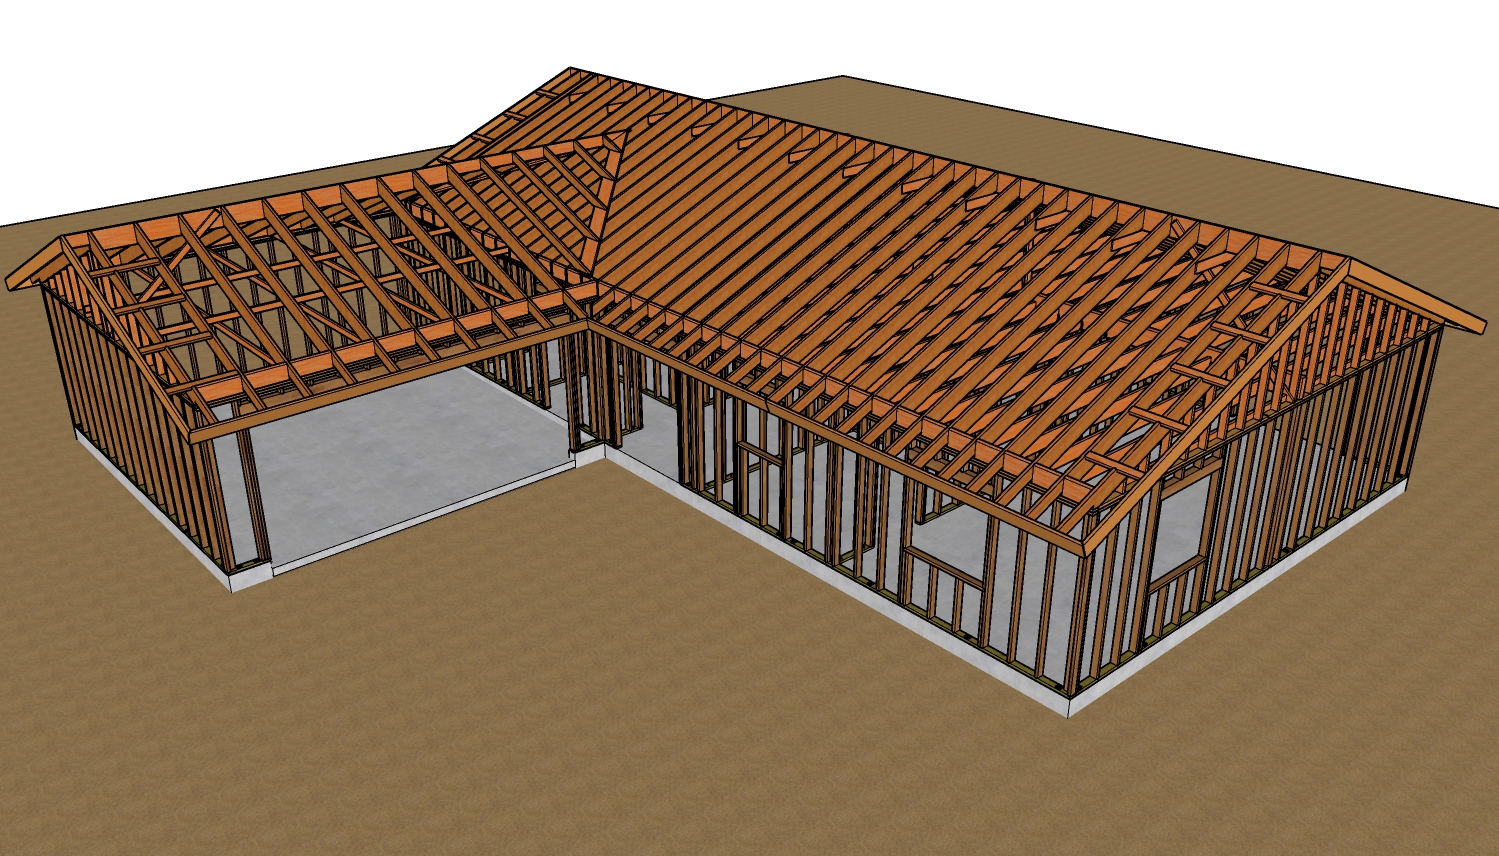
Failing to square your load-bearing walls has catastrophic downstream effects on roof framing, particularly when using engineered trusses governed by IRC Chapter 8 (Roof-Ceiling Construction). Prefabricated roof trusses are engineered for highly specific, parallel bearing points. If the layout is skewed, the actual span of the trusses will vary from one end of the building to the other. This alters the load distribution, compromises the engineered truss design, and creates uneven overhangs. A skewed layout can lead to structural failure under heavy snow or wind loads because the loads are no longer transferring down the path calculated by the structural engineer.