INTRODUCTION
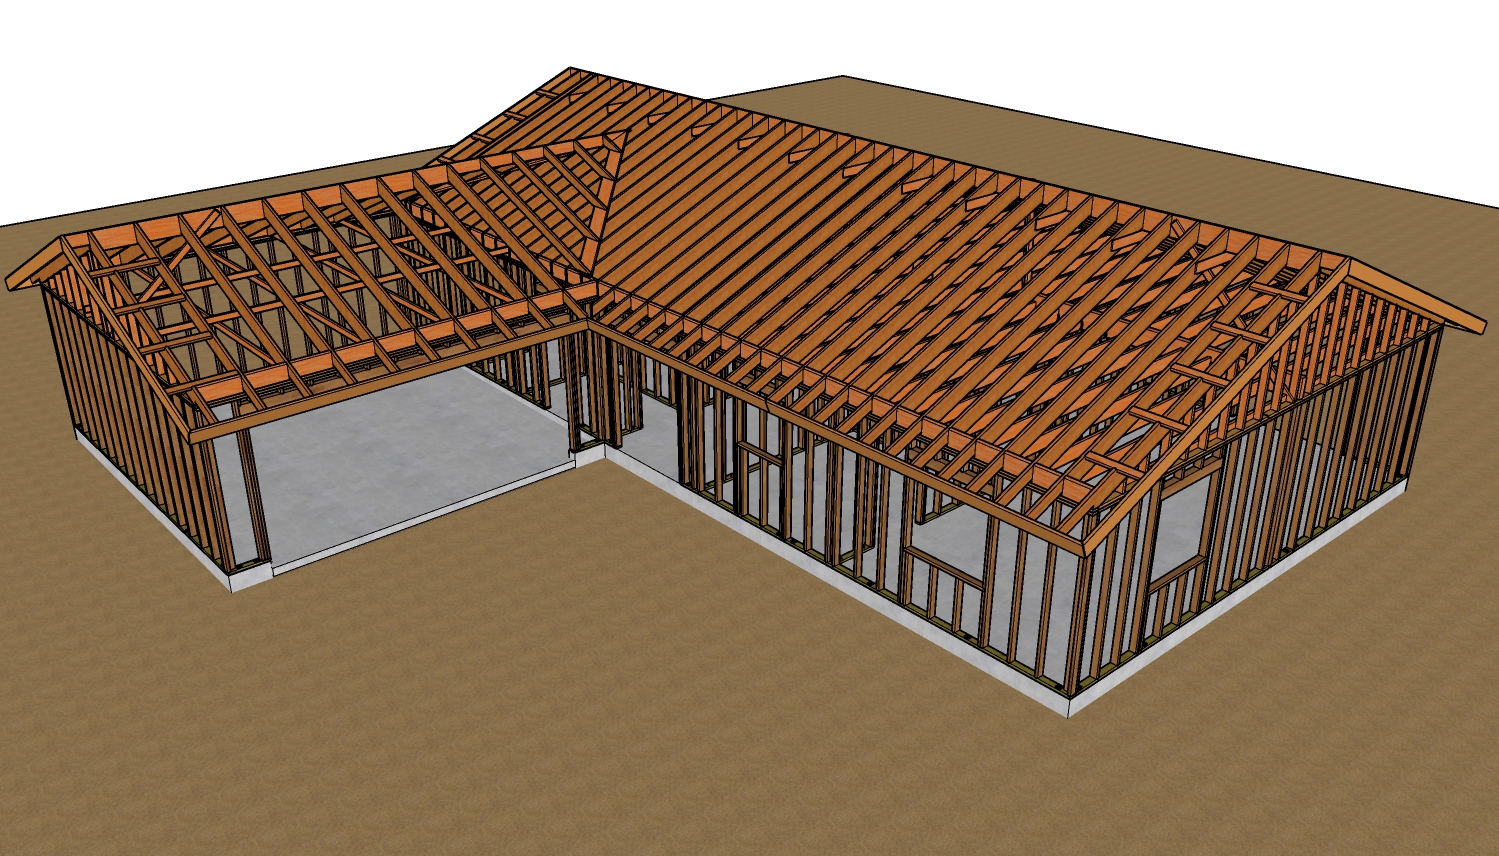
Adding an overhang to a curved roof introduces unique structural challenges that require precise framing techniques. While a flush fascia provides a sleek architectural look, incorporating a functional overhang protects the exterior walls from weather and improves the building's overall durability. This guide breaks down several methods for extending your rafters and framing a robust overhang on a curved roof structure, ensuring your project remains safe, strong, and structurally sound.
METHOD 1: EXTENDING AND NOTCHING RAFTERS
One of the most straightforward ways to create a curved roof overhang is by using longer lumber for the rafters and notching them at the wall plate. The extended portion should be cut slightly narrower than the fascia board. For example, if you are using a 10-inch wide fascia, the overhang extension should be cut to 9 inches or slightly less, allowing the fascia to fully cover the rafter tails.
If sourcing lumber long enough to achieve a continuous rafter is not possible, sistering extension boards to the side of the main rafters is a viable alternative. These extension boards must be shaped to match the curved top profile of the main rafters. When sistering lumber to create a cantilever, structural nailing patterns are critical. Staggered 16d nails driven 16 inches on center is a common baseline, though heavy structural loads may require tighter fastening schedules.
UNDERSTANDING CANTILEVER BACKSPAN RULES
When sistering boards to create an overhang, you must adhere to standard cantilever principles to prevent structural failure. A common framing rule of thumb dictates that the extension can stick out one-third of the board's total length, provided it is anchored back into the roof framing for the remaining two-thirds. For instance, if your overhang extends 18 inches past the exterior wall, the extension board must run at least 36 inches back alongside the main rafter.
While this 2:1 backspan ratio is a widely accepted baseline for general gravity loads, structural requirements vary heavily by local jurisdiction. Always consult your local building codes, as high snow or wind loads may demand longer backspans, deeper lumber, or engineered hardware.
METHOD 2: OUTLOOKERS AND DROPPED RAFTERS
For a more robust overhang, especially on gable ends or structural eaves, utilizing outlookers (also known as lookouts) is highly recommended. Outlookers are framing members that run perpendicular to the main rafters, extending outward to support the fascia and fly rafter.
To integrate outlookers without compromising the roof's curved profile, a dropped rafter system is often employed. A structural rafter spans the wall plates, and a separate, curved-profile piece is attached to the top. The outlookers are then notched into the structural rafter. Depending on the required strength and insulation depth, outlookers can be installed flat or on edge. Framing them on edge provides significantly greater resistance against downward deflection.
If you are building in a region with high snow loads, a single structural rafter supporting outlookers may not suffice. In these scenarios, structural engineers frequently require doubled framing members or a specialized load-bearing beam to safely support the cantilevered weight.
PROPER ROOF SHEATHING ORIENTATION
When your framing direction changes, such as transitioning from standard vertical rafters to horizontal out lookers at the eaves, your roof sheathing must also change direction. Plywood or OSB sheathing strength relies heavily on its orientation relative to the underlying framing.
Furthermore, when applying sheathing over doubled rafters or complex framing junctions, structural engineers generally require panel seams to break in the center of a single piece of lumber. Seams should never align directly over the gap between two doubled framing members, as this compromises the structural integrity of the nailing edge and violates standard wood panel installation guidelines.
CONCLUSION
Framing an overhang on a curved roof requires a solid understanding of load transfer, cantilever rules, and precise joinery. Whether you choose to notch continuous rafters or implement a robust out looker system, prioritizing structural integrity is non-negotiable. Always defer to local building codes and licensed structural engineers to ensure your specific framing design is safe for your local environment.
THREE KEY CONSTRUCTION TIPS
RESPECT THE 2:1 BACKSPAN RATIO: When extending a roof overhang using sistered lumber, the portion anchored inside the roof must be at least twice as long as the cantilevered overhang. This is a baseline rule of thumb; always verify allowable cantilever lengths in the International Residential Code (IRC) Chapter 8 based on your specific ground snow load.
INSTALL OUTLOOKERS ON EDGE FOR MAXIMUM SPANS: While laying outlookers flat simplifies framing, placing them on edge maximizes their structural depth and significantly reduces deflection under heavy loads, ensuring a stiffer overhang and preventing sagging fascia lines.
ALIGN SHEATHING SEAMS ON SOLID WOOD: Never break your plywood or OSB roof sheathing over the exact seam of sistered or doubled rafters. APA (The Engineered Wood Association) guidelines require panels to be fastened to continuous, solid framing to achieve their rated shear strength and prevent edge blowouts during nailing.
BONUS QUESTIONS AND ANSWERS
To further ensure your curved roof overhang meets modern structural standards, here are a few critical considerations that go beyond the standard framing techniques discussed above.
DO CURVED ROOF OVERHANGS REQUIRE SPECIAL VENTILATION STRATEGIES?
Yes, they often do. The International Residential Code (IRC Section R806) mandates proper cross-ventilation for enclosed roof assemblies to prevent moisture buildup and rot. Because a curved roof changes pitch, standard continuous soffit-to-ridge venting can easily become obstructed by curved framing members or shifting insulation. Builders must carefully design the airflow path to ensure insulation baffles remain open across the entire curve, or they must transition to a specialized unvented hot roof assembly using closed-cell spray foam, which is strictly governed by IRC R806.5.
HOW DO LOCAL SNOW LOADS ALTER OVERHANG ENGINEERING?
Snow loads drastically change the structural math for any roof cantilever. The basic 1/3 overhang rule of thumb primarily applies to standard dead loads and very light live loads. Under heavy ground snow loads (measured in pounds per square foot), a standard overhanging rafter or out looker can easily snap under the extreme weight. In jurisdictions with high snow loads, the International Building Code (IBC) and IRC override general rules of thumb and often require engineered solutions, such as closer rafter spacing, structural glulam beams, or significantly deeper dimensional lumber to safely support the eaves.
How do variations in rafter tail cuts affect the architectural style and weather protection of a custom home overhang?
Rafter tail cuts are highly visible exterior details that significantly dictate a home’s architectural vernacular while playing a crucial role in weatherizing the building envelope. A square cut, or plumb cut, creates a vertical fascia face, allowing for the easy installation of continuous rain gutters, providing optimal water management for modern and traditional homes. Conversely, an intricate corbel cut or an exposed radiused tail common in Craftsman or historic timber-frame architecture offers dramatic aesthetic appeal but complicates gutter installation and leaves the exposed wood vulnerable to the elements. For large, lapped balcony joists or extended overhangs extending from the roofline, proper sealing is critical. Interestingly, if untreated lumber is utilized in these covered exterior projections, it is permissible by code strictly if the structural members are completely protected from weather exposure, typically by being permanently sealed and covered from the bottom.