STRATEGIC DRYWALL STAGING FOR REMODELS AND NEW CONSTRUCTION
Successful construction and remodeling projects rely heavily on proper sequencing. While framing, plumbing, and electrical work naturally follow a strict chronological order, material delivery logistics are often overlooked until it is too late. For home builders and remodeling contractors handling room additions or whole-house renovations, one of the most critical logistical steps is loading drywall into the structure before installing exterior doors and windows.
THE LOGISTICAL ADVANTAGE OF EARLY MATERIAL STAGING
Drywall sheets are large, cumbersome, and highly susceptible to damage during transport. Standard sheets measure 4 feet by 8 feet, but professional installations often utilize 12-foot or 14-foot lengths to minimize wall seams. Maneuvering these massive panels through finished entryways, around tight hallways, or up narrow staircases drastically increases the risk of damaging the drywall, the finished door frames, and the surrounding walls.
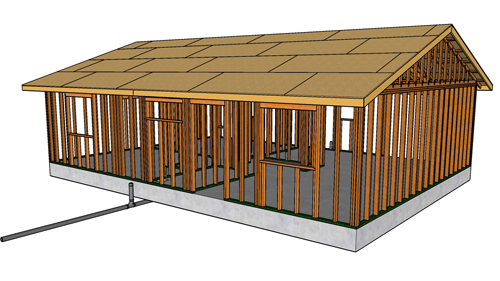
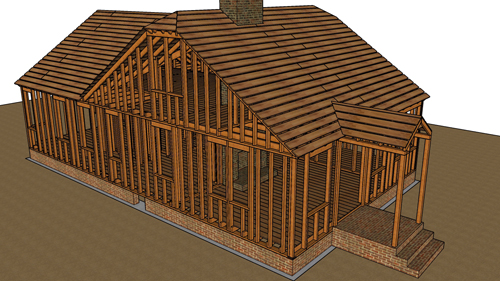
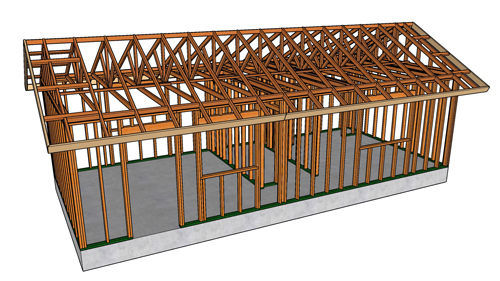
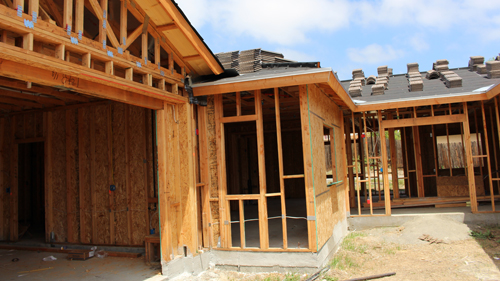
By staging the drywall immediately after the demolition phase or just before the exterior envelope is fully closed, contractors can utilize large rough openings. Passing drywall through an open window frame or unfinished doorway provides a direct, clear path. This simple sequencing adjustment eliminates the physical strain of navigating finished corners and prevents the costly scenario of having to temporarily remove a newly installed window just to get materials into a room.
MATERIAL PROTECTION AND WORKSPACE EFFICIENCY
When planning a room addition or a new build, mapping out your material storage upfront is just as important as the architectural blueprints. Drywall must be stored flat to prevent bowing and warping. While staged flat on the floor, a sturdy stack of drywall can serve as a convenient, temporary workbench for blueprints or lightweight tools. However, it is vital to keep the top sheet protected from moisture, heavy impacts, or construction debris, as the paper facing must remain pristine for proper taping and finishing.
By proactively loading drywall into each designated room while access is unrestricted, you streamline the workflow, protect your finished fixtures, and maintain a highly efficient job site from framing to final finish.
THREE KEY TIPS FOR DRYWALL DELIVERY AND STAGING
SCHEDULE DELIVERIES AROUND ROUGH OPENINGS: Coordinate your drywall delivery to arrive while large window and door rough openings are still unobstructed. This allows delivery crews to pass long sheets directly from the exterior into the specific room where they will be installed.
STAGE MATERIAL ROOM BY ROOM: Rather than creating one massive central pile that must be redistributed later, calculate the square footage of each room and stack the corresponding number of sheets in the exact space where they will be hung.
PROTECT YOUR STACK IF USED AS A SURFACE: While a flat stack of drywall can double as a temporary work surface, construction debris and liquid spills will ruin the paper face. Always lay down a protective barrier, such as a drop cloth or a sheet of plywood, over the top layer before resting any tools or materials on it.
BONUS QUESTIONS AND ANSWERS
To further ensure your drywall installation meets professional standards and structural building codes, we have compiled answers to common technical questions that go beyond basic delivery logistics.
QUESTION: HOW SHOULD HEAVY STACKS OF DRYWALL BE POSITIONED TO PREVENT STRUCTURAL FLOOR DAMAGE?
ANSWER: Under the International Residential Code (IRC), standard residential floors are engineered to support a live load of 40 pounds per square foot. A single 4x8 sheet of half-inch drywall weighs approximately 50 pounds, meaning a stack of just 40 sheets weighs 2,000 pounds. To prevent structural deflection or damage to the floor joists, drywall stacks must never be placed in the center of a room parallel to a single joist. Instead, they should be stacked flat, perpendicular to the floor joists, and placed as close to load-bearing walls as possible to properly distribute the massive point load across multiple structural members.
QUESTION: DOES THE BUILDING CODE REQUIRE THE HOUSE TO BE WEATHER-TIGHT BEFORE STORING DRYWALL INSIDE?
ANSWER: Yes, while it is advantageous to load drywall through rough openings, the building envelope must be adequately protected from the elements. The International Building Code (IBC) references the Gypsum Association's strict guidelines (GA-216), which state that gypsum board must be protected from direct exposure to rain, snow, sunlight, and excessive moisture. If you are loading drywall through rough openings before the actual windows and doors are installed, those openings must be securely tarped or temporarily boarded up to maintain a dry interior environment, preventing the gypsum core from absorbing atmospheric moisture and swelling.
QUESTION: WHEN PLANNING A REMODEL OR ADDITION, WHERE DOES THE CODE REQUIRE SPECIALIZED FIRE-RESISTANT DRYWALL?
ANSWER: Standard half-inch drywall is suitable for general living areas, but the IRC requires specific fire-separation assemblies in high-risk zones, most notably between a home and an attached garage. According to IRC Section R302.6, any wall separating a garage from the residence must be finished with a minimum of half-inch gypsum board. Furthermore, if the garage has habitable space above it, the garage ceiling must be protected by 5/8-inch Type X (fire-rated) drywall. Staging this heavier, denser Type X drywall early is especially critical, as a standard 4x8 sheet of 5/8-inch Type X weighs over 70 pounds.