How To Calculate Concrete Control Joint Spacing And Depth
Properly placing control joints in a concrete slab is critical to controlling where the concrete cracks as it cures and shrinks. While it might seem like a complex process, determining the correct placement and depth for these contraction joints relies on a few simple mathematical formulas. By following standard industry practices, you can ensure your concrete surface remains structurally sound and visually appealing.
THE SPACING FORMULA FOR CONTROL JOINTS
Determining the maximum distance between control joints is straightforward. The general rule is to take the thickness of your concrete slab in inches and multiply it by two or three to find your maximum spacing in feet. For example, if you are pouring a slab that is four inches thick, multiplying four by two gives you eight, and multiplying four by three gives you twelve. This means your control joints should be spaced somewhere between eight and twelve feet apart. There is rarely a structural reason to place joints closer together than the minimum resulting number. Placing too many joints is unnecessary unless you are trying to achieve a specific decorative pattern.
CALCULATING THE CORRECT CUT DEPTH
Industry standards dictate that a control joint must be cut to a depth equal to one quarter of the total slab thickness. To find this measurement, divide the slab thickness by four, or multiply it by zero point two five. For a four inch concrete slab, the control joint must be exactly one inch deep. If you are working with a six inch slab, the cut should be one and a half inches deep. Exceeding this depth is not recommended because cutting too deeply risks severing the structural reinforcement grid buried inside the concrete. Most standard concrete grooving tools are designed to reach a depth of one inch, making them perfect for standard four inch slabs.
MANAGING INSIDE CORNERS
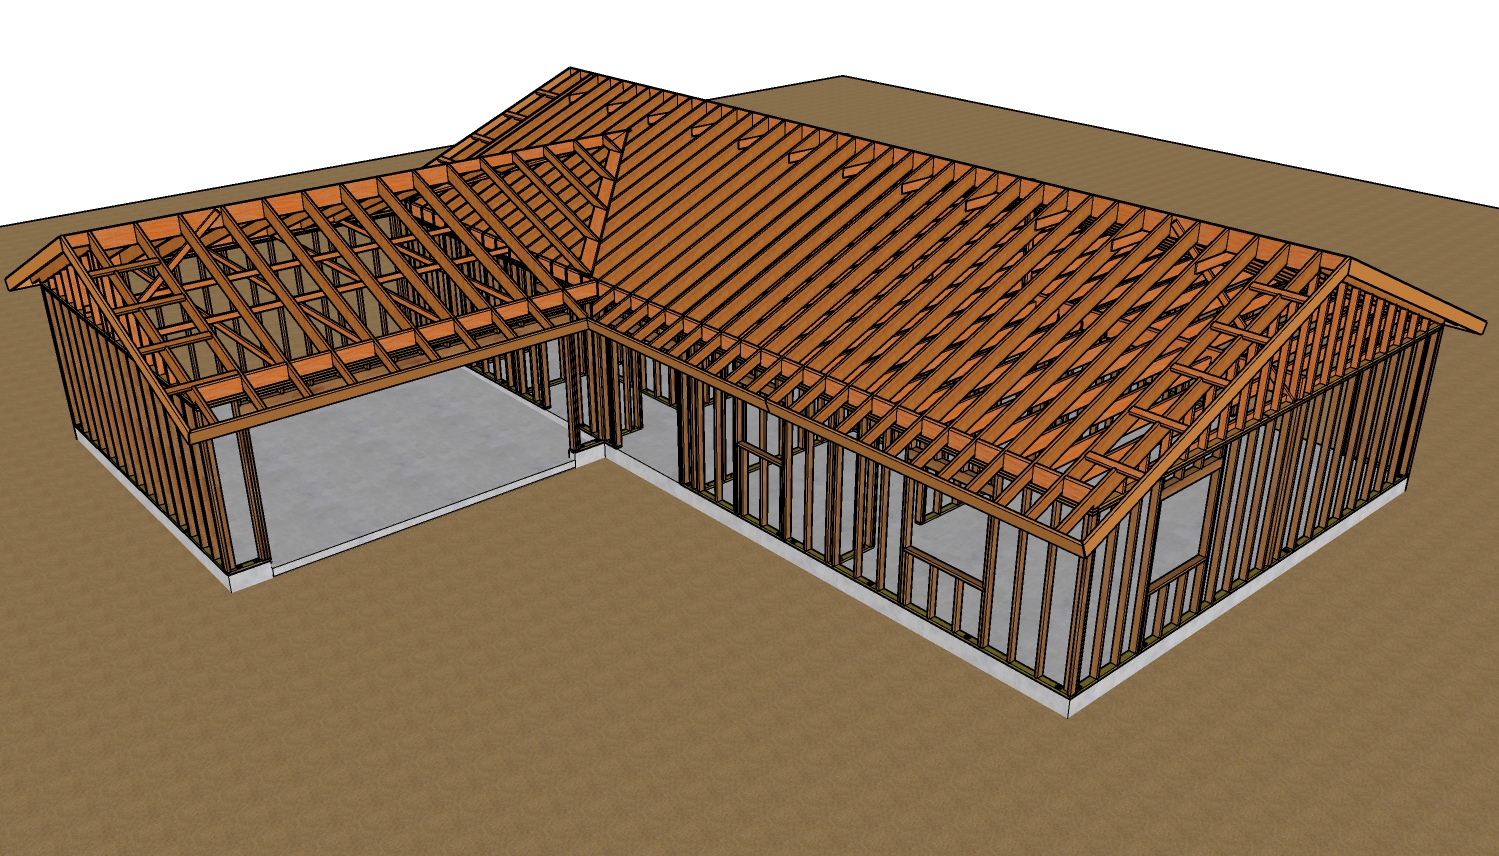
Inside corners, also known as reentrant corners, are highly susceptible to cracking due to concentrated stress forces. When planning your control joint layout, always start by drawing a line directly off any inside corners. Once you have established these critical stress relief points, you can divide the remainder of the concrete slab according to the standard spacing formulas. Observing commercial sidewalks and driveways will show you that joint layouts vary, but addressing inside corners is a universal best practice for crack prevention.
TIMING YOUR CUTS
Control joints can be created using a grooving tool while the concrete is still wet, or they can be cut later using a concrete saw. If you plan to use a wet saw or early entry saw, timing is critical. During hot weather, the concrete cures rapidly. In high temperature conditions, you may need to cut your lines within twelve hours after the concrete has hardened enough to support the saw without raveling the edges. In extreme heat, concrete professionals sometimes begin cutting just a few hours after finishing the slab.
CONCLUSION
Laying out concrete control joints is not an exact science in terms of aesthetics, but the mathematical rules for depth and maximum spacing are clear. By calculating your spacing based on slab thickness, adhering to the one quarter depth rule, and prioritizing inside corners, you can successfully control shrinkage cracks and extend the lifespan of your concrete project.
THREE KEY TIPS
Multiply your slab thickness in inches by two and three to determine your minimum and maximum joint spacing in feet.
Always cut your control joints to a depth equal to exactly one quarter or twenty five percent of the total slab thickness to avoid cutting structural steel.
Always place a control joint extending outward from any inside corner to relieve the high stress concentrations that cause random cracking.
BONUS QUESTIONS AND ANSWERS
FREQUENTLY ASKED QUESTIONS ABOUT CONCRETE JOINTS
To help you fully understand the building science behind concrete maintenance, here are a few additional details regarding control joints that were not covered in the main guidelines.
Why Do Concrete Slabs Crack In The First Place?
Concrete cracks primarily due to drying shrinkage. As the water inside the concrete mixture evaporates during the curing process, the overall volume of the concrete shrinks. This volume reduction creates massive tensile stress within the rigid slab. Because concrete is extremely strong under compression but relatively weak under tension, this pulling force causes the slab to tear apart. Control joints do not prevent cracking entirely. Instead, they create a weakened line that forces the concrete to crack neatly in a straight, hidden line inside the groove rather than randomly across the surface.
What Is The Difference Between A Control Joint And An Expansion Joint?
While the terms are often used interchangeably, they serve entirely different structural purposes. A control joint, formally called a contraction joint, is a shallow cut designed to guide shrinkage cracks. An expansion joint, formally called an isolation joint, goes completely through the full depth of the concrete. Expansion joints are filled with a compressible material and are placed where the slab meets an existing structure like a foundation wall or a pool deck. This completely separates the two surfaces, allowing them to expand and contract independently with temperature changes without crushing against each other.
Should Concrete Control Joints Be Filled Or Sealed?
Yes, filling control joints with a flexible polyurethane sealant is a widely accepted building standard, especially in exterior applications. While the joint must remain open during the initial curing phase so the slab can shrink, leaving the joint permanently unsealed allows water to penetrate the subgrade. If water saturates the soil beneath the slab and freezes, the expanding ice can heave and crack the concrete. Furthermore, sealing the joints prevents incompressible debris like rocks and dirt from getting wedged in the gap. If the concrete expands during hot weather and the joint is packed with rigid debris, the edges of the concrete will spall and chip.