THE PROS AND CONS OF BURYING WOOD POSTS IN THE GROUND
When it comes to building a deck, a pole barn, or any freestanding structure, one of the biggest decisions you will make is how to secure your posts. Should you bury them in dirt, encase them in concrete, or use metal hardware on top of a footing? Each method offers different levels of lateral strength and comes with its own set of long-term risks. Let us explore the most common methods for setting wood posts and the pros and cons of each.
POST BASE CONNECTORS ON CONCRETE FOOTINGS
Let us start with a method where the post is not buried at all. A common approach for deck building involves pouring a concrete footing and attaching a metal post-base connector to the top. While this keeps the wood out of the soil, it provides the least amount of lateral strength. Lateral strength is the resistance to side-to-side or front-to-back movement. If enough pressure is applied horizontally, there is a very good chance the wood will simply snap or crack right down the middle at the base.
If you are attaching your structure to an existing building, like a house, the house provides the necessary structural support, making this method perfectly fine. However, for freestanding structures built away from a building, you might need more lateral rigidity.
BURYING POSTS IN SOIL OR GRAVEL
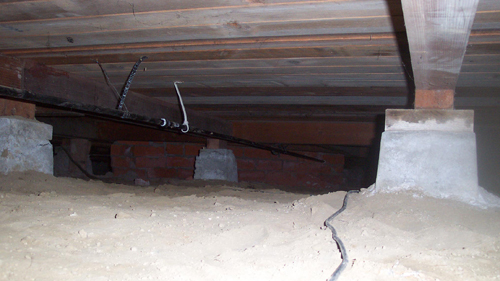
Simply burying a post in the ground provides much better lateral rigidity than a surface-mounted bracket. Often, builders will set the post on top of a concrete pad at the bottom of the hole and backfill it with sand, gravel, or soil. This is a common practice in pole barn construction. Burying the post prevents it from acting like a hinge at the base, which can happen with lower-quality building hardware.
ENCASING POSTS IN CONCRETE
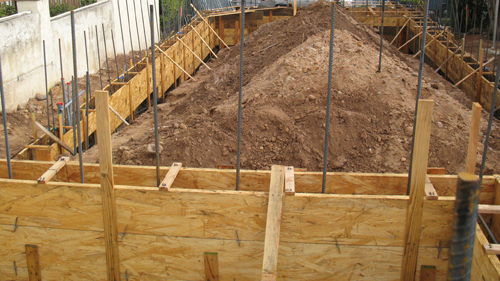
Encasing a wood post completely in a concrete footing increases its resistance to lateral movement even further. A larger concrete footing, especially one reinforced with a rebar cage, will be highly resistant to side-to-side pressure.
For maximum strength, commercial applications like light pole foundations use a large concrete footing with a rebar cage and heavy-duty anchor bolts. A metal post base is welded and bolted to the concrete, and builders use a dry packing mortar mix underneath the metal base. While this provides superior structural support, it is important to note that the dry pack materials can eventually crack and fall out over time.
THE RISKS: WOOD ROT AND REPLACEMENT NIGHTMARES
While burying posts or encasing them in concrete provides excellent lateral strength, there are major drawbacks you must consider before building.
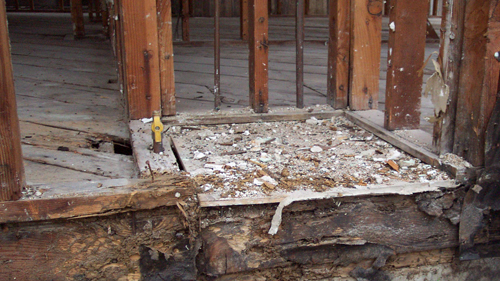
Premature rot and wood decay: This is the biggest problem with burying wood. Concrete is porous and acts like a sponge, constantly pulling moisture from the surrounding soil. If there is no airflow between the wood and the concrete, the moisture stays in the wood, leading to rapid decay.
Loss of structural strength: Wood posts shrink, and concrete contracts. This can create a gap between the post and the concrete footing, allowing water to pool inside the gap and reducing the overall strength of the connection.
Frost heave: If you rely on the weight of the concrete as an anchor but fail to dig below the frost line, freezing temperatures can push the footing and the post right out of the ground.
Difficult repairs: If a post buried in solid concrete ever breaks or rots, removing and replacing it will be an absolute nightmare.
CHOOSING THE RIGHT LUMBER
If you decide that burying your posts is the right choice for your project, you must use the correct materials. Always purchase ground-rated pressure-treated lumber. Standard pressure-treated wood is not meant for direct ground contact and will fail much faster. Do your research and understand exactly what type of lumber you are buying before you start your project.
CONCLUSION
Securing your wood posts requires a balance between achieving the necessary lateral strength and protecting your materials from moisture and decay. Whether you choose metal brackets for a cleaner look and easier replacement, or deep concrete footings for maximum rigidity, understanding the pros and cons will help ensure your structure stands the test of time.