Structural Framing Guidelines For A Dutch Roof
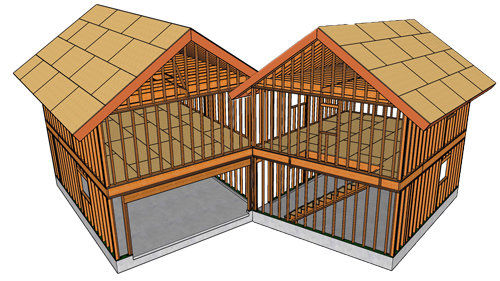
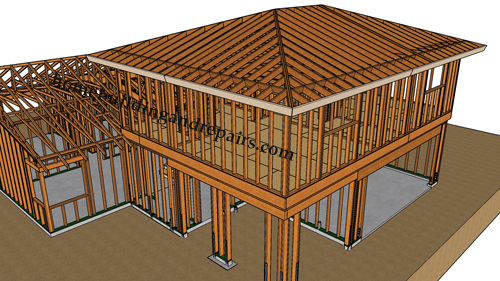
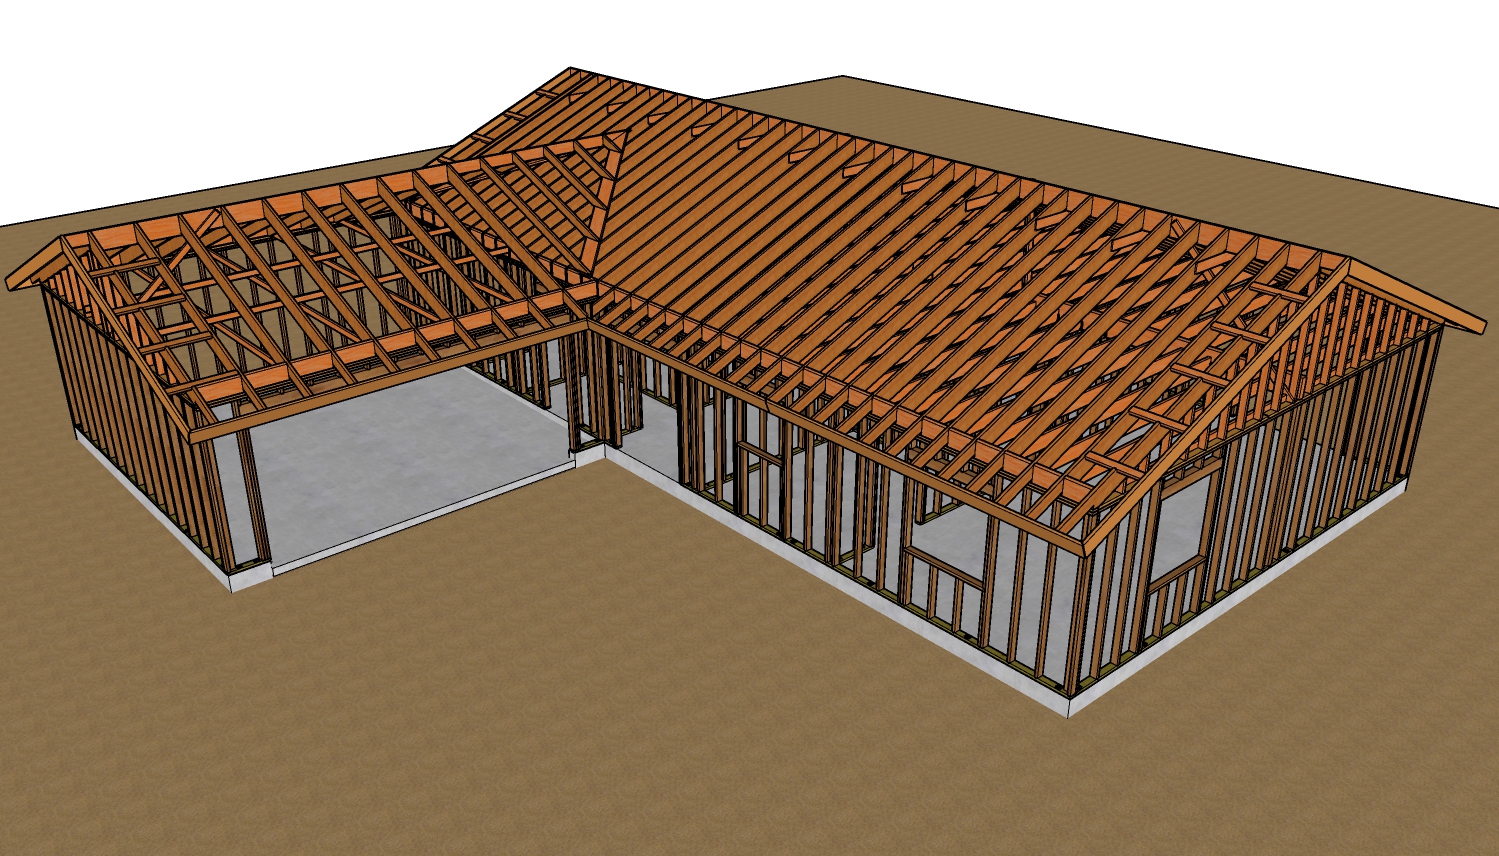
Building a Dutch roof requires a solid understanding of structural load paths, proper rafter support, and precise framing techniques. A common configuration involves a substantial setback, such as a four-foot recess from the face of the lower wall to the upper gable wall. This design introduces unique challenges, particularly where the lower hip roof intersects with the upper gable support structure. The following guide outlines the critical steps and structural considerations for framing this architectural feature safely and effectively.
Establishing The Structural Supports
The foundation of a reliable Dutch roof lies in its supporting rafters. In a typical setup, the lower hip roof sections tie into a set of double rafters. These double rafters serve as the primary load-bearing members for the upper structure. Between these supporting rafters, a structural ledger must be installed to carry the weight of the upper framing. To ensure adequate strength, it is highly recommended to upsize this ledger. For example, if the surrounding framing utilizes two-by-eight lumber, upgrading the ledger to a two-by-ten or even incorporating a two-by-twelve provides superior structural rigidity and better load distribution.
Navigating Rafter Notches And Outlookers
When installing the fascia board and outlookers on the upper gable section, builders must be exceptionally careful not to compromise the structural integrity of the supporting rafters. Cutting notches into a rafter to accommodate an outlooker reduces the effective depth of the lumber. For instance, removing an inch and a half of material from a two-by-eight effectively weakens it to the capacity of a two-by-six.
Following standard structural building principles, you should never cut notches into the middle third of a load-bearing span. If outlookers are necessary, they should be strategically placed near the bearing points, minimized in number, or replaced entirely with alternative solid blocking methods that allow you to nail directly through the roof sheathing without cutting into the main structural framing.
Managing Roof Sheathing And Fascia Clearances
Proper sheathing application is vital for waterproofing and structural shear strength. The plywood deck must run continuously under the overhang fascia board and tie into the lower roof sections. A frequent mistake during this phase is resting the upper barge rafter or fascia trim directly against the lower roof sheathing. This prevents the roofing contractor from properly installing shingles and flashing. Always cut the overhang rafters short enough to leave a minimum one-and-a-half-inch gap between the bottom edge of the wood and the surface of the roof deck. This clearance allows composition shingles and metal step flashing to slide cleanly underneath the trim, preventing moisture damage and subsequent wood rot.
Conclusion
Framing a Dutch gable requires meticulous attention to weight distribution, lumber sizing, and exterior weatherproofing. By protecting the integrity of your supporting double rafters, upsizing your load-bearing ledgers, and leaving adequate clearances for the roofing material, you can construct a highly durable and structurally sound roof system.
Three Key Tips
Preserve Rafter Strength By Strictly Limiting Notches. Never cut into the middle third of a load-bearing rafter's span, and keep any required notches near the supports as shallow as possible to maintain the lumber's engineered structural capacity.
Upsize Your Supporting Ledgers. When suspending a ledger between double rafters to support the upper gable, use wider dimensional lumber than the surrounding framing to prevent deflection and provide a significantly stronger anchor point.
Leave An Installation Gap For Roofing Materials. Always maintain a minimum one-and-a-half-inch space between the bottom edge of the upper gable fascia boards and the lower roof deck to properly accommodate shingles and continuous step flashing.
Bonus Questions And Answers
To ensure your framing project meets all modern structural and weatherproofing standards, it is important to look beyond the basic lumber assembly and consider the entire building envelope.
How Do You Properly Secure A Dutch Roof Against High Wind Loads?
Because the upper vertical wall of a Dutch gable acts like a sail, it catches significantly more wind than a standard sloped hip roof, requiring reinforced hardware. Standard residential building codes mandate continuous load paths, meaning the upper gable framing must be mechanically tied to the lower supporting double rafters using approved galvanized steel hurricane ties or framing straps. Relying solely on angled nails is insufficient for resisting the shear and uplift forces generated by severe weather.
What Is The Correct Way To Flash The Transition Where The Lower Roof Meets The Upper Wall?
Water sheds heavily at this intersection, making it one of the most vulnerable areas for roof leaks if not waterproofed correctly. According to standard residential building science, this transition requires metal step flashing woven into each individual course of shingles, which must then be overlapped by the house wrap or water-resistive barrier of the upper wall. The exterior wall siding must also be held back at least one to two inches from the roof surface to prevent the materials from wicking moisture upward into the wall cavity.
Does The Small Upper Gable Section Require Its Own Attic Ventilation?
Moisture and heat can become trapped in the isolated upper cavity of a Dutch roof, leading to premature wood decay and shingle deterioration. If this upper section creates a separate, enclosed attic space that does not communicate directly with the main lower attic, it must be ventilated according to international building codes. This is typically achieved by installing a properly sized gable vent on the vertical exterior wall, which allows cross-ventilation to remove trapped condensation and regulate the temperature within the structural cavity.