Mastering Garage Hip Roof Framing With Trusses
When designing and building a structure, understanding the mechanics of a specialized roof system is essential. For a twenty by twenty foot square garage, a hip roof provides excellent aerodynamic performance and aesthetic appeal.
Because the building is perfectly square, the structural hip lines will rise and converge precisely in the center of the roof, eliminating the need for a traditional ridge board. Constructing this style of roof involves an interconnected system of specialized trusses and rafters that must bear the structural loads effectively and transfer them safely to the foundation.
The Anatomy Of A Square Hip Roof System
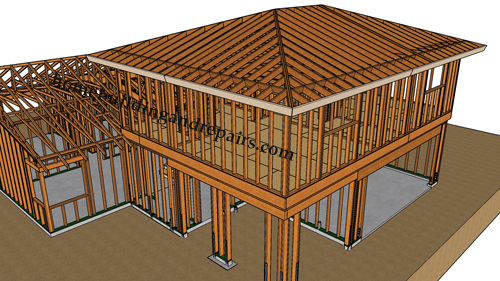
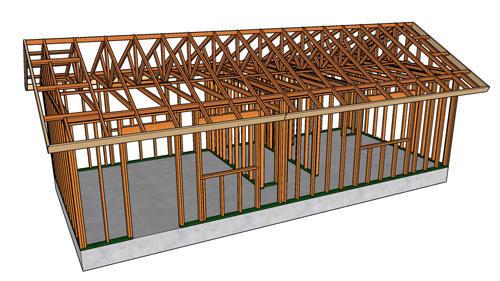
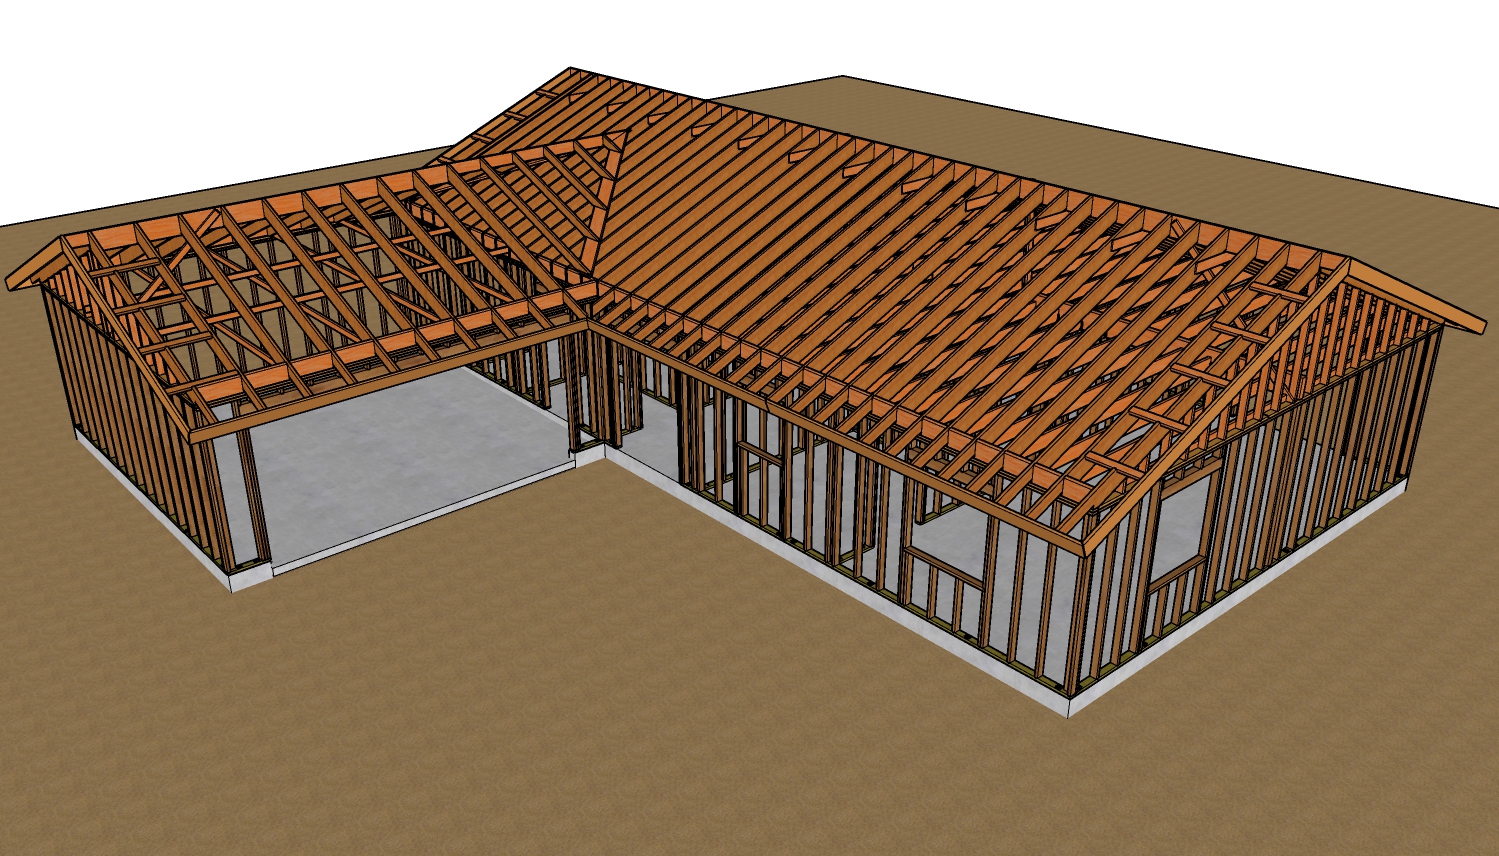
A hip roof relies on multiple framing components working together to form its distinctive slope on all four sides. In a truss-based setup, the core assembly includes standard trusses, fill rafters, and jack rafters. The jack rafters create the converging planes of the hip, connecting from the wall plates up to the primary structural supports. In these systems, the bottom chord of the primary trusses acts as the continuous ceiling joist, spanning the entire width of the garage. This continuous span ties the exterior walls together, preventing them from bowing outward under the downward force of the heavy roof load.
Utilizing Girder Trusses For Heavy Structural Support
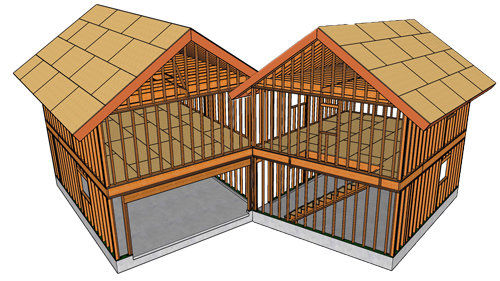
In a complex roof system, certain structural members carry significantly more weight than others. This is where the girder truss comes into play. A girder truss is typically constructed by fastening two or more standard trusses together to create a reinforced, heavy-duty beam. In a hip roof design, the top chords of the converging jack trusses or specialized fill rafters rest directly upon this girder truss.
This transfer of load is crucial. If these secondary framing members were not properly supported by a robust girder truss, the builder would be forced to use much thicker dimensional lumber to safely span the distance without sagging or experiencing structural failure.
Managing Rafter Tails For A Uniform Exterior
Attention to exterior detailing is just as important as the interior structural framing. When utilizing a double-thick girder truss, allowing the extended rafter tails to protrude past the exterior wall would result in a bulky, double-wide rafter tail on the overhang. To maintain a clean, uniform look along the eaves, builders commonly cut the rafter tail flush with the exterior wall plate on the girder truss. This strategy allows the remaining single-width rafter tails to support the fascia board evenly, ensuring the finished roofline looks professional, intentional, and structurally consistent.
Three Key Construction Tips
Install double trusses for primary load distribution. Always use a girder truss consisting of at least two standard trusses fastened together to support the intersecting roof planes and carry the concentrated structural loads of the jack rafters.
Support secondary rafters to reduce lumber sizing. By having the tops of your fill rafters and smaller trusses sit securely on the girder truss, you distribute the weight efficiently and avoid the necessity of upsizing standard rafters to thicker dimensional lumber.
Trim girder rafter tails for uniform eaves. Cut the protruding tails of doubled girder trusses flush with the exterior wall plate to prevent a mismatched exterior. This allows all exposed rafter tails to remain a uniform single thickness for attaching the fascia board.
Bonus Questions And Answers
To further expand on the framing principles discussed above, here are a few advanced, code-compliant considerations to keep in mind when planning your roof structure.
Can I Cut Or Notch A Manufactured Truss To Fit Plumbing Or Vents?
You should never cut, notch, drill, or alter any part of a manufactured structural roof truss without the direct written approval of a licensed structural engineer. According to standard residential building codes, trusses are engineered as a complete geometric system where every chord and web member is under specific tension or compression. Severing any of these members destroys the structural integrity of the entire truss, which can easily lead to catastrophic roof failure.
What Is The Proper Way To Attach The Roof Trusses To The Wall Plates?
While older construction practices sometimes relied on simply driving nails at an angle through the truss into the wall plate, modern building codes require approved metal hurricane ties or seismic framing anchors. These metal connectors are specifically engineered to resist uplift forces caused by high winds. The code mandates that these mechanical fasteners must be properly sized and installed at every truss-to-wall intersection to ensure the roof remains securely anchored to the building structure under extreme weather conditions.
Why Is Temporary Bracing So Important When Installing Trusses?
Before the roof sheathing is nailed into place, individual trusses have very little lateral stability and are highly susceptible to tipping over like dominoes. Structural building guidelines mandate a continuous system of temporary lateral and diagonal bracing during the installation process. This vital bracing keeps the trusses perfectly plumb, maintains the precise spacing required for structural integrity, and ensures the safety of the framing crew until the permanent roof sheathing is installed to lock the entire structure together.