Mastering Shed Roof Truss Installation For Garage Structures
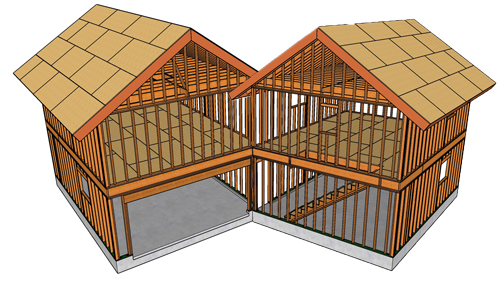
Constructing a durable shed roof over a garage requires precise truss installation, strategic blocking, and rigorous lateral bracing. Unlike traditional gable roofs, a shed roof consists of a single sloping plane. Properly orienting this structure, typically with the taller portion spanning the main garage header, ensures optimal water runoff and structural load distribution. Achieving a solid build relies heavily on how the trusses connect to the wall plates and how the surrounding blocking integrates with the exterior finishes.
Truss Placement And Lateral Bracing
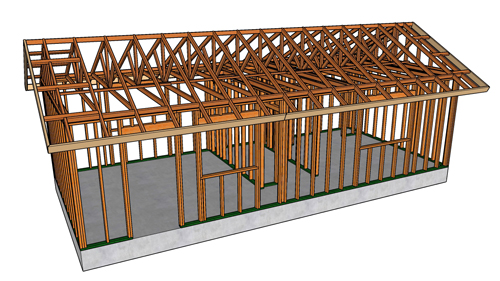
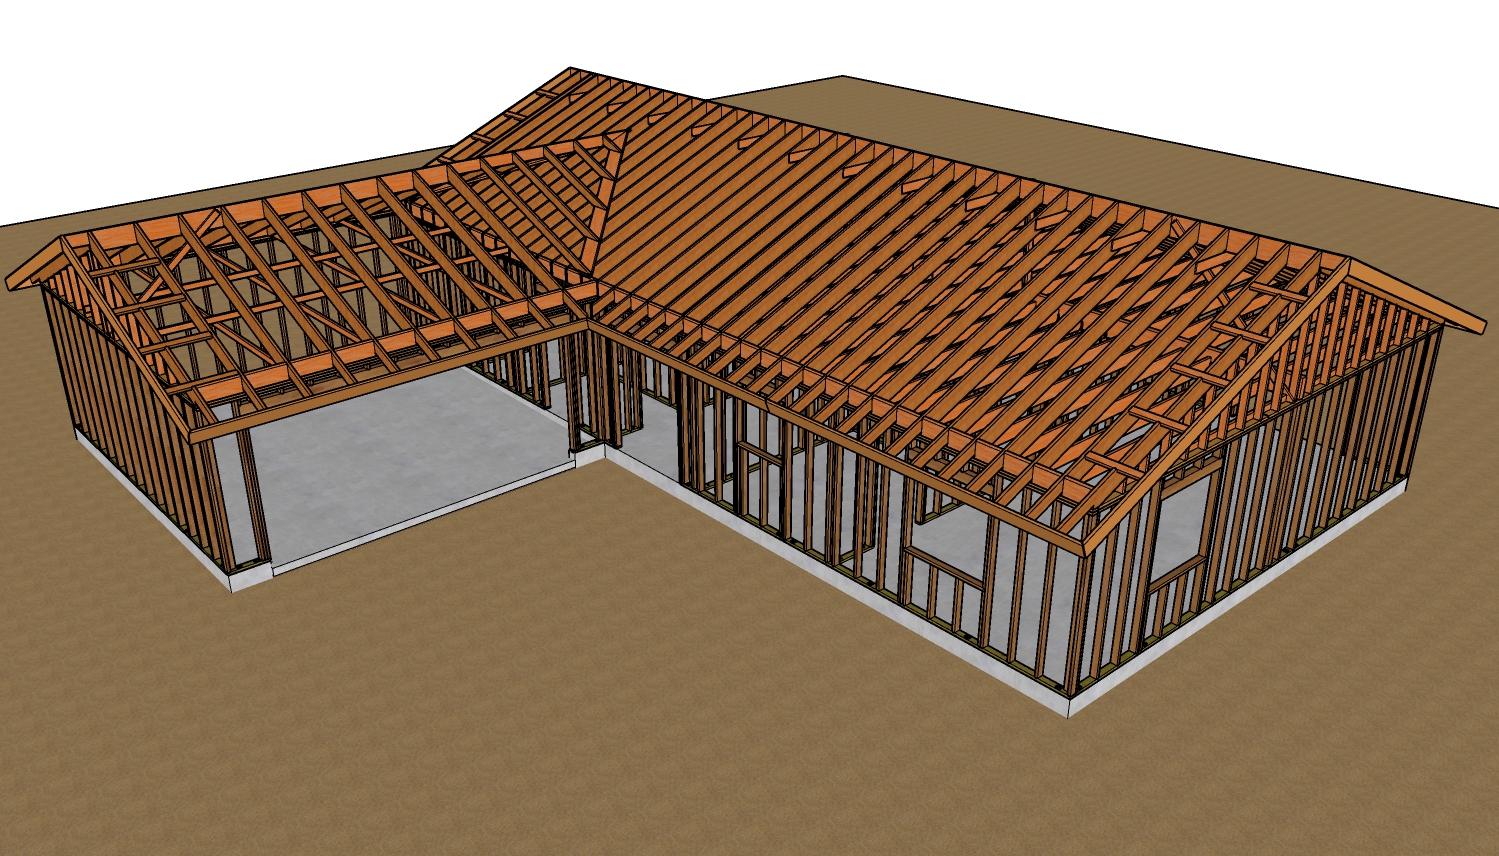
The foundation of a structurally sound shed roof begins at the bearing points where the trusses sit directly on top of the wall framing. Proper placement must be maintained across the entire span to ensure the engineered load paths function correctly. To keep the trusses equally spaced and plumb during and after installation, continuous lateral support bracing is required. Utilizing standard two-by-four lumber shoved tightly against the internal truss webbing provides excellent stabilization. As a general industry rule, these lateral braces should span at least one-third of the total truss distance to prevent twisting or deflection under heavy roof loads. Secure these braces using high-quality framing nails, utilizing standard sixteen-penny nails at all connection points.
Perimeter Blocking And Framing Anchors
Solid structural blocking at the perimeter is essential for tying the roof assembly to the wall framing. When framing a shed roof, engineers frequently require angled or shaped blocks fitted precisely between the trusses at the top plate. Installing metal framing anchors on these angled blocks significantly bolsters the connection between the roof blocking and the primary wall framing.
This creates a rigid structural perimeter that enhances the overall shear strength of the building. Furthermore, it establishes a continuous, solid backing necessary for the perimeter nailing of the roof sheathing. When laying down the plywood or oriented strand board sheathing, the perimeter fastening must trace the entire edge of the fascia board and along the bearing walls to create a unified structural diaphragm.
Exterior Wall Backing And Fascia Configuration
The intersection where the roof overhang meets the exterior wall dictates how the final siding will perform over time. For a shed roof featuring a four-twelve pitch, utilizing a squared-off fascia board rather than a plumb cut often yields a cleaner finish and simplifies the trim carpentry. Along the rake or overhang, framing lookouts spaced thirty-two inches on center provide the necessary framework for the eaves.
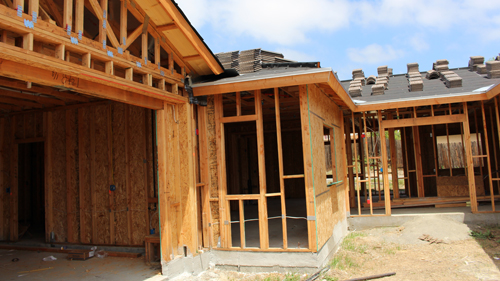
It is critical that the shaped blocks above the wall plates drop slightly lower than the truss line. This extended length guarantees sufficient solid nailing backing for exterior finishes like plywood siding, horizontal lap siding, or even the lath used for stucco. If exterior siding lacks this lower structural backing, the continuous absorption and release of atmospheric moisture will eventually cause the wood siding to warp or buckle.
Three Key Truss Installation Tips
Install continuous lateral bracing across the internal web members, spanning at least one-third of the truss distance, to prevent structural deflection.
Utilize metal framing anchors on all angled edge blocks to create a highly secure, shear-resistant connection between the roof assembly and the wall framing.
Extend perimeter blocking slightly below the top plate line to provide crucial nailing backing for exterior siding, preventing future moisture-related buckling.
Beyond The Basics Roof Truss Questions And Answers
What Are The Building Code Requirements For Wind Uplift On Roof Trusses?
Once the essential blocking and bracing covered in our primary framing guide are complete, securing the entire assembly against heavy winds becomes the next critical priority. The International Residential Code mandates that roof assemblies must be safely tied to the wall framing to resist upward aerodynamic draft forces. This is universally achieved using approved metal hurricane ties or specific framing anchors installed at every single truss bearing point. Relying exclusively on standard toe-nailing is not permitted for uplift resistance, as heavy wind events can easily separate toe-nailed trusses from the top wall plates.
How Should Interior Drywall Be Attached To Trusses To Prevent Corner Cracking?
Beyond exterior framing considerations, it is equally important to understand how the engineered roof structure interacts with the interior walls below. Because wooden roof trusses are designed to shift, expand, and contract with seasonal temperature and moisture variations, a building science phenomenon known as truss uplift frequently occurs. To prevent the ceiling drywall from tearing or cracking at the interior corners, industry best practice dictates floating the ceiling edges. This technique involves omitting drywall fasteners within sixteen inches of the wall intersection, which allows the ceiling structure to flex independently without damaging the taped drywall joints.
Does A Four Twelve Roof Pitch Dictate Specific Roofing Material Requirements?
After the structural framework is locked into place, the specific slope of the shed roof dictates the final exterior weatherproofing options. A pitch of four inches of vertical rise for every twelve inches of horizontal run is an important threshold in building codes. According to standard roofing guidelines, a four-twelve pitch is the absolute minimum slope permitted for installing standard asphalt shingles using a standard single layer of underlayment. If a shed roof or garage extension is built at any pitch lower than this, standard shingles become highly susceptible to wind-driven rain and standing water intrusion, strictly requiring double-coverage underlayment or seamless rolled roofing membranes.