Why The Roof Is The Most Critical Investment In Your Room Addition
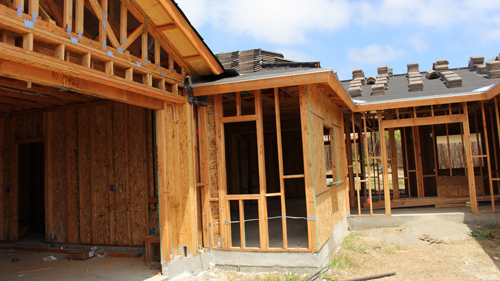
When building a room addition, the timeline is long and the expenses can add up quickly. It is common for homeowners to reach the final phases of a project only to realize their remaining budget is tighter than expected. This often leads to the temptation of hiring a cheaper roofing contractor or opting for lower-quality materials simply to get the job done and save a few hundred dollars. However, this is one of the most dangerous compromises you can make during a home expansion.
The Danger Of Budgeting Backward
A frequent mistake in residential construction and remodeling is prioritizing cosmetic interior finishes over exterior structural protection. It makes little sense to allocate ten thousand dollars for a luxury bathtub or premium flooring, only to nickel and dime the professionals responsible for keeping those interior investments dry. If budget cuts are absolutely necessary as your room addition nears completion, those reductions should always come from interior finishes that can be easily upgraded later, rather than the primary weather barrier of your home.
Protecting Your Structural Integrity
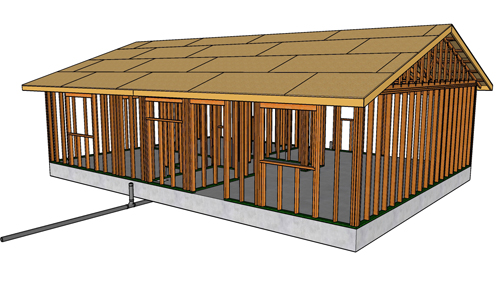
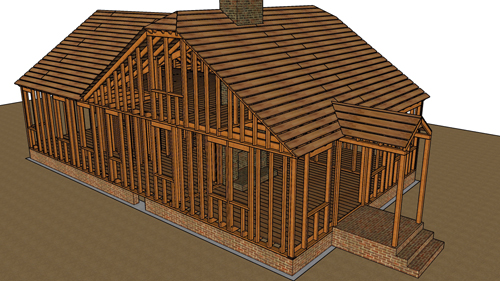
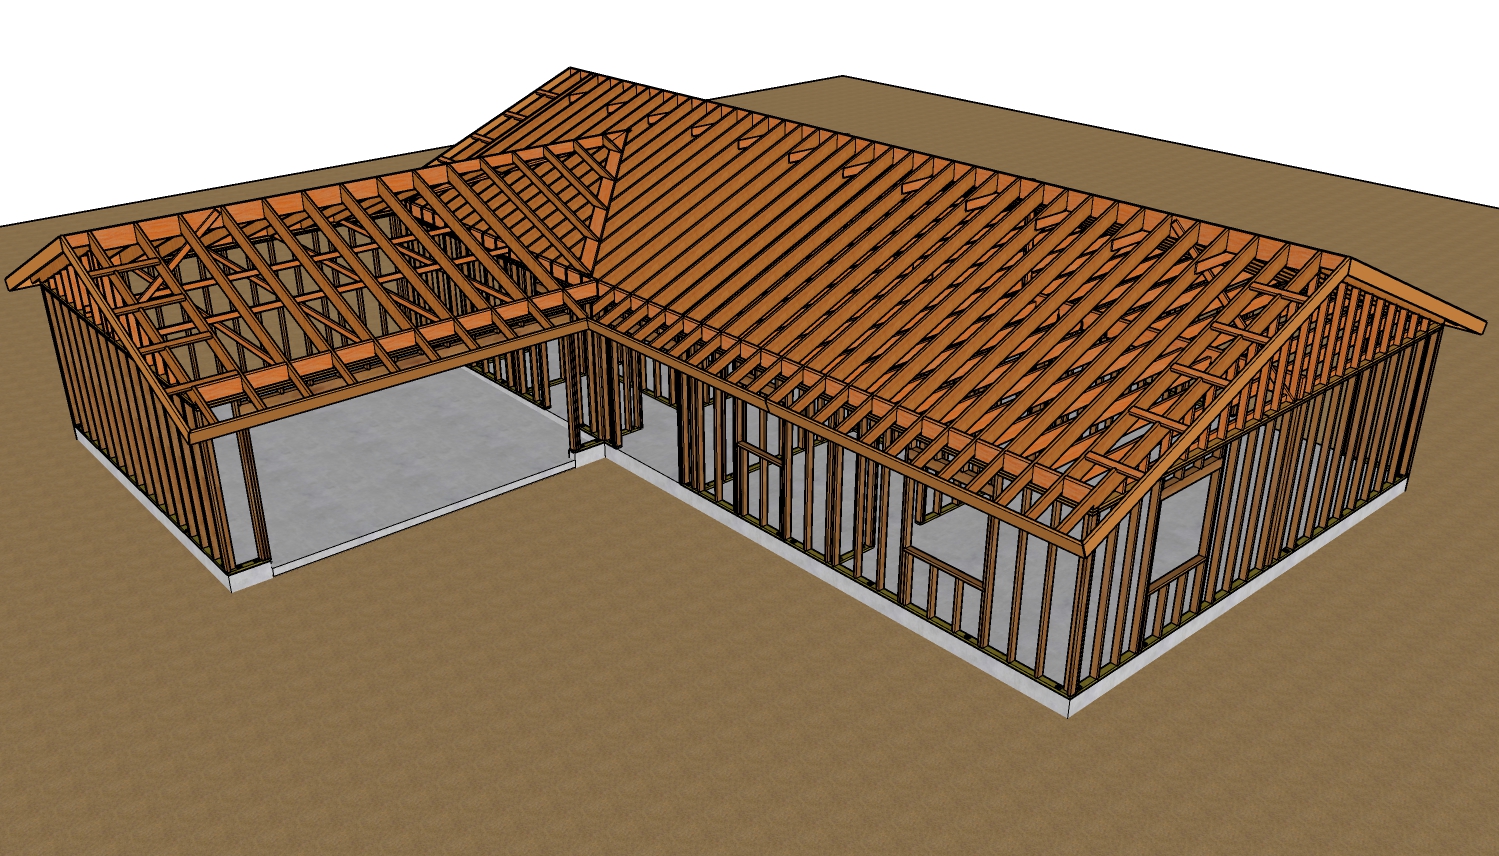
The fundamental purpose of a roof is to protect everything beneath it. Whether you are building a new house, framing a room addition, or simply re-roofing an existing structure, the roofing assembly is your primary defense against moisture intrusion. A poorly installed roof can lead to water damage, mold growth, and compromised framing throughout the entire home. Always trust your instincts when reviewing bids; if a significantly lower bid makes you uncomfortable, it is highly likely that the contractor is cutting corners on labor quality or essential materials like underlayment and flashing.
Investing For Long Term Durability
Ultimately, skimping on your roof is a false economy. The money saved upfront on a cut-rate roofing job is almost always eclipsed by the subsequent costs of repairing water damage to ceilings, walls, and foundational structures. By hiring reputable contractors and using quality materials, you ensure that your entire home improvement project remains protected for decades to come.
Three Key Construction Tips
Always verify that your chosen roofing contractor holds active liability insurance and a valid license for your specific jurisdiction to protect yourself from liability.
Ensure your contractor uses proper flashing techniques at all roof intersections, valleys, and sidewalls, as these are the most common points for water intrusion on a new room addition.
Do not compromise on the roof underlayment; upgrading to a high-quality synthetic underlayment provides a vital secondary barrier against moisture before the final shingles or panels are installed.
Expert Room Addition Insulation Tips
Insulating a room addition properly is critical for maintaining consistent temperatures, lowering energy bills, and meeting modern building codes. Because a new addition ties into an older structure, the insulation strategy must bridge the gap between existing conditions and current International Energy Conservation Code requirements. Here are the best practices for securing the thermal envelope of your new space.
Prioritize Air Sealing Before Insulating: Air leakage accounts for significant heat loss in any residential structure. Before installing batts or blowing in cellulose, use expanding polyurethane foam sealant and acoustical caulk around all windows, doors, top plates, and electrical penetrations. Insulation slows heat transfer, but air sealing stops convective drafts from bypassing your insulation entirely.
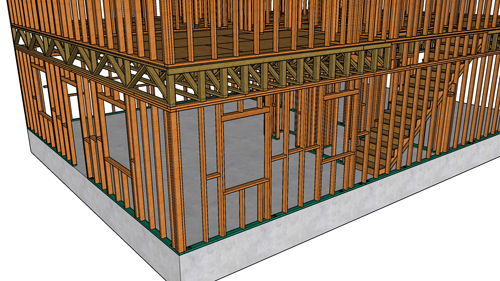
Utilize Continuous Rigid Insulation: Traditional wood framing studs create thermal bridging, which allows heat to bypass cavity insulation and travel directly through the wood. Adding continuous rigid foam board to the exterior wall sheathing stops this thermal bridging and increases the effective overall R-value of the wall assembly, a practice that is heavily encouraged and sometimes mandated by modern energy codes.
Match The Vapor Retarder To Your Climate Zone: Vapor retarders control moisture migration through the wall cavity. In cold climates, building science dictates installing them on the interior warm side of the framing. In hot and humid climates, they generally belong on the exterior side. Incorrect placement can trap moisture inside the wall assembly, inevitably leading to structural rot and mold.
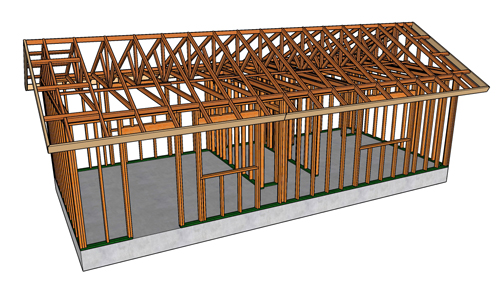
Do Not Block Roof Ventilation: If you are adding a vaulted ceiling or tying the addition into an existing vented attic, you must install foam or plastic insulation baffles between the roof joists before insulating. This maintains a clear path for airflow from the soffit vents to the ridge vents, which is required by code to prevent moisture condensation and winter ice dams on the roof deck.
Consult Local Climate Zone Requirements: R-value minimums vary drastically by region under the International Residential Code. The thickness and type of insulation required for a ceiling in a northern climate will fail inspection in a southern climate, and vice versa. Always verify your specific local climate zone requirements with your municipal building department before purchasing materials.
To help you navigate the complexities of expanding your home's footprint, here are a few more commonly asked technical questions about addition insulation.
Can I Leave The Old Exterior Wall Uninsulated If It Is Now An Interior Wall?
Yes, but you may want to insulate it for soundproofing. Once an exterior wall becomes an interior partition between the main house and the new addition, building codes no longer require a thermal barrier in that location. However, installing un-faced fiberglass batts or mineral wool in that wall cavity will significantly reduce noise transfer between the old and new spaces. It is critically important that any old vapor barriers are removed from this newly interior wall; leaving an old vapor barrier inside the home's conditioned envelope can trap moisture and cause hidden structural decay.
How Should I Insulate The Floor Of A Room Addition Built Over A Crawlspace?
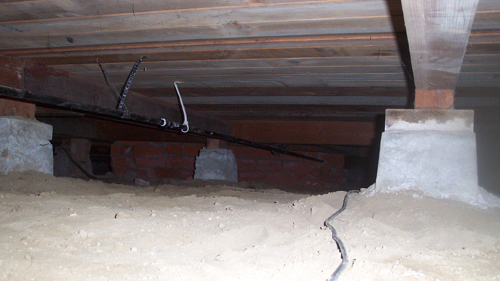
Under the International Residential Code, you can either insulate the floor cavity or create an encapsulated, conditioned crawlspace. If you choose to insulate the floor joists, the insulation must be installed in permanent contact with the underside of the subfloor to prevent cold air from pooling between the insulation and the floorboards. Alternatively, insulating the interior crawlspace foundation walls with continuous rigid foam board and sealing the dirt floor with a heavy vapor barrier often provides superior energy performance and protects plumbing from freezing. Local flood zone regulations may dictate which of these two methods is legally permitted on your property.
Why Is Closed Cell Spray Foam Recommended For Cathedral Ceilings?
Closed-cell spray foam provides a superior R-value per inch and acts as its own vapor retarder and air barrier. When framing a room addition with a vaulted or cathedral ceiling, the cavity depth is often limited by the dimensional size of the roof rafters. Closed-cell foam allows builders to meet stringent roof R-value requirements without needing to fur out the rafters to create deeper cavities. Furthermore, the International Residential Code permits unvented roof assemblies when air-impermeable insulation like closed-cell foam is applied directly to the underside of the roof deck, eliminating the need for complex roof ventilation pathways.
Do Windows In The New Addition Affect The Wall Insulation Code Requirements?
Yes, the overall thermal performance of the room relies on the relationship between opaque wall insulation and fenestration ratings. Building and energy codes often use a whole-building energy analysis or prescriptive tables that place limits on the percentage of glazing allowed in a wall assembly. If you design large expanses of glass or oversized skylights into your new addition, building inspectors may require you to increase the wall, floor, or ceiling insulation R-values beyond the standard prescriptive minimums. This tradeoff ensures that the heavy heat loss occurring through the windows is offset by a hyper-insulated surrounding envelope.