When expanding a home's footprint, removing an exterior load-bearing wall to connect a new room addition requires careful structural planning. A flush-mounted ceiling beam is the standard solution to bridge this span while maintaining a continuous, flat ceiling transition between the existing structure and the new space.
Structural Preparation And Top Plate Tie-Ins
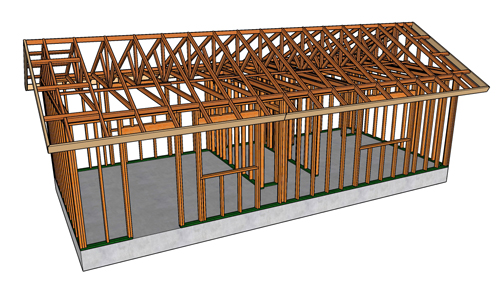
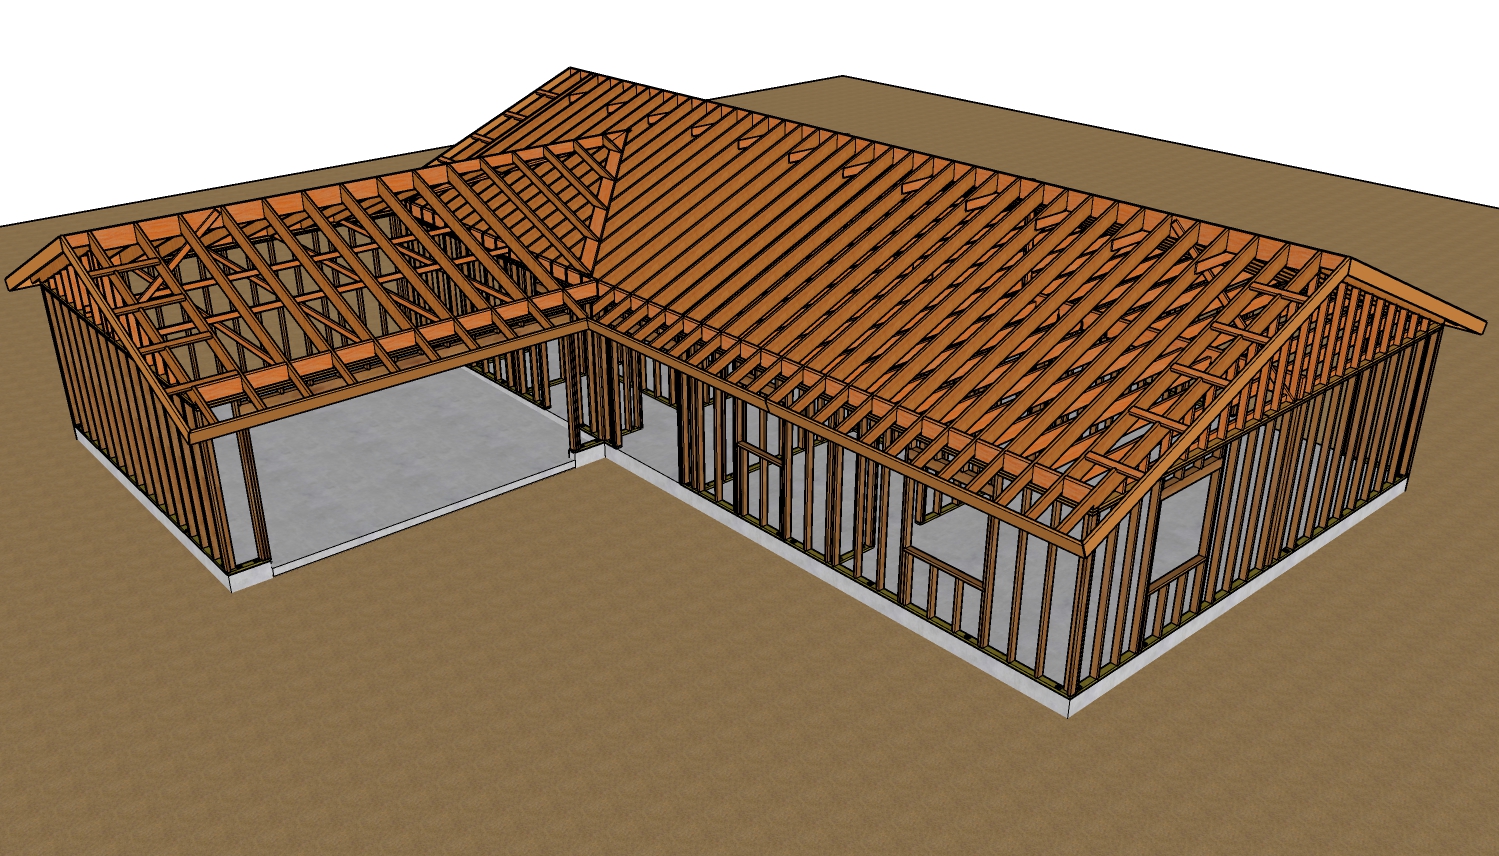
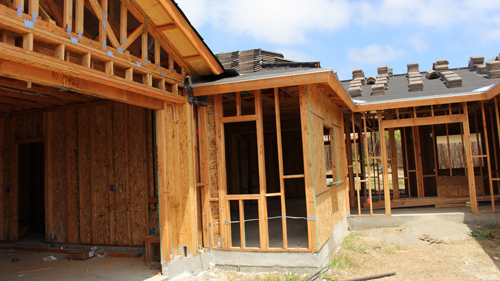
Before removing the structural components of the existing exterior wall, the roof system must be appropriately managed. Once the load-bearing wall is removed, the transition between the existing top plates and the new addition walls must be properly secured. Standard practice involves using engineered steel strapping to tie the new top plates to the existing plates, ensuring a continuous load path and lateral stability. The existing rafter tails that once formed the roof overhang must also be cut back flush to accommodate the new beam framing.
Beam Sizing And Placement Strategy
The dimensions of the flush beam are entirely dependent on the span of the opening and the structural loads it must carry. A narrow five-foot opening might only require a nominal solid wood beam, while a twenty-foot span could demand a massive engineered lumber member. Strategically placing the beam slightly toward the new addition side rather than directly over the existing foundation line can be highly advantageous. This placement minimizes the need to undermine the existing foundation when digging new footings for the support posts, and it provides easier access for installing necessary hold-down hardware.
Load Transfer And Footing Requirements
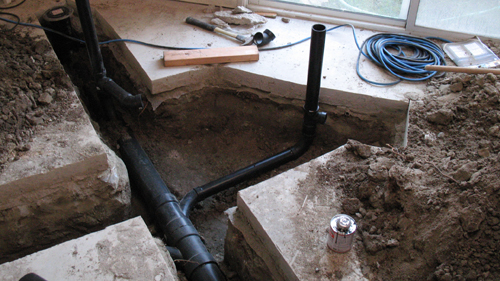
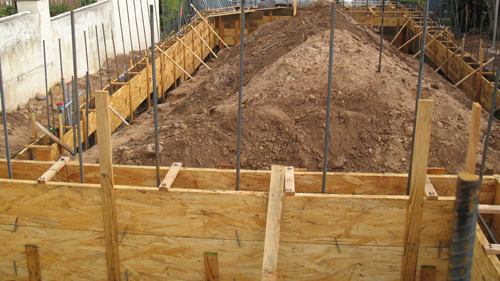
A flush beam works by transferring the accumulated weight of the roof rafters and ceiling joists horizontally to the vertical support posts on either end. Because this creates a massive concentrated point load, the standard continuous wall footing of the existing house is rarely sufficient to handle the pressure. A larger, engineered concrete pad or isolated footing must be poured beneath each post to safely distribute this weight into the soil and prevent foundation settlement.
Framing Connections And Joist Hangers
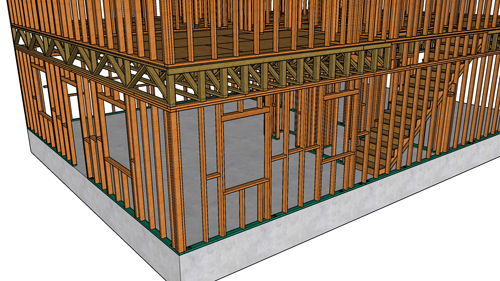
Securing the existing roof structure to the new flush beam requires specific metal framing connectors. Because the beam sits flush with the ceiling plane, the rafters and ceiling joists cannot rest on top of it. Instead, they must be attached using approved steel joist hangers. Depending on the framing layout, such as twenty-four-inch on-center rafters and sixteen-inch on-center ceiling joists, you will need a combination of single hangers and double hangers to accommodate locations where a rafter and ceiling joist align perfectly on the beam.
Three Essential Tips For Flush Beam Installations
Verify Footing Capacity Before Installation
The concentrated point loads generated by a new beam almost always exceed the bearing capacity of standard perimeter footings. Always excavate and pour properly sized concrete spread footings beneath your support posts according to an engineer's specifications to prevent structural sagging.
Use Strategic Beam Positioning To Minimize Undermining
When designing the addition, offset the support posts slightly into the new floor plan area rather than recessing them into the existing framing. This placement reduces the need to excavate extensively beneath the existing foundation to pour the new pad, thereby preserving the integrity of the original structure.
Match Hanger Hardware To The Specific Framing Layout
Rafters and ceiling joists often have different spacing layouts. Map out your connections before installation so you have the correct mix of single and double face-mount hangers to safely secure all framing members to the flush beam. Ensure all nail holes in the metal connectors are filled with the manufacturer-specified structural fasteners.
Frequently Asked Questions About Structural Beam Installations
Do I Need Temporary Shoring Before Removing The Exterior Wall?
Yes, whenever an exterior load-bearing wall is removed to make way for a flush beam, the roof system above must be fully supported first. According to standard construction safety protocols, temporary bearing walls must be built on both sides of the intended opening to carry the roof and ceiling loads. If this is not done, the roof structure will collapse during the wall removal process. The temporary shoring remains in place until the new beam is fully installed, all hangers are properly fastened, and the posts are secured to their footings.
Can I Use Standard Screws To Attach The Joist Hangers?
Absolutely not; standard wood screws or drywall screws lack the shear strength required for structural load-bearing connections. The International Residential Code mandates the use of approved structural fasteners, typically specifically rated joist hanger nails or code-approved structural screws. Standard screws are brittle and will easily snap under the extreme shear forces generated by a hanging roof load, leading to catastrophic structural failure.
How Do I Know If I Need An Engineered Wood Product Or A Solid Sawn Lumber Beam?
The choice between dimensional lumber and engineered products like Laminated Veneer Lumber depends on the unsupported span and the weight of the tributary load. While traditional solid wood beams might suffice for very small openings, most room additions require spans that exceed the structural capacity and deflection limits of standard lumber. Engineered beams offer significantly higher strength-to-weight ratios and are less prone to warping or shrinking, making them the standard choice for modern flush beam retrofits per structural engineering guidelines.