How To Frame A Room Addition With Angled Walls
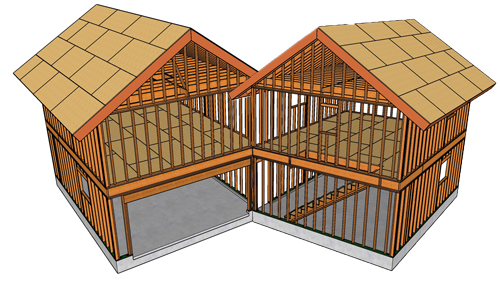
Building a room addition often requires adapting to unique lot constraints or existing obstacles. Whether you are navigating tight property lines, adhering to strict zoning setbacks, or preserving a mature tree, framing an angled wall offers a practical structural solution. While a 45-degree angled addition might seem complex, breaking the process down into manageable framing steps ensures structural integrity and a seamless roof tie-in.
Securing Top And Bottom Wall Plates
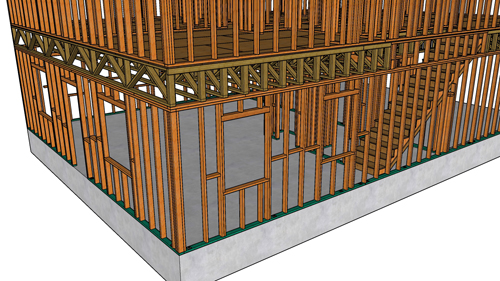
The foundation of any angled wall relies on how the framing plates intersect. When framing a 45-degree corner, the top plates must be securely connected to maintain the continuous load path of the wall structure. You can butt the plates at a 45-degree angle or miter them at 22.5 degrees each. If the top plates do not overlap securely at the corner, standard building codes dictate that you must install an appropriately sized structural steel strap across the joint. This metal strapping prevents separation and maintains the lateral rigidity required for wall intersections.
Positioning Ceiling Joists And Roof Rafters
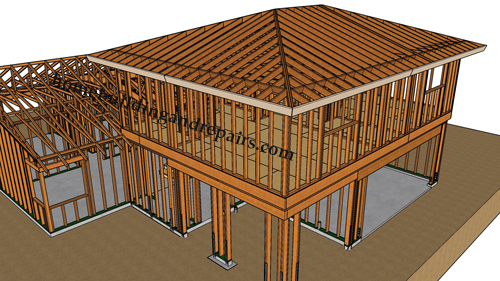
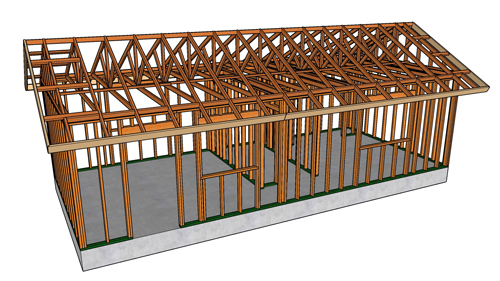
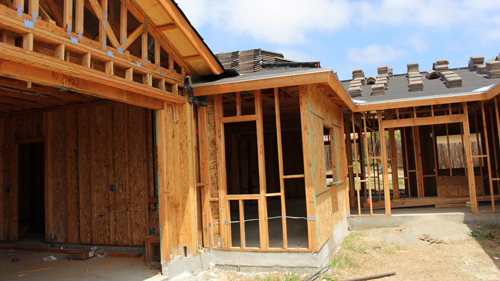
Once the walls are plumb and braced, the ceiling joists should be installed at standard intervals, typically 16 inches on center. The joists intersecting the angled wall must be cut at a matching 45-degree angle to sit flush against the outer wall line. Framing the roof rafters over an angled section often requires careful field measuring. A highly effective method is to use a temporary straight edge secured beneath the rafter line. This temporary support allows you to rest individual rafters in place, safely securing them to the ridge board while precisely marking your plumb cuts and birds mouth seat cuts based on the exact wall position.
Installing Eave Blocking And Fascia Boards
Proper solid blocking is critical along the angled eaves. Custom-shaped blocks must be installed between the rafters resting on the angled wall plates. These blocks serve a dual structural purpose: they provide a solid nailing surface for the roof sheathing above and offer essential backing for exterior finishes like siding or stucco lath below.
When finishing the eaves, the fascia boards must also navigate the 45-degree turn. You can utilize a square cut meeting a 45-degree board, though a 22.5-degree miter on both converging fascia boards yields a much cleaner exterior joint. Overhang depths can vary, provided the cantilevered rafters can adequately support the transferred structural loads.
Three Essential Tips For Angled Wall Framing
Use structural steel strapping for butted top plates. If your double top plates cannot physically overlap at an angled corner, you must install an approved galvanized steel strap to tie the wall segments together and satisfy continuous load path requirements.
Field mark custom rafter cuts. Rather than relying solely on complex mathematical calculations for non-standard roof tie-ins, temporarily support a rafter in its actual position to mark accurate plumb and seat cuts directly from the erected wall structure.
Install comprehensive eave blocking. Do not skip solid blocking at the rafter tails above the angled wall plate. This framing detail is structurally necessary to support roof sheathing edges and provides crucial backing for exterior wall cladding attachment.
Bonus Questions And Answers
Do Angled Roof Rafters Require Special Hurricane Ties?
Beyond the basic framing steps outlined above, structural uplift is a major consideration for custom roof lines. Under standard International Residential Code guidelines, all roof trusses and rafters must be attached to the supporting wall assemblies by connections capable of resisting wind uplift forces. For a 45-degree angled wall, standard metal hurricane ties might not sit flush against the skewed framing. In these cases, builders must use adjustable or skewable framing anchors designed specifically to bend to the required angle, ensuring the rafter is securely locked to the top plate without compromising the structural load capacity of the metal connector.
What Is The Minimum Top Plate Bearing For A Rafter On An Angled Wall?
Once the roof structure is securely anchored, it is equally important to evaluate how the weight of the roof rests on the walls below. Regardless of the wall angle, building codes strictly regulate how much wood must make contact at a load-bearing structural joint. The International Residential Code mandates that the ends of each rafter or ceiling joist must have not less than 1.5 inches of bearing on wood or metal, and not less than 3 inches on masonry. When cutting a birds mouth or seat cut for an angled wall, the framer must ensure that the geometry of the specific cut still leaves at least 1.5 inches of solid bearing surface resting flat on the top plate to properly distribute the downward roof load.
How Do You Handle Wall Bracing Requirements On A Short Angled Wall?
Moving down from the roof assembly, the angled walls themselves must be able to withstand lateral wind and seismic forces. According to building codes, exterior walls must be properly braced to resist shear loads. If an angled wall segment is particularly short, such as a small corner cutoff designed to save a tree, it may not meet the minimum length requirements for standard structural wood panel sheathing methods. In these situations, builders must often rely on the adjacent longer, fully braced wall panels to carry the lateral loads for the entire wall line, or they must install specialized narrow wall bracing hardware, such as a continuous portal frame or a manufactured shear panel, to satisfy structural engineering requirements.