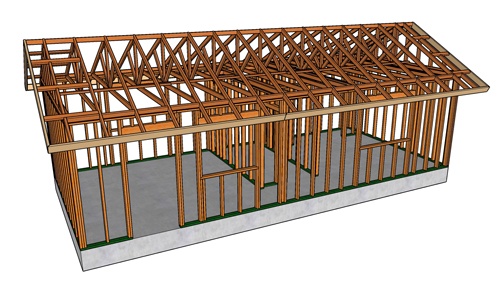
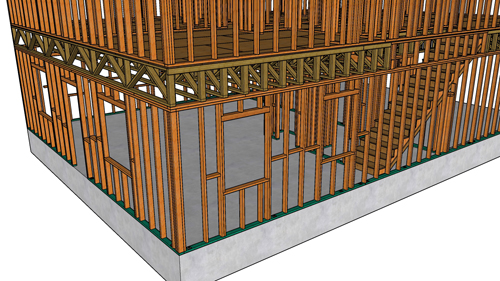
Setting up a new roof for a home addition requires precise measurement, careful material selection, and a solid understanding of how to blend new structural elements with an existing truss system. Framing an addition is rarely as straightforward as building a standalone structure. It involves continuous troubleshooting to ensure the new rooflines sit perfectly flush with the old ones, creating a seamless and watertight transition.
Establishing The Roof Centerline And Rafter Layout
When connecting a new conventionally framed gable roof to an existing truss system, mathematical rafter formulas may not always align perfectly due to settling or variations in the original roof pitch. Instead of relying solely on standard calculations, a highly accurate method is to find the physical center of the building and use a plumb bob or a leveling tool to project that centerline straight up. By measuring directly from the top plate to this established ridge height, you can determine the exact length needed for your rafters, ensuring a flush tie-in with the existing structure.
Customizing And Modifying The Roof Rafters
While the existing trusses might utilize standard lumber dimensions like two-by-fours, a new rafter span without internal web supports will likely require a thicker dimensional lumber, such as a two-by-six, to safely carry the roof load. Once you determine the rafter length, deduct three-quarters of an inch from the plumb cut to accommodate a standard two-by-eight ridge board.
When blending a new two-by-six rafter with an existing two-by-four truss overhang, the top of the framing will sit flush, but the bottom will be uneven. To solve this, simply shape and cut down the rafter tail that extends past the exterior wall. Do not alter the structural span of the two-by-six over the living space; only modify the exterior overhang so the fascia boards align perfectly around the perimeter of the home.
Ceiling Joists And Gable End Framing
Before setting all the rafters, it is often easier to install the ceiling joists. Set the ceiling joists sixteen inches on center, ensuring they are cut and shaped to match the roof pitch before they are nailed into place. Installing these early provides a stable platform for placing temporary plywood, giving you a safer area to walk on while setting the ridge and upper rafters.
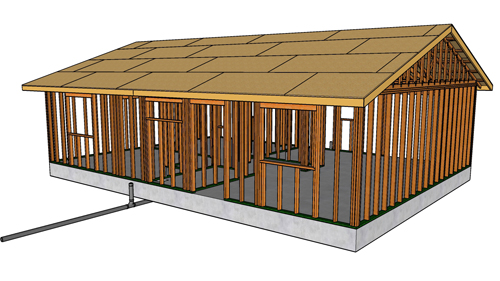
For the gable end, install the gable studs sixteen inches on center. If the attic requires ventilation, leave a properly sized gap, such as a fourteen-inch space, to accommodate a gable vent. Extend the ridge board out past the gable wall, typically twelve inches, to provide solid structural backing for the exterior fascia board.
Fascia Boards And Lookout Placement
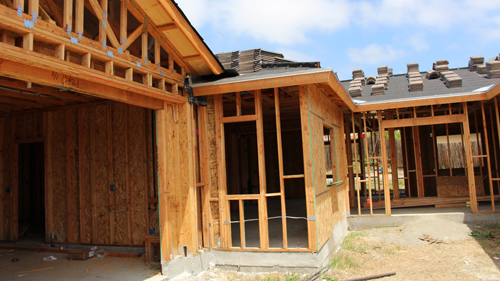
When framing the roof overhang, the placement of the lookouts is critical for maintaining the structural integrity of the rafter tails. If a lookout block is notched too deeply into the bottom of a rafter tail, it leaves very little solid wood, which can create a weak point. This is especially dangerous if the roof will carry a heavy dead load, such as concrete or clay tiles, or if the architectural design features a deep overhang. By moving the lookout notch higher up on the rafter, you preserve the thickest, strongest part of the framing lumber while still providing excellent backing for the fascia and soffit.
Roof Sheathing And Structural Tie-Ins
Properly installing the roof sheathing is one of the most heavily scrutinized elements during a framing inspection. When tying the new addition into the existing house, never just butt the new half-inch oriented strand board or plywood against the old roofline. Instead, strip back a full sheet of the existing sheathing so you can weave the new panels across the transition line. This overlaps the framing of both structures, creating a unified structural diaphragm.
Furthermore, pay strict attention to sheet sizing. Most building inspectors and structural engineers require sheathing to span at least twenty-four inches. Avoid leaving narrow strips of sheathing at the roof edges, as they provide negligible shear strength. In some cases, structural plans may dictate the use of metal framing straps spanning across the rafters, spaced at sixteen or thirty-two inches on center, to further lock the two roof systems together against wind and seismic forces.
Three Key Construction Tips
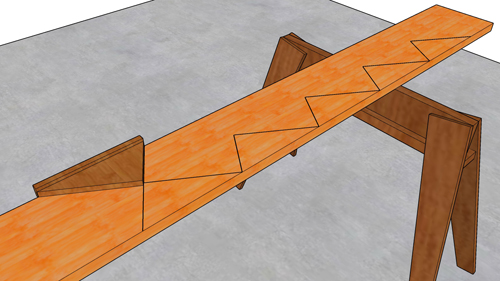
Label Your Pattern Rafter Clearly. Once you cut your first perfect rafter, immediately write the word pattern on it. Never install this board. Keep it on your sawhorses to trace every subsequent rafter, ensuring uniform cuts across the entire roof structure.
Overcut the Fascia Spacing for Roofing Materials. When measuring and cutting your fascia boards, leave adequate clearance between the fascia and the roof sheathing. Allowing a proper gap ensures there is enough room to slide in metal drip edges, waterproof membranes, or roofing shingles without forcing or bending the materials.
Waterproof the Structural Junctions. Where the new overhang butts into the existing exterior wall, install proper water-resistant barriers, building paper, and Z-bar metal flashing before the final exterior finishes are applied. Water will aggressively exploit this corner if it is left unsealed.
Roof Framing Tips For Home Additions
When adding an extension to your home, framing the new roof and tying it into the existing structure is one of the most critical phases of construction. A poorly executed roof tie-in can lead to structural sagging, severe water leaks, and compromised aesthetics. To ensure a seamless and structurally sound transition, builders must adhere to strict load path principles and weatherproofing standards.
Ensure A Continuous Structural Load Path
The most important structural consideration when framing a new roof addition is managing the transfer of weight. If your new design relies on a ridge beam or heavy valley rafters that bear on the existing structure, those point loads must be transferred continuously down through the wall framing to the foundation. According to the International Residential Code, you cannot simply rest a new load-bearing beam on an existing ceiling joist or top plate without verifying that the framing below, including headers and studs, is sized and blocked to carry that concentrated load.
Utilize Over framing For Perpendicular Tie-Ins
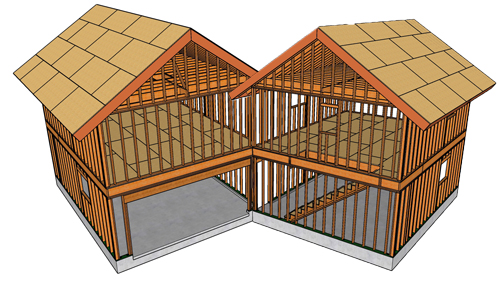
When a new gable roof intersects an existing roof at a perpendicular angle, over framing, often called a California tie-in, is the industry standard. Instead of cutting into the existing rafters, the new valley boards are laid directly over the existing roof sheathing. You must strip the existing shingles and roofing felt down to the bare wood to ensure a solid connection. The new valley sleepers are then securely fastened into the existing rafters below, preserving the structural integrity of the original roof while providing a solid base for the new framing.
Match Pitch If You Can And Overhangs Precisely
For a professional appearance, the roof pitch, fascia depth, and soffit overhang of the addition should perfectly match the existing house. Even a slight variation in the heel cut of the birds mouth on the new rafters can throw off the fascia alignment. Carefully measure the existing height above the top plate to the top of the fascia before cutting your new rafter tails to ensure the gutters and soffits will align perfectly across the structural transition.
Bonus Questions And Answers
As you finalize the blueprints and framing strategies for your new roof structure, you may encounter a few highly specific engineering and code compliance questions.
Question: What Are The Deflection Limits For Roof Rafters Supporting A Drywall Ceiling?
Answer: Under the International Residential Code, roof members that are directly attached to a finished drywall ceiling must meet a strict deflection limit of L/240 under live load conditions. This means the rafter cannot bow or sag more than its total span length in inches divided by 240. If rafters deflect more than this limit under the weight of snow or roofing materials, the drywall tape joints in the ceiling below will inevitably crack. To prevent this, structural engineers specify deeper lumber, closer spacing, or engineered wood products for longer spans.
Question: Can I Use Standard Framing Lumber For A Structural Ridge Beam?
Answer: It heavily depends on the span and the load, but frequently, standard dimensional lumber is insufficient for a structural ridge beam in a modern addition. Unlike a non-structural ridge board, which simply provides a nailing surface for rafters in a closed-triangle system with ceiling joists, a structural ridge beam supports half the entire weight of the roof. Because it must span long distances without sagging, it is usually specified by a structural engineer as a glulam beam, laminated veneer lumber, or a steel I-beam to meet the strict bending and shear requirements of the building code.
Question: What Is The Nailing Requirement For Attaching Valley Jack Rafters?
Answer: The International Residential Code provides strict fastening schedules to ensure structural stability against wind uplift and gravity loads. For framing valley jack rafters to a valley rafter, the code generally requires three 8d common nails toe-nailed into the connection. Furthermore, if the home addition is located in a high-wind zone or hurricane-prone region, local jurisdictions will amend the code to require specific metal framing anchors or hurricane ties to secure the rafters, preventing the roof framing from detaching during severe weather events.