STRUCTURAL ROOF TIE-INS FOR TWO-STORY HOME ADDITIONS
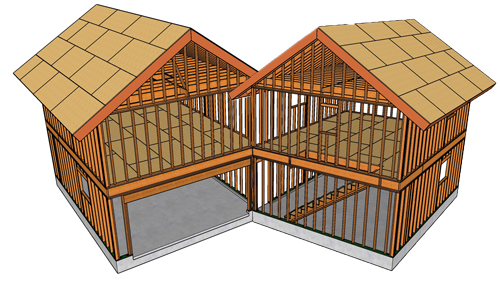
Tying a new two-story home addition into an existing roof is one of the most structurally complex phases of residential construction. When merging new framing with an existing structure, specifically in areas like a new stairwell, contractors must carefully transition load paths while maintaining the integrity of the original building. This process often requires modifying existing roof profiles, replacing cut trusses with conventional framing, and strictly adhering to structural engineering plans to ensure a safe, cohesive build.
MODIFYING EXISTING ROOF TRUSSES
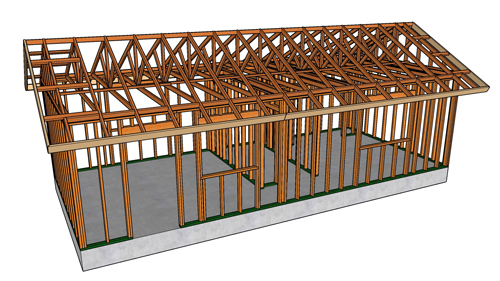
A common requirement when adding a second story or a stairwell is altering the existing roof line. In many older homes, the original roof consists of engineered scissor trusses or gable roof trusses. When these trusses intersect with the new addition space, sections must often be removed. Because roof trusses are engineered as complete, tension-and-compression systems, they cannot be cut or modified without compromising their load-bearing capacity.
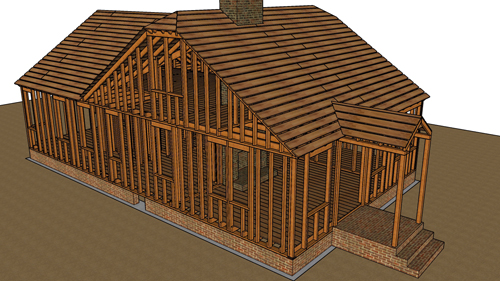
To bridge this structural gap, builders often transition to conventional roof framing. This involves cutting the necessary existing trusses and installing a robust system of new roof rafters. The webbing and remaining top cords of the cut trusses are then directly nailed into the new rafters to restore rigidity and tie the old framework into the new structural supports. Building hardware, such as heavy-duty rafter hangers, must be utilized to safely secure the altered trusses to the new framing members.
BEAM PLACEMENT AND LOAD TRANSFER
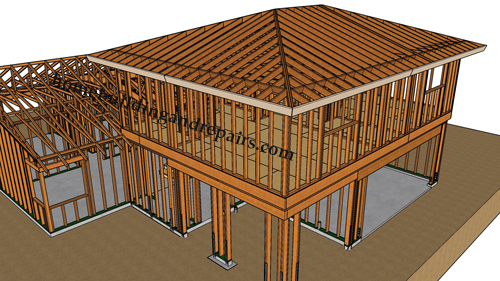
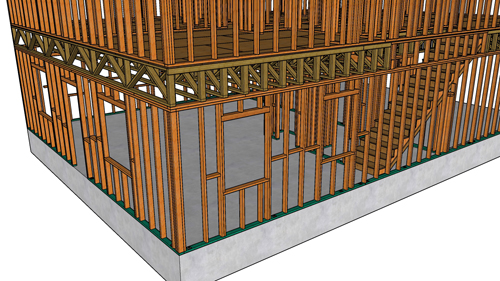
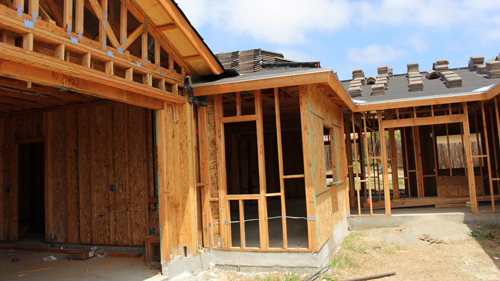
In a complex tie-in, establishing a continuous load path is critical. When conventional rafters replace cut trusses, the weight they carry must be safely transferred down to the foundation. This is typically achieved by installing double roof rafters that support structural carrying beams. For instance, a heavy 4x10 beam may sit on top of the newly extended wall framing, connecting directly to the double roof rafter.
The weight from the outer rafters transfers to the beam, which transfers to the doubled framing members, eventually carrying the load down through the vertical wall studs. Extending the original wall height by building a rake wall helps blend the new ceiling lines together while providing essential continuous support for the newly placed roof rafters.
FRAMING FOR FLAT CEILINGS AND INSULATION
Home additions often require unifying different interior ceiling styles. If the original home featured vaulted ceilings formed by scissor trusses (such as a 2/12 pitch), lowering the new rafters to establish a continuous flat ceiling plane across the dining room and living areas requires precision framing. The bottom edge of the newly installed rafters dictates the new uniform ceiling height.
Furthermore, energy efficiency requirements dictate framing sizes. While standard 2x6 rafters might suffice for short structural spans, building codes mandate specific insulation values, such as an R-30 rating. To physically accommodate the depth of thicker fiberglass or mineral wool insulation, builders must often upsize to 2x10 rafters in vaulted or cathedral areas to ensure the ceiling cavity passes energy code inspections.
ROOF SHEATHING, BLOCKING, AND EXTERIOR FINISHES
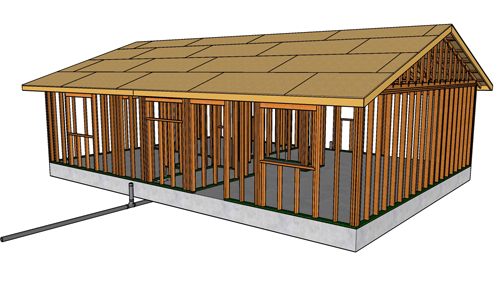
Once the underlying framing is locked in, establishing a solid nailing surface for the roof sheathing is the next step. Custom-shaped blocking must be installed where the new roof plane meets the existing structure, providing a backer for the perimeter of the plywood or OSB panels. This blocking ties the roof sheathing directly into the floor framing, creating a rigid shear connection.
Nailing patterns matter immensely during this phase. Building codes distinguish between perimeter nailing (fastening the edges of the wood panels) and field nailing (fastening the center of the panels). Appropriate fastener sizes, such as standard 16d common nails for rough framing, will differ from the shorter nails required for the sheathing and the specialized heavy-gauge nails used in the metal joist hangers.
Finally, exterior planning must happen during the rough framing stage. When rafter extensions are added to pick up the 2x8 fascia boards, careful spacing must be maintained. For example, leaving a one-inch gap between the existing wall and the new rafter allows enough clearance for exterior finishes like stucco to be applied seamlessly beneath the roofline. Roof drainage crickets must also be framed into the flat or trapped areas to divert water away from the new wall intersections.
Three Key Tips
Never cut or alter an engineered roof truss without prior approval from a licensed structural engineer. Modifying a truss transfers massive loads to adjacent framing, which violates International Residential Code (IRC) standards unless an approved, engineered repair detail is strictly followed.
Size your roof rafters based on local insulation requirements, not just structural span. Upgrading to 2x10 framing ensures you have the necessary depth to install R-30 insulation while still maintaining the mandatory air gap beneath the roof decking for proper ventilation.
Follow strict sheathing fastener schedules. Always utilize the correct nail spacing and size for both the perimeter and the field of the sheathing panels. Proper edge blocking and nailing are critical for the roof to act as a unified diaphragm against wind and seismic forces.
Bonus Questions And Answers
How Do You Prevent Water Intrusion Where The New Roof Intersects The Existing Walls?
Beyond just the structural framing, seamlessly merging the exterior envelope is essential for a watertight addition. According to International Residential Code (IRC) requirements for roof-to-wall intersections, continuous step flashing must be installed where the sloped roof meets the vertical wall of the two-story addition. This heavy-gauge metal flashing is integrated with the roof shingles and layered behind the wall's weather-resistant barrier, ensuring that wind-driven rain is directed on top of the roofing material rather than seeping into the newly framed wall cavity and causing hidden rot.
What Are The Ventilation Requirements For The Newly Framed Roof Cavities?
Enclosing the old roof line and building new, insulated ceiling planes creates isolated cavities that require specific attention to airflow. The building code mandates that enclosed attics and rafter spaces have proper cross ventilation to prevent destructive condensation. When altering roofs and adding rafter insulation, builders must install intake vents at the soffits and exhaust vents near the ridge, maintaining a clear air channel above the insulation. This prevents moisture buildup, protects the structural integrity of the wood, and prevents premature degradation of the roofing shingles from trapped attic heat.
Do Roof Tie-Ins Require Upgraded Hurricane Ties Or Seismic Hardware?
When tying a new addition into an older home, modern building codes regarding uplift and shear forces almost always apply to the new construction. Structural engineering protocols require that a continuous load path be established from the new roof straight down to the foundation. This means that every new rafter or truss connecting to the existing top plates must be secured with approved metal hurricane ties or seismic clips. Relying solely on the traditional "toe-nailing" methods used in older homes is no longer permissible under current building safety standards, as metal connectors are vastly superior at resisting extreme wind uplift and seismic shifting.