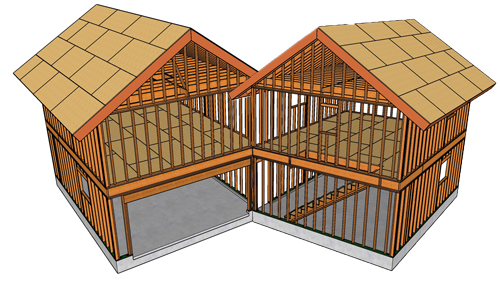
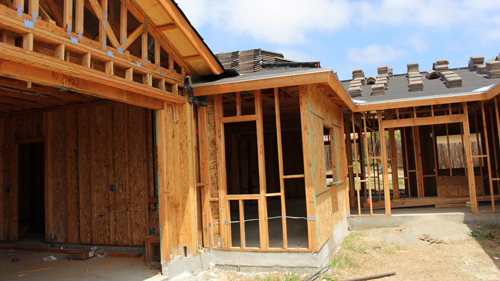
Constructing a stable and code-compliant roof for a two-story home addition requires precise planning and a thorough understanding of structural load paths. Whether you are tying a new roofline into an existing structure or framing a completely new span, the integrity of your roof assembly dictates the safety and longevity of the entire building. This guide outlines professional framing methodologies, focusing on material selection, structural support, and proper installation sequences.
Selecting The Right Lumber And Components
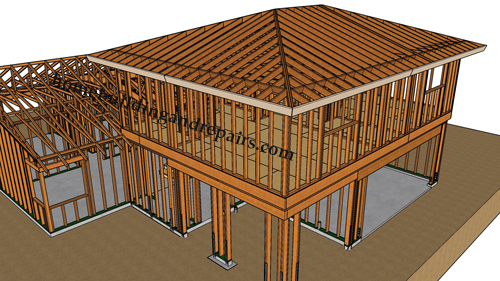
Standard roof assemblies often utilize two-by-six lumber for common rafters and ceiling joists, paired with larger dimensional lumber, such as two-by-eights, for double hip rafters and fascia boards. However, it is imperative to adjust lumber sizing based on local building codes, regional snow loads, and specific span requirements. Always verify your lumber dimensions and wood species against local span tables to prevent structural deflection over time.
Managing Load Transfer And Ceiling Joists
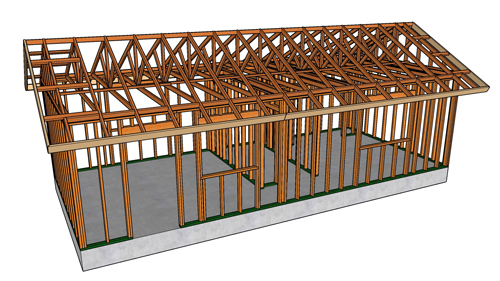
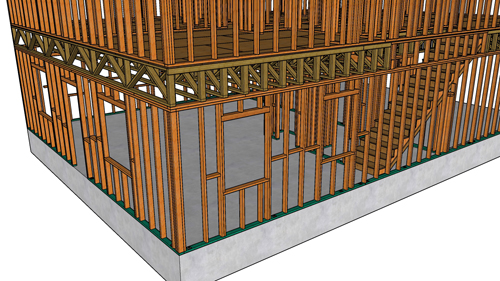
Ceiling joists are typically installed at sixteen inches on center and must properly transfer weight to load-bearing walls. When framing beneath these walls, utilizing double joists ensures adequate load distribution. In scenarios where ceiling joists do not overlap but instead butt against each other over a wall, you must install metal tension straps. These straps function as critical rafter ties and should be installed at least every four feet, or every third joist, to prevent the roof from spreading outward under dead and live loads.
Installing Drywall Backing And Attic Access
A properly framed ceiling requires sufficient backing for drywall installation. Using two-by-six or two-by-four blocking ensures continuous support for interior finishes. Additionally, when framing an access point for a crawl space or attic, strict adherence to building codes is required. While some older practices or estimates suggest a square twenty-two-inch opening, modern residential codes mandate a minimum attic access opening of twenty-two inches by thirty inches to allow safe entry for maintenance personnel and emergency responders.
The Roof Assembly Sequence
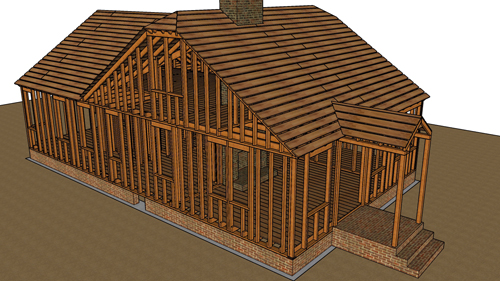
Efficiency and accuracy in the field depend on the order of assembly. The standard industry sequence involves setting the common roof rafters and the main ridge board before moving on to the hip rafters. Once the primary structural geometry is locked in place, the fill or jack rafters can be measured, cut, and installed. This sequence ensures that all components plane out perfectly, providing a completely flat surface for the roof sheathing and final shingles. Taking the time to properly align your sixteen-inch on-center layout will minimize wasted sheathing and eliminate structural weak points.
THREE KEY TIPS
Install Continuous Rafter Ties: When ceiling joists butt over a load-bearing partition rather than lapping, secure them with metal tension straps spaced no more than forty-eight inches apart to prevent outward structural spreading.
Frame Proper Attic Access: Always frame attic access openings to a minimum of twenty-two inches by thirty inches to comply with current International Residential Code standards, superseding older dimensional practices.
Follow The Correct Assembly Order: Always install your central ridge board and common rafters first to establish a rigid framework, followed by the hip rafters, and finally the shorter jack rafters.
BONUS QUESTIONS AND ANSWERS
What Is The Difference Between A Collar Tie And A Rafter Tie?
While securing the base of your roof is critical, securing the upper section is equally important for a stable structure. A rafter tie is installed in the lower third of the roof space, often functioning as the ceiling joist, and its primary job is to resist the outward thrust of the walls. A collar tie, on the other hand, is installed in the upper third of the roof space. According to structural engineering principles, collar ties are designed to prevent the roof from separating at the ridge during high wind uplift events, rather than preventing wall spread.
Why Are Collar Ties Placed Specifically In The Upper Third Of The Roof Space?
Collar ties are horizontal boards connecting opposite rafters, and building codes dictate they must be installed in the upper third of the attic space. Structurally, these ties are not designed to prevent the exterior walls from spreading apart; that is the job of ceiling joists or rafter ties located at the bottom of the assembly. Instead, collar ties are engineered to prevent the rafters from separating at the ridge board during high wind uplift events. The universal code standard requires them to be spaced no more than 4 feet apart.
What Is The Required Nailing Schedule For Roof Sheathing?
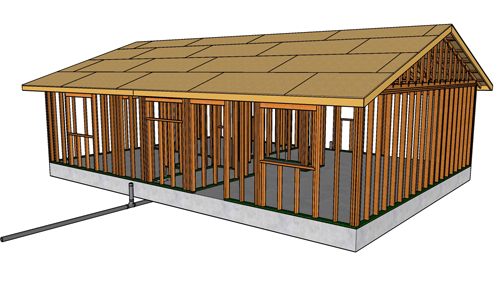
Once the framing geometry is locked in, sheathing must be fastened according to strict code requirements to create a structural diaphragm. The standard code requires specific spacing for 8d common nails to ensure the roof acts as a unified shear wall against lateral forces from wind and seismic activity. The universally accepted best practice schedule includes:
Nailing every 6 inches along the supported panel edges
Nailing every 12 inches in the field, or the interior of the panel
Maintaining a 1/8 inch gap between panels to allow for natural wood expansion
When Are Purlins And Struts Required In A Roof Assembly?
Purlins are continuous horizontal beams installed under the rafters, supported by diagonal struts that bear directly onto load bearing interior walls below. They are required when the necessary length of a rafter exceeds its maximum allowable span for a given lumber size and species. Structurally, a purlin assembly effectively cuts the rafter span in half, preventing the wood from sagging under the dead load of the roofing materials and the live load of winter snow. The struts must be installed at an angle no less than 45 degrees from the horizontal to properly transfer the roof load down to the foundation.