Second Floor Sheathing And Wall Framing Best Practices
Setting up the second floor of a residential build requires careful planning and strict adherence to structural guidelines. A well-executed layout ensures maximum stability and minimizes material waste. This guide breaks down the essential steps for laying out floor sheathing, positioning wall frames, and framing doors and windows to meet professional standards.
Floor Sheathing And Joist Layout
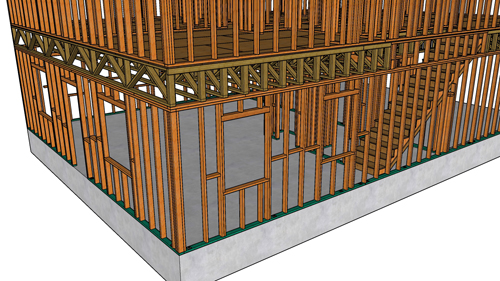
The integrity of any second-story subfloor begins with a precise floor joist layout. Joists are typically spaced either 12 inches or 16 inches on center. When applying structural panels, the seams must break directly over the center of a joist. Proper alignment early in the process saves significant time and material costs. Builders must also anticipate plumbing penetrations, such as toilet flanges, which often require adjusting sheathing breaks to avoid compromising the structural span.
Load-Bearing And Exterior Wall Framing
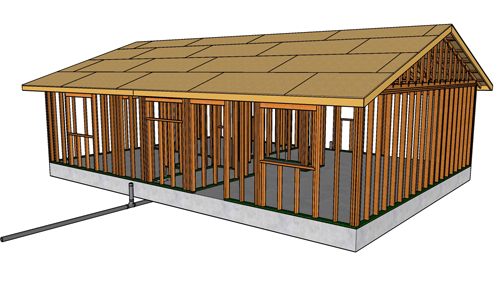
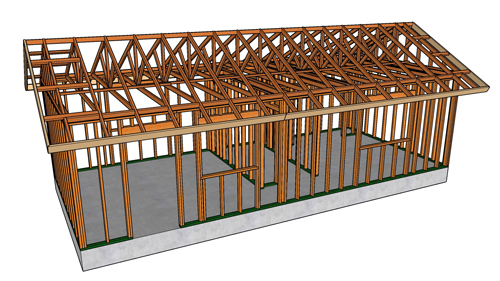
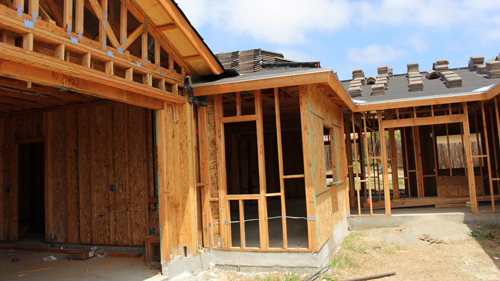
Exterior walls dictate the overall stability and energy efficiency of the structure. Standard load-bearing wall studs are spaced 16 inches on center. While this spacing can be reduced to accommodate structural loads or architectural features, it must never exceed the maximum span permitted by local residential building codes. When framing window and exterior door openings, structural headers and adequate trimmer studs are mandatory. Any opening exceeding five feet in width typically requires double trimmers to properly support the header and transfer the roof load down to the foundation.
Interior Partitions And Non-Load-Bearing Walls
Interior partitions carry their own set of specific framing rules. Non-load-bearing walls, such as standard closet enclosures, do not carry structural weight from above. Therefore, they often only require single trimmers and standard framing headers. Specialized features like pocket doors require careful preparation; it is highly recommended to have the physical pocket door frame on site to ensure precise rough opening measurements before securing the surrounding studs. Additionally, interior walls designated for plumbing must be constructed with sufficient depth to accommodate pipes and fixtures like medicine cabinets.
Architectural Considerations And Door Swings
Effective wall framing goes beyond basic structure; it requires anticipating the finished living space. Window placement should account for future furniture layouts, such as ensuring enough blank wall space for a bed headboard. Door swings must be carefully planned so that bedroom and hallway doors open cleanly against adjacent walls without obstructing traffic flow. For complex framing intersections, such as corner closets, mitered headers joined at a 45-degree angle over a solid structural post provide a clean, flush surface for the final finish work.
Conclusion
Mastering second-floor rough framing requires a balance of structural knowledge and practical foresight. By anticipating plumbing layouts, adhering strictly to load-bearing code requirements, and planning for the finished room layout, builders can ensure a solid and highly functional second story.
THREE KEY TIPS
Use Double Trimmers For Wide Openings. Openings larger than five feet in load-bearing walls typically require double trimmer studs to safely support the structural header and transfer the heavy load down the continuous load path to the foundation.
Anticipate Plumbing During Sheathing Layout. While structural sheathing seams must always break over floor joists, builders should plan the layout around upcoming plumbing penetrations. Avoid having a structural panel seam fall exactly where a large hole must be cut for a toilet flange.
Measure Pocket Doors Before Framing. Always order and physically measure the specific pocket door hardware before finalizing the rough opening. Manufacturer specifications vary significantly, and adjusting an improperly sized pocket frame after the walls are secured is highly labor-intensive.
BONUS QUESTIONS AND ANSWERS
Does The Staggering Of Floor Sheathing Panels Impact Structural Integrity?
Once you have established where your sheathing will break over the joists, you must also consider the overall pattern of the panels. Yes, floor sheathing must be staggered in a brick-lay pattern to maintain structural integrity. According to the International Residential Code, the short joints of wood structural panels should be staggered a minimum of 24 inches. This interlocking layout distributes floor loads evenly across multiple joists and prevents a continuous weak line from forming across the entire floor diaphragm, which is critical for resisting lateral forces.
How Do You Prevent Squeaky Floors During The Sheathing Installation?
In addition to a proper staggered layout, securing the subfloor correctly is essential for long-term performance. Squeaky floors occur when wood rubs against the nail shank as the subfloor deflects under foot traffic. To prevent this, structural best practices require applying a continuous bead of high-quality polyurethane construction adhesive along the top of each joist immediately before laying the sheathing panel. The panels must then be fastened using ring-shank nails or subfloor screws spaced according to code standards, which typically dictate fastening every 6 inches along the edges and every 12 inches in the field.
What Are The Requirements For Fire blocking In Second-Floor Wall Framing?
After the floor platform is secured and the second-story walls are raised, builders must also address hidden fire safety requirements. Fire blocking is a mandatory building code requirement designed to prevent the rapid spread of fire and smoke through concealed draft openings within the framing. The International Residential Code mandates that fire blocking be installed in concealed spaces of stud walls and partitions, including vertically at the ceiling and floor levels. Solid lumber, structural wood panels, or approved fire-resistant foam must be placed between the studs at these transitions to cut off airflow, essentially starving a potential fire of the oxygen it needs to travel between floors.