How To Calculate Ridge Height And Rafter Lengths For Room Additions
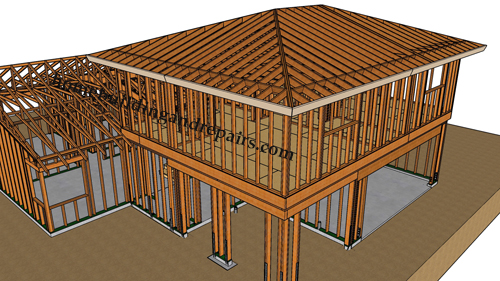
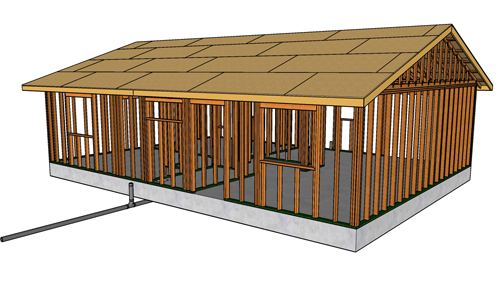
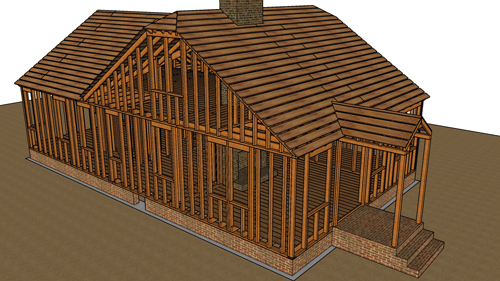
Seamlessly connecting a new room addition to an existing home requires precise roof framing calculations. One of the most critical steps in the construction process is figuring out the exact ridge height so you can accurately determine your roof rafter lengths. Whether you are using conventional stick framing or ordering manufactured trusses, establishing a flawless geometric baseline ensures structural integrity and a professional exterior finish.
Determining The Existing Ridge Height
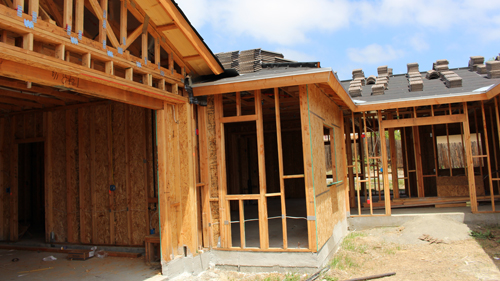
The first step in planning your roof tie-in is establishing the center point of the new addition and mapping it to the highest point of the roof framework, known as the ridge. If the existing framing is fully exposed, you can easily find the center of the span, measure straight up to the ridge location, and subtract the height of your wall plates.
If the roof structure is enclosed, you will need to access the attic. Working from the center point of the new addition, drop a plumb line down from the underside of the existing ridge. Using a standard level or a straightedge placed across the top wall plates, measure the vertical distance from the top plate level to the ridge. You may need to use blocks or shave down a piece of lumber to navigate around drywall, electrical runs, or HVAC ductwork. Getting this exact measurement, from the wall plate elevation to the top of the ridge, provides the vertical rise needed to calculate your rafter length.
Calculating Rafter Length Using The Pythagorean Theorem
Once you have your total rise (the vertical measurement) and your total run (the horizontal measurement from the outside wall to the center of the span), you must calculate the exact length of the rafter. Because these measurements form a perfect 90-degree right angle, you will use the Pythagorean theorem.
For accuracy and ease of calculation, convert all fractional inch measurements into decimals. Square your vertical rise measurement by multiplying it by itself. Next, square your horizontal run measurement by multiplying it by itself. Add those two resulting numbers together. Finally, calculate the square root of that combined total. The resulting number is the exact length of your rafter, forming the hypotenuse of your roof triangle. Once you have this decimal figure, you can convert it back into inches and fractions to cut your lumber.
Conventional Framing Versus Truss Measurements
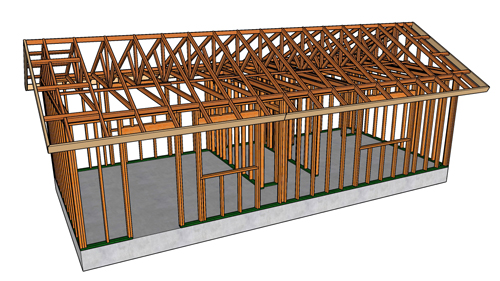
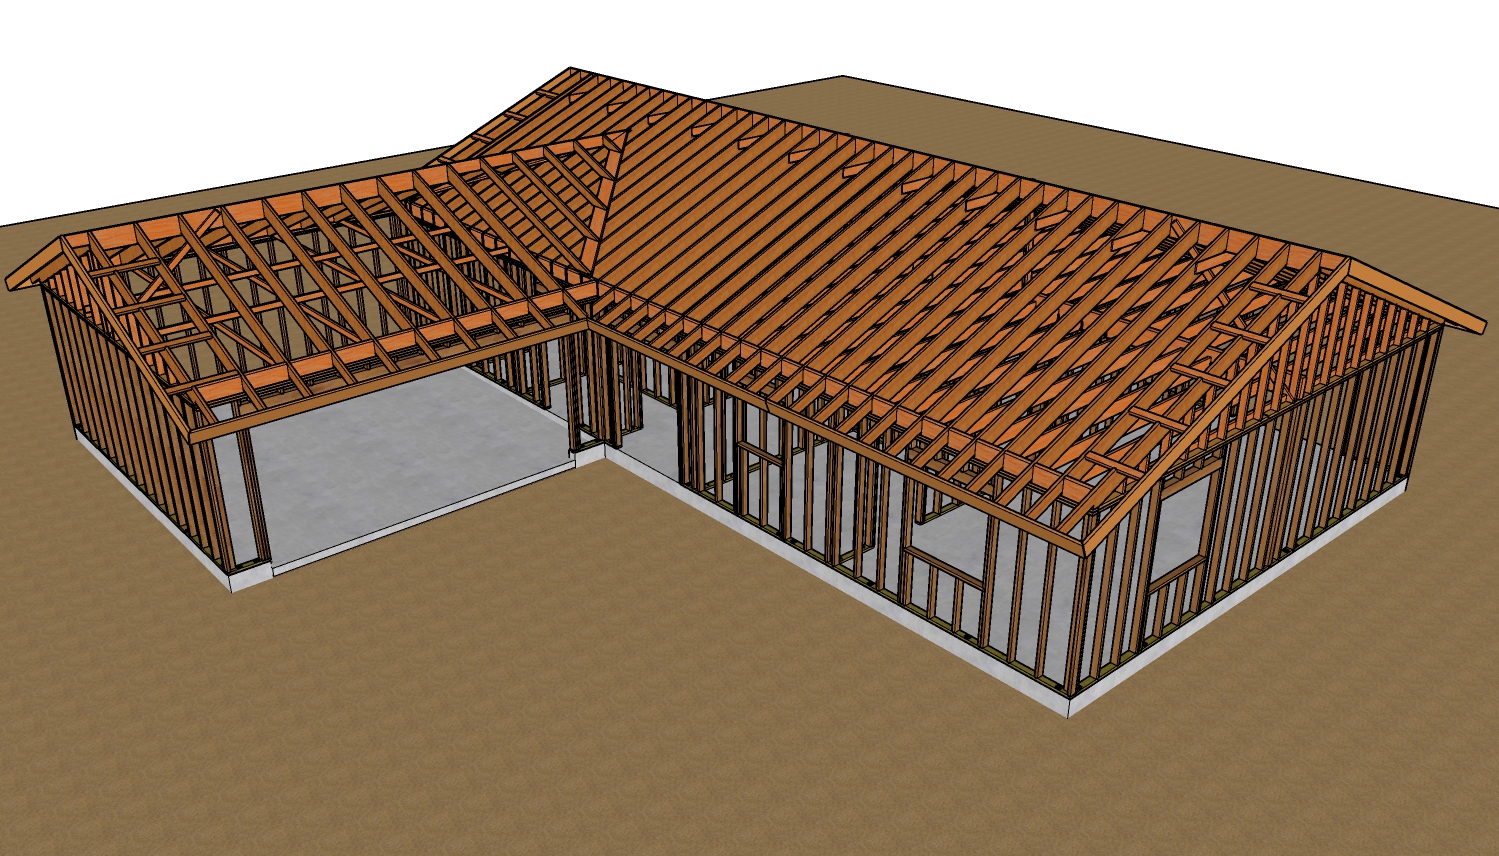
How you apply your center measurement depends entirely on whether you are building a custom stick-framed roof or installing prefabricated trusses. If you are manufacturing or ordering trusses, your horizontal measurement must go to the absolute dead center of the roof span.
However, if you are cutting conventional rafters that will butt against a ridge board, you must account for the thickness of that ridge board. For example, if you are using a standard one-and-a-half-inch thick board for your ridge, the center point of the roof sits three-quarters of an inch inside the board. You must deduct that three-quarters of an inch from your overall rafter run measurement so that the rafter sits perfectly flush against the face of the ridge board.
Managing Different Spans And Fascia Alignment
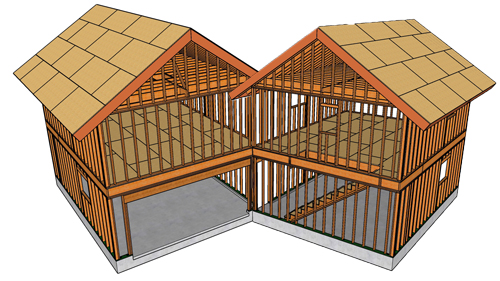
Challenges frequently arise when the new room addition is wider or narrower than the existing building structure. If you maintain the exact same roof pitch on a wider addition, the new ridge will sit noticeably higher than the existing ridge. Conversely, a narrower addition with the same pitch will result in a lower ridge.
If your design requires the new ridge to perfectly align with the old ridge despite having a different span, you must alter the roof pitch on the addition. Changing the pitch introduces a new challenge at the eaves. A shallower or steeper pitch will change the angle and elevation of the overhang, causing the new fascia board to misalign with the existing fascia. To seamlessly blend the two rooflines, you will need to physically adjust the depth of the overhang, either extending it outward or pulling it inward, until the fascia boards intersect perfectly at the exact same elevation.
Conclusion
Mastering roof math is essential for any structural addition. By accurately determining your rise and run, adjusting for framing materials, and anticipating how pitch changes affect your fascia, you can execute a structurally sound and visually perfect roof tie-in.
Three Key Construction Tips
Account for ridge board thickness: Always subtract half the thickness of your ridge board from your total run measurement before cutting conventional rafters. Failing to do so will result in rafters that are too long and a roof layout that bows outward.
Convert fractions for accurate math: Avoid compounding mathematical errors by converting all tape measure fractions into exact decimals before applying the Pythagorean theorem. Convert the final hypotenuse back to fractions only when you are ready to mark your lumber.
Adjust overhangs for varying pitches: If you change the roof pitch on an addition to match an existing ridge height, always recalculate your rafter tails. You must modify the depth of the eaves to guarantee that the new fascia board aligns flush with the existing house.
Bonus Questions And Answers
To ensure your roof framing project meets standard building practices and structural requirements, here are answers to a few common questions that arise during roof additions.
Do I Need A Structural Ridge Beam Or Just A Ridge Board For My Room Addition?
The requirement depends entirely on your ceiling design. Standard building practices dictate that a non-structural ridge board is perfectly acceptable if you are installing ceiling joists or rafter ties in the lower third of the roof span, as these prevent the exterior walls from spreading outward under the weight of the roof. However, if your room addition features a vaulted or cathedral ceiling without these horizontal ties, the International Residential Code requires a properly sized structural ridge beam. This beam must be actively supported by load-bearing posts or walls at both ends to carry the roof load and prevent structural collapse.
How Do Building Codes Dictate The Size Of The Ridge Board Itself?
When stick-framing a roof, you cannot use just any piece of scrap lumber for the center ridge. According to standard residential building codes, a non-structural ridge board must be at least one inch in nominal thickness. More importantly, the ridge board must be equal to or greater in depth than the plumb cut on the upper end of your rafters. This ensures that the entire face of the angled rafter cut has solid wood bearing against it, preventing the rafters from splitting or slipping downward under heavy snow or wind loads.
What Is The Minimum Required Overhang For A Roof Addition?
While residential codes do not explicitly mandate a universal minimum overhang width, building science dictates that eaves must adequately manage bulk water and provide ventilation. Depending on your local jurisdiction and climate zone, you must design your overhang to properly house soffit vents for attic air intake, which typically requires an overhang of at least twelve to sixteen inches. Furthermore, a sufficient overhang ensures that water cascading off the drip edge is pushed far away from the foundation walls and siding, actively preventing long-term structural rot and basement water intrusion. Always verify local climate-specific requirements for ice barriers and ventilation before finalizing your rafter tail lengths.