Connecting A Full Gable Roof Addition To An Existing Gable Roof
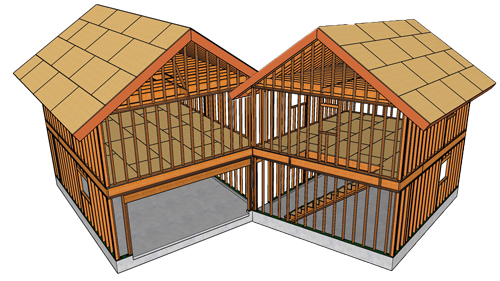
Expanding your living space with a home addition is a major structural undertaking, especially when merging a new full gable roof into an existing one. Proper alignment, solid structural connections, and a seamless transition between the old and new framing are required to maintain the integrity of the building envelope.
Whether the new floor system relies on a concrete slab, a conventionally framed basement floor, or a standard subfloor, the fundamental principles of marrying the rooflines remain the same. This guide outlines the essential framing steps required to connect a new gable roof addition while maintaining the structural stability of the existing home.
Preparing The Existing Roof For The Addition
Before any new roof framing can begin, the existing structure must be carefully stripped back to expose the solid framing members. Start by removing the fascia board along the side where the addition will attach. If the current roof utilizes decorative exposed lumber at the overhangs, such as one-by-six or one-by-eight boards, these must be cut back completely.
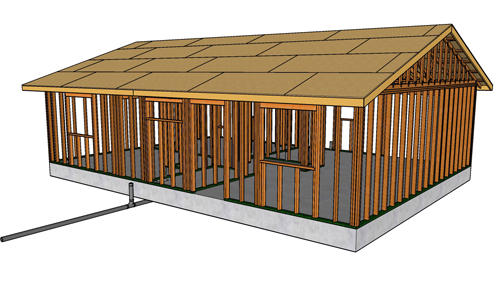
The goal is to create a flush surface where the new structural roof sheathing can tie directly into the existing framing. Mixing directional sheathing with decorative overhang boards compromises shear strength and makes it impossible to achieve a weather-tight structural deck.
Once the fascia and overhang boards are removed, inspect the existing roof sheathing. When pulling nails from the old fascia, the edges of the plywood or oriented strand board sheathing often become splintered or damaged. If this occurs, cut the existing sheathing back by an inch or an inch and a half to ensure the new framing ties into clean, undamaged material. Depending on the depth of the cutback, you may also need to remove or trim the existing roof out-lookers so the new rafter can sit flush and bear properly on the wall.
Installing Rafters And Ceiling Joists
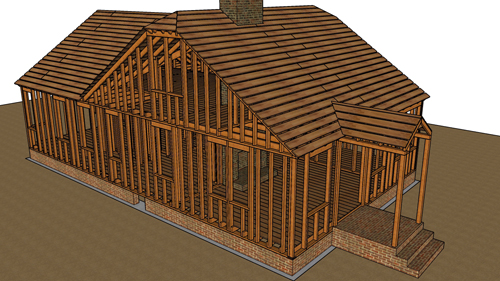
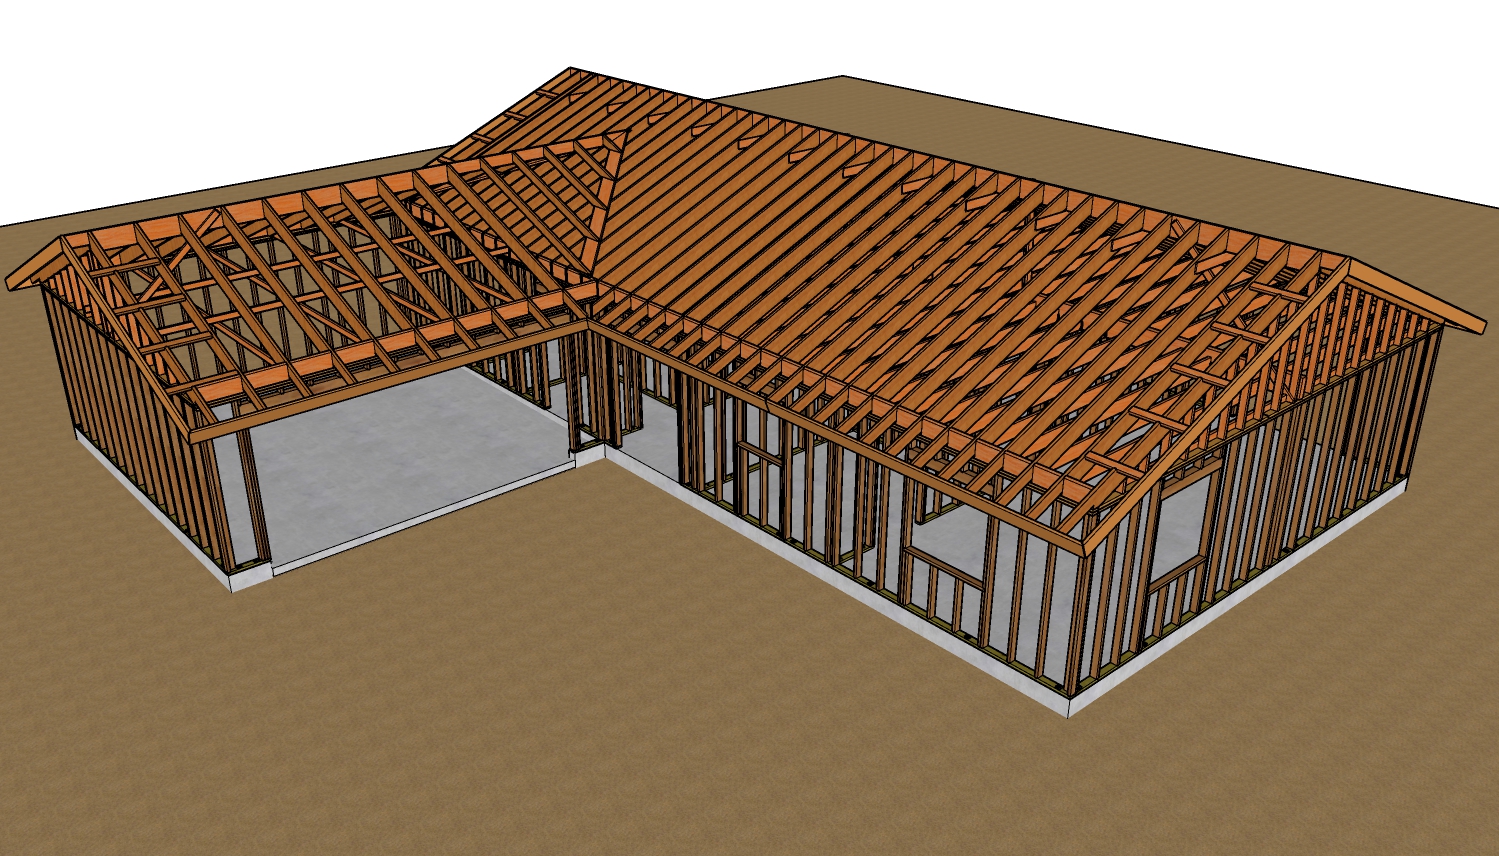
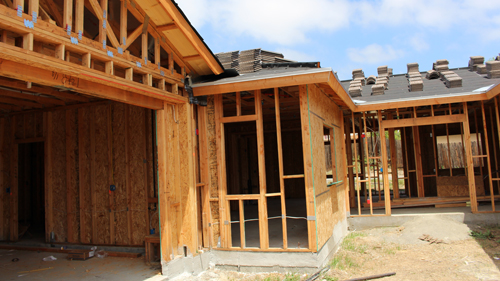
With the existing edge prepped, the next phase is establishing the new framing skeleton. The first new rafter should be positioned so it lands half on the existing roof structure, allowing both the old and new roof sheathing to share a solid nailing surface. The existing ridge board can typically remain intact, serving as the continuous peak for the extended roofline.
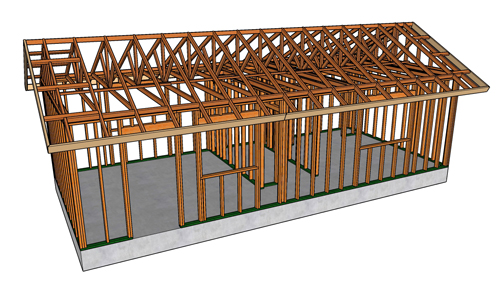
As the new rafters go up, they must be securely tied to the continuous ceiling joists. This is a critical structural connection that prevents the roof from flattening out under gravity loads, which forces the exterior walls outward. Standard building practices dictate driving three or four 16d nails through the ceiling joist into the rafter, followed by securely toenailing the assembly directly into the wall top plate. These connections must meet the exact specifications provided by a licensed structural engineer, as lumber spans and fastener requirements vary significantly based on local snow and wind load building codes.
Tying The Walls Together
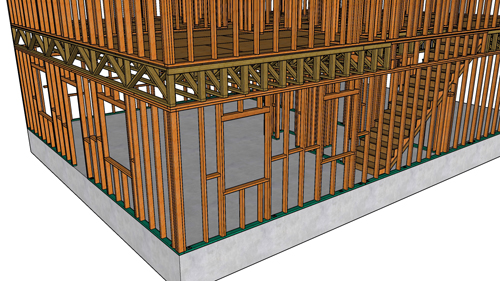
A roof is only as strong as the walls supporting it. Where the new addition meets the existing house, the top plates of the walls must be structurally connected to create a continuous load path. This is typically achieved using heavy-duty galvanized steel tension straps, often 48 inches in length, bridging the joint between the old and new top plates. Properly strapping these intersections prevents the walls from separating over time due to settling, wind, or seismic lateral forces. Always consult a structural engineer to determine the exact hardware and nailing pattern required for your specific jurisdiction.
Three Key Construction Tips
Cut back damaged sheathing to ensure structural integrity. Pulling old fascia nails almost always damages the edge of the roof decking. Always snap a clean line and cut the sheathing back to solid wood so the new structural panels tie into a secure surface.
Overlap the first rafter for shared bearing. The connecting rafter should be carefully positioned to provide equal bearing for both the old roof deck and the new sheathing, ensuring a smooth transition without weak spots in the decking seam.
Secure the ceiling joist to rafter connection. The ceiling joist acts as a tension tie preventing outward wall thrust. Always use the engineer-specified number of 16d nails to secure the joist to the rafter, then properly toenail the entire assembly into the top plate.
Bonus Questions And Answers
Do I Need To Provide Continuous Ventilation When Connecting The Two Roofs?
As you join the two roof structures, maintaining proper attic ventilation becomes a primary concern for the health of the building. The International Residential Code requires a specific ratio of net free ventilating area, which is typically one square foot of ventilation for every 150 square feet of attic space. When sealing the gable end to connect the addition, you must ensure that airflow between the soffit vents and ridge vents remains unobstructed across the entire expanded attic space to prevent moisture buildup and structural rot.
Does The Existing Foundation Need Reinforcement To Support The New Roof Loads?
Tying a new roof into an existing one inevitably changes how weight is distributed across the structure. Building codes mandate that continuous load paths safely transfer gravity, wind, and seismic forces from the roof all the way down to the foundation. Depending on the size of the addition and local soil conditions, a structural engineer may determine that the existing footings at the connection point require underpinning or widening to handle the newly concentrated loads from the extended roofline.
What Is The Required Fastening Schedule For Tying The New Roof Sheathing Into The Existing Framing?
Ensuring a rigid connection between the old and new roof decks is crucial for maintaining the lateral stability of the entire house. Under standard structural codes, roof sheathing must be secured using 8d common nails spaced every six inches along the supported edges and every twelve inches in the intermediate field. When blending the two roofs, the seams must land perfectly on the shared framing members and be fully nailed to prevent differential movement, which would otherwise compromise the structural diaphragm and tear through the finished roofing materials.