How To Frame A Gable Roof Over An Existing Structure
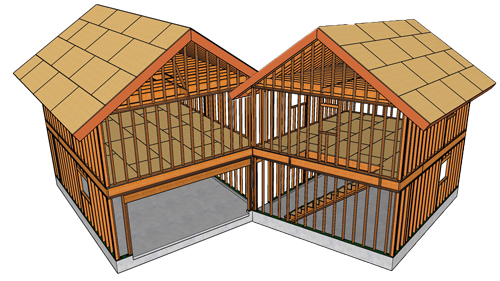
Adding a room to your home often requires extending the roofline and framing a new gable roof over the existing structure. This process, commonly referred to as roof over framing or a roof tie-in, seamlessly integrates the new addition with the original architecture. While the fundamental framing concepts are straightforward, safely executing this project demands precision, proper planning, and strict adherence to structural requirements.
The Importance Of Structural Engineering
Before attempting to frame a roof over an existing structure, it is critical to consult with a licensed structural engineer. Modifying a roofline fundamentally alters the load distribution on your home. An engineer will calculate the additional dead loads from the new framing materials and roofing, as well as live loads from wind or snow. They will specify the exact lumber dimensions, fastening schedules, and load paths required to ensure the addition is structurally sound and compliant with local building codes. Never bypass this crucial step.
Aligning Ceiling Joists
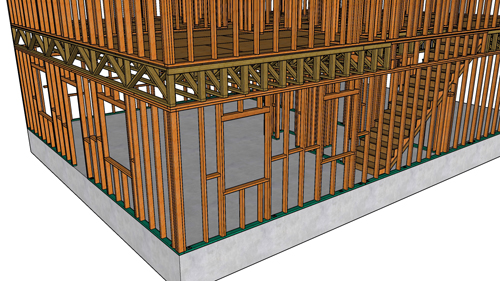
The structural integrity of your new roof begins at the ceiling level. When extending the roof, the new ceiling joists must properly tie into the existing ceiling joist system. If the existing joists run parallel to the new addition, they can often be directly extended or overlapped according to engineering specifications. If they run perpendicular, alternative structural tying methods, such as utilizing properly sized structural beams or hangers, will be required to ensure the walls do not spread under the roof load.
Determining The Ridge Height And Pitch
Establishing the correct ridge height is essential for maintaining a continuous roofline. If your existing house features a 4/12 roof pitch, which is approximately an 18-degree angle, the new roof must match this slope perfectly. Instead of relying solely on complex mathematics, you can determine the ridge height physically. By securing a straight edge or a tightly pulled string line from the existing roof deck or fascia board, you can extend the existing pitch line into the new space. The point where the extended pitch lines from both sides intersect determines the top dead center of your new roof ridge.
Setting The Ridge Board And Temporary Supports
Once the ridge height is calculated, you can set the ridge board. When working with typical framing lumber, you must account for the thickness of the ridge board itself. A standard dimensional ridge board is one and a half inches thick. Therefore, you must offset your center mark by three-quarters of an inch to ensure the rafters land exactly on the layout lines. To hold the ridge board in place during construction, you can fasten temporary vertical two-by-four supports directly to the existing roof deck. This allows you to securely nail the ridge board and end rafters to establish a rigid framework before filling in the remaining roof structure.
Measuring And Installing Rafters
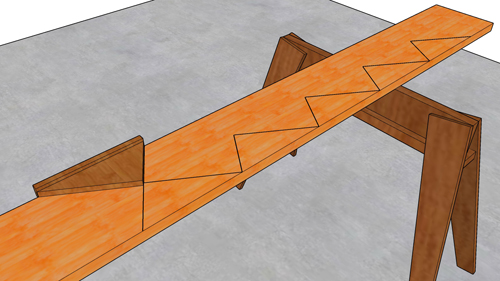
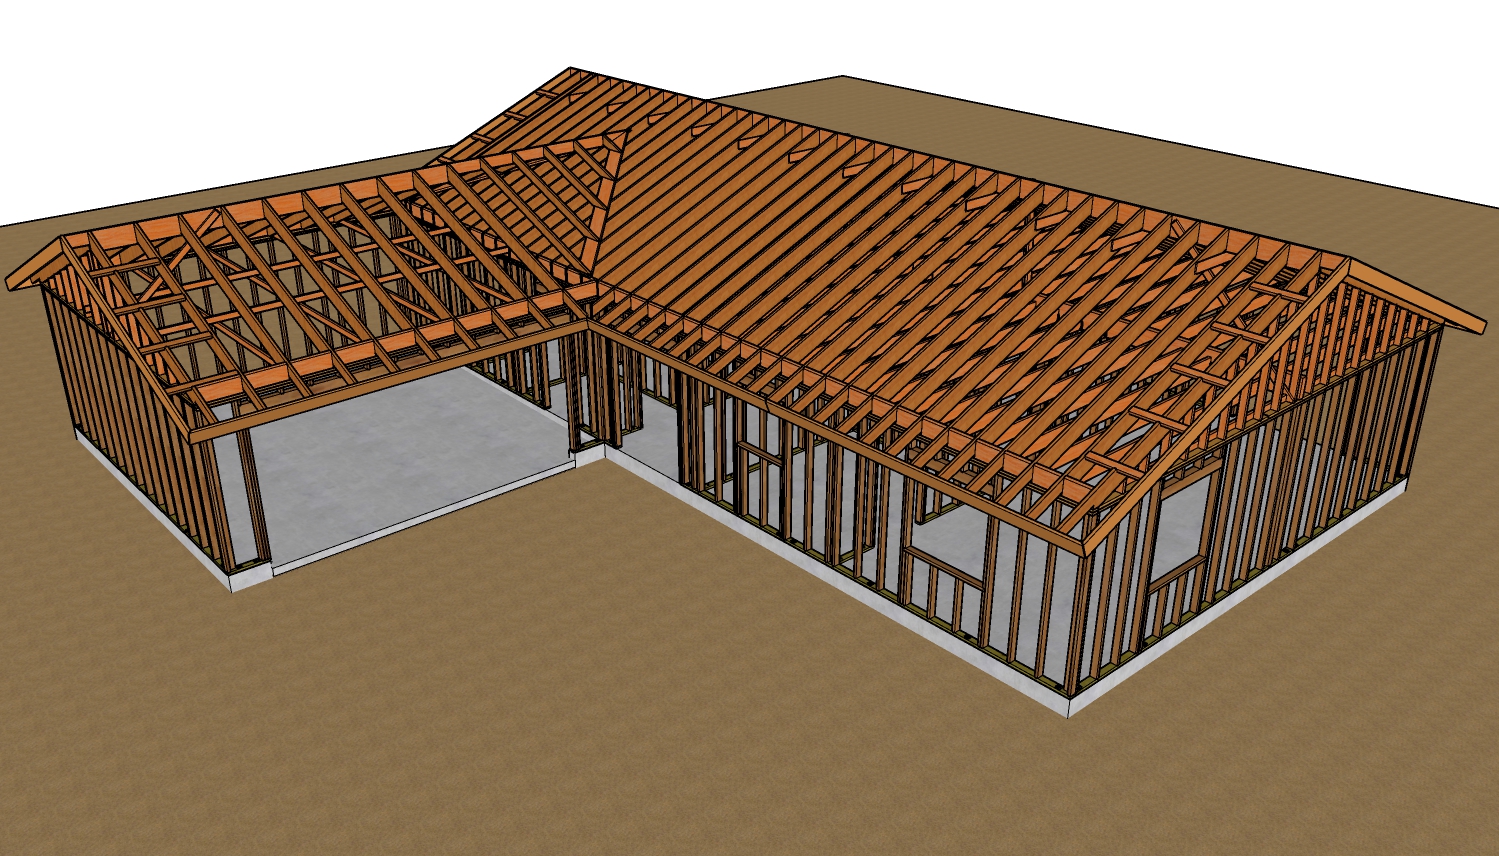
With the ridge board temporarily supported and the end walls built, you can begin cutting and installing the rafters. Rather than relying entirely on theoretical measurements, placing a board into position and physically tracing the birds mouth and plumb cuts is an effective way to ensure a tight fit.
You can build the roof in logical sections, starting over the new room addition and then constructing the over-framed section that sits on top of the existing roof deck. Many lumber yards supply material in lengths up to 30 feet, allowing you to use continuous rafters for larger additions, which creates a stronger overall structure.
Three Key Roof Framing Tips
Ensure Proper Ridge Board Sizing: The ridge board must be one size larger than your rafters to provide full bearing for the rafter cut. For example, if you are framing with two-by-ten rafters, building codes require you to use a two-by-twelve ridge board.
Account For Material Thickness: Always subtract half the thickness of your ridge material when marking your centerline. Failing to offset the center by three-quarters of an inch for a standard ridge board will result in an asymmetrical roof plane.
Utilize Physical Templates: Before cutting your entire lumber package, cut a single rafter to use as a physical template. Test fit this rafter at multiple points along the ridge to verify the pitch and cuts before mass-producing the rest of the roof framing.
Frequently Asked Questions
To further expand on the principles of roof over framing, here are a few advanced considerations that are vital for a successful, code-compliant project.
Do I Need To Remove The Existing Roof Covering Before Over framing?
Yes, standard construction practice and building codes require you to strip the existing roofing materials, such as asphalt shingles and underlayment, down to the bare wood sheathing in the areas where the new roof will overlap. Framing directly over shingles prevents a solid wood-to-wood connection, compromises the structural fastening of the new valley sleeper boards, and traps old roofing materials in a concealed space, which can lead to severe moisture and off-gassing issues.
How Should The New Roof Be Supported On The Existing Roof?
When framing over an existing roof plane, you cannot simply nail the new rafters to the old roof sheathing. You must install a structural member known as a valley sleeper or a lay-on valley board. This board is laid flat over the existing roof sheathing and must be fastened directly into the existing rafters or trusses below it, not just the plywood. This transfers the heavy load of the new roof directly into the structural framing of the original house, rather than crushing the roof deck.
What Are The Ventilation Requirements For The New Enclosed Roof Cavity?
Building a new roof over an existing one often creates a sealed, dead air space between the old roof deck and the new framing. According to the International Residential Code, enclosed attic spaces must be ventilated to prevent condensation, mold, and rot. You will typically need to cut large ventilation holes through the old roof sheathing inside the new attic space to allow air to flow from the original attic into the new roof cavity, ensuring continuous airflow out through the new ridge vents.