How To Tie A Truss Roof Into An Existing Home For A Room Addition
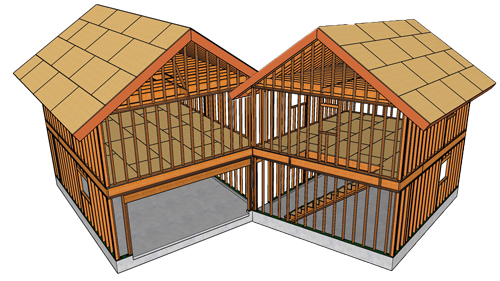
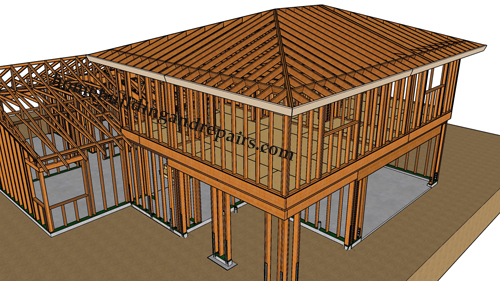
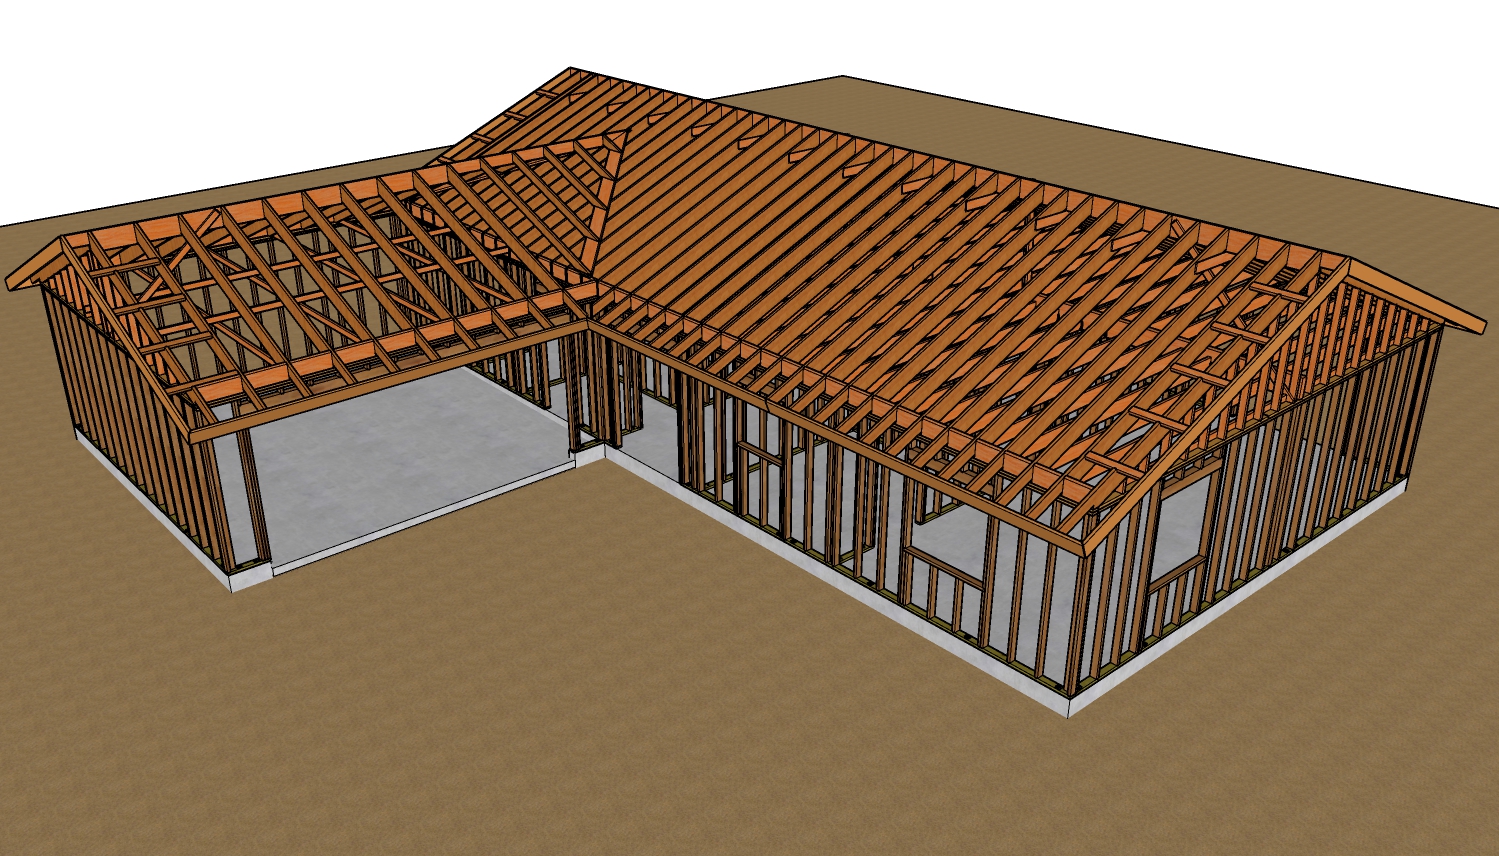
When building a room addition, one of the most critical structural challenges is seamlessly tying a new engineered truss roof into an existing conventionally framed roof. Breaking the project down into distinct sections makes the framing process highly manageable. The project generally consists of two primary components: the main roof structure over the new addition, and the fill area, often referred to as a blind valley or overbuild, which connects the new trusses to the existing house. Properly integrating these two systems requires careful attention to fascia alignment, roofing clearances, and structural loads.
Matching Fascia Boards And Truss Heel Heights
A common issue when merging a new truss roof with an older, conventionally framed roof is a mismatch in the fascia board elevations. Older homes frequently utilize conventional rafters, such as two-by-tens, that sit directly on the top exterior wall plate. This creates a specific vertical height at the edge of the roof. Conversely, standard roof trusses often have a different, usually lower, profile where they bear on the wall.
To ensure the new fascia board perfectly aligns with the existing fascia, you must determine the exact vertical height of the existing roof frame at the building line. Provide this measurement to your truss manufacturer. They can engineer the new trusses with a custom heel height, allowing the new roofline to blend flawlessly into the existing architecture without the need for extensive field modifications.
Framing The Gable End And Lookouts
On the gable ends of the new truss roof, lookout blocks are used to support the rake fascia board. It is crucial to position these framing members correctly. They must be set slightly lower than the top chord of the truss or properly notched. If they are installed flush with the very top edge without accounting for the thickness of the block, they will create an uneven surface and push the roof sheathing upward, causing a visible hump in the finished roof deck.
Constructing The Fill Area Or Overbuild
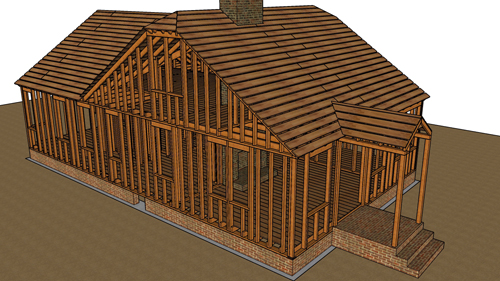
The fill area is the conventionally framed section that spans the gap between the new truss roof and the existing sloped roof. When laying out the framing members for this transition, you must leave adequate clearance beneath the bottom edges of the new fill rafters to accommodate the final roofing material. For example, thick concrete tiles require significantly more space than standard composition shingles.
The sizing of the rafters in this fill area depends entirely on the required span. While short sections under six feet might safely utilize two-by-four or two-by-six lumber, larger spans covering a wide room addition may require two-by-eight rafters and a structural two-by-ten ridge board. Never assume that standard framing lumber sizes will suffice for every situation.
Because this overbuild transfers the dead weight of the new framing and roofing directly onto the existing roof structure below it, the original roof must be capable of supporting this additional load. Always verify the load-bearing capacity of the existing structural elements. If there is any uncertainty regarding structural integrity, consult a licensed structural engineer before proceeding, as required by the International Residential Code for structural modifications.
Three Key Construction Tips
Specify The Heel Height: Always measure the vertical height of the existing conventional rafters at the top plate and provide this dimension to the truss manufacturer. This ensures your new trusses will arrive with matching heel heights for a seamless fascia alignment.
Account For Roofing Clearance: When framing the overbuild over the existing roof, calculate the thickness of your final roofing material. Leave an adequate gap under the new framing so shingles or tiles can be installed cleanly beneath the intersecting rooflines.
Drop The Gable Lookouts: Ensure all gable end lookout blocks are dropped or notched below the top plane of the trusses. This prevents interference with the roof sheathing and guarantees a perfectly flat roof deck.
Frequently Asked Questions About Truss Framing
To help you dive deeper into the structural requirements of roof framing, here are answers to some common questions that often arise on the job site.
Why Are Hurricane Ties Required On Roof Trusses?
Hurricane ties, also known as seismic clips, are metal connectors that secure the truss to the top plate of the wall. Under standard building codes, roofs must be designed to resist wind uplift forces. While the weight of the roof pushes down, high winds create severe upward aerodynamic lift and lateral pressure. A standard toe-nail connection is easily pulled apart by these forces, so engineered metal connectors are required to transfer these uplift loads safely from the roof down through the wall framing and into the foundation. Specific requirements for tie capacity vary heavily by local jurisdiction depending on the local wind and seismic zone, so always consult your local structural engineer or building department for the exact hardware rating needed.
How Do You Frame The Overhang On A Gable End?
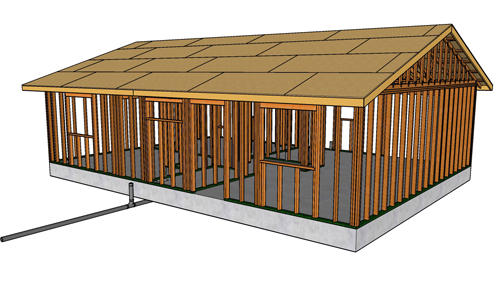
Gable end overhangs, often called rakes, are framed using lookout blocks that tie back into the first interior truss. Structurally, you cannot simply nail a fascia board to the end of the roof sheathing and expect it to hold the weight of the soffit, snow loads, or resist wind shear. By dropping the top chord of the gable end truss, lookouts can span from the first standard interior truss, cross over the top of the gable end wall, and cantilever outward. This creates a rigid structural ladder that supports the overhang and complies with standard cantilever engineering principles where the back span must be properly secured to resist rotational forces.
Do Interior Walls Support Roof Trusses?
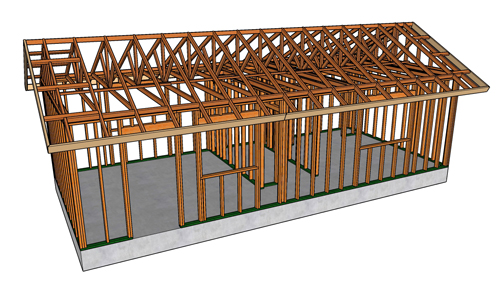
Standard clear span roof trusses are designed to bear weight entirely on the exterior perimeter walls. In these standard designs, interior partition walls do not carry any roof load. In fact, if an interior wall is built too tall and pushes up on the bottom chord of a clear span truss, it creates an unintended bearing point that reverses the engineered tension and compression loads, potentially leading to web buckling or failure. Always ensure interior non bearing walls are built with a slight gap beneath the truss bottom chord, secured only by slotted clips that allow for vertical deflection.
What Is The Purpose Of Gable End Wall Bracing?
The gable end wall presents a large, flat vertical surface that acts like a sail during high wind events. Unlike the rest of the roof which relies on the triangular truss geometry and continuous roof deck diaphragm for stability, the flat gable end can hinge or collapse inward or outward under severe wind pressure. Structural engineering principles dictate that this wall must be laterally braced. This is typically achieved by installing diagonal continuous wood braces from the gable wall studs up to the roof deck and down to the ceiling diaphragm, transferring the lateral wind loads safely into the horizontal structure of the building.