How To Tie In Roof Sheathing For Room Additions
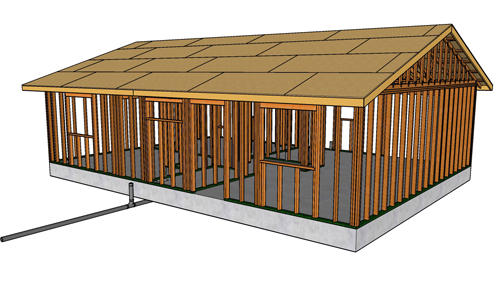
When constructing a room addition, one of the most critical structural transitions is tying the new roof framing into the existing structure. Properly lapping and connecting the roof sheathing ensures a continuous structural diaphragm and provides a solid, even surface for the final roofing materials. Integrating new sheathing with existing wood framing requires precision, a thorough understanding of load transfer, and exact fastening techniques.
Managing The Valley Intersection And Sleeper Boards
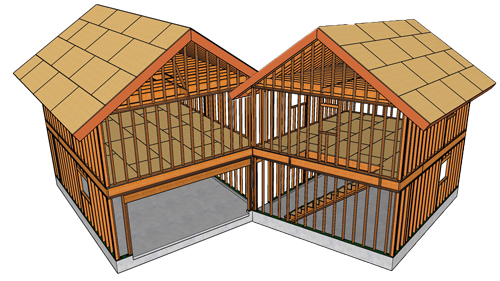
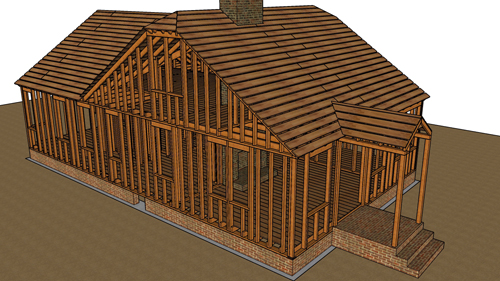
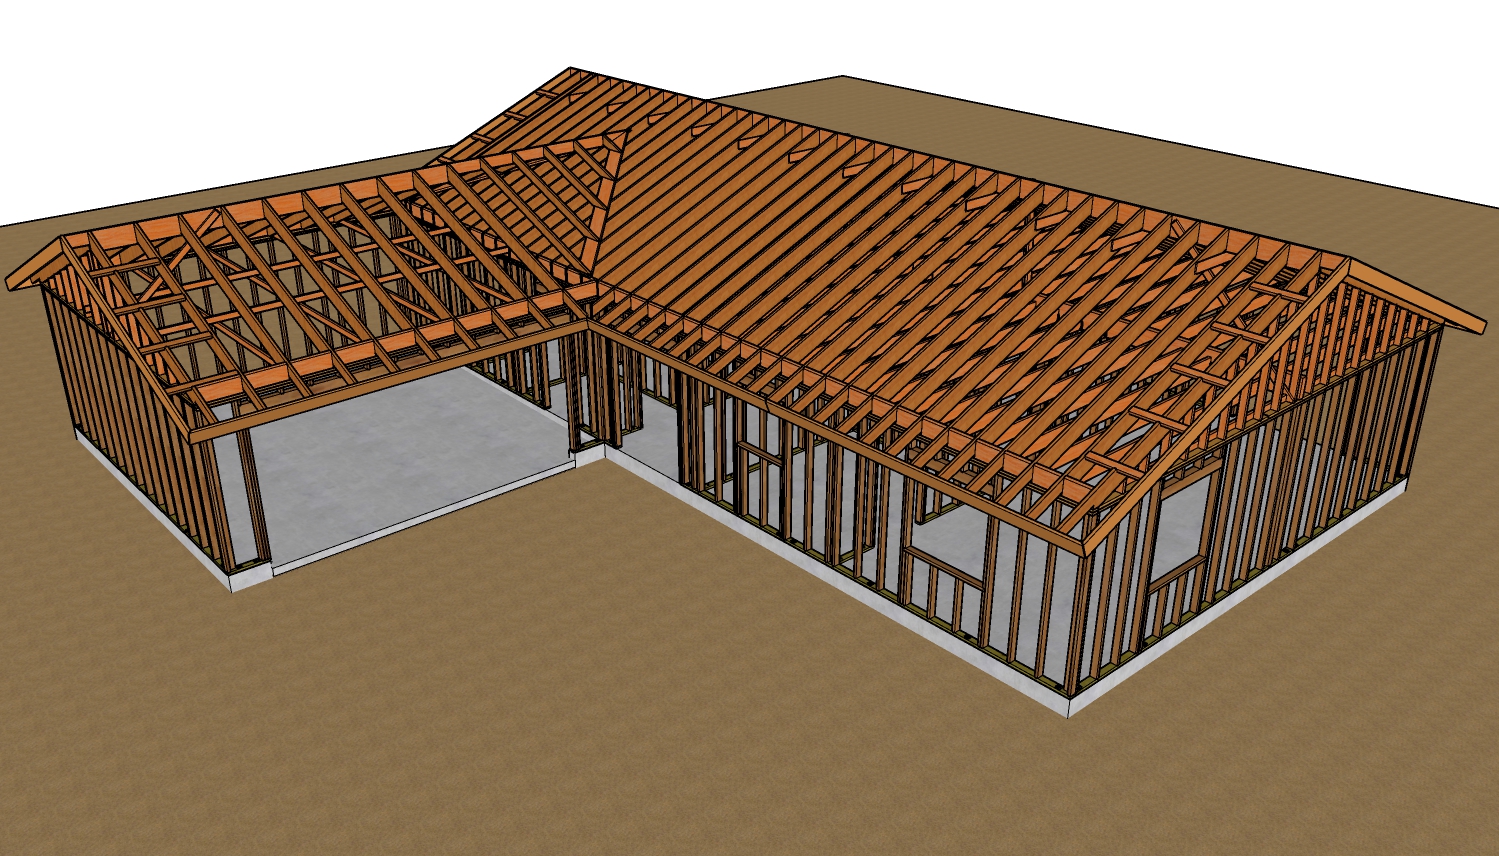
In many tie-in scenarios, the new roof sheathing will sit directly on top of the existing roof sheathing, particularly along the soffit line and up through the valley intersection. When framing a new valley over an existing roof, carpenters typically install a sleeper board, often a 2x6, laid flat against the existing sheathing to act as a nailing base for the new valley jack rafters and the subsequent layer of sheathing.
The new roof panels must carry down and bear fully onto this sleeper board. If any cuts result in a small gap or irregular void near the valley transition, custom wood filler blocks should be cut and installed. Filling these voids is not just an aesthetic step; it guarantees a continuous, solid connection without weak spots where the sheathing might deflect under pressure.
Proper Nailing Patterns For Roof Extensions
Fastening the sheathing correctly is essential for shear strength and wind uplift resistance. For perimeter nailing at the structural tie-in, fasteners should penetrate the roof sheathing and embed securely into the roof fill board or sleeper that sits atop the existing framing. Fasteners are typically placed about one inch in from the panel edges to prevent the plywood or oriented strand board from splitting. Moving up the roof plane, every panel must break, or end, exactly over the center of a rafter.
A proper nailing schedule dictates that nails are driven through the panel and directly into the underlying rafters at regular intervals. While traditional framing nails are standard, some builders utilize structural staples for specific plywood-to-plywood connections where underlying framing support is absent, though relying primarily on direct-to-framing fastening is always the superior structural practice.
Navigating Sheathing Jogs And Hip Fills
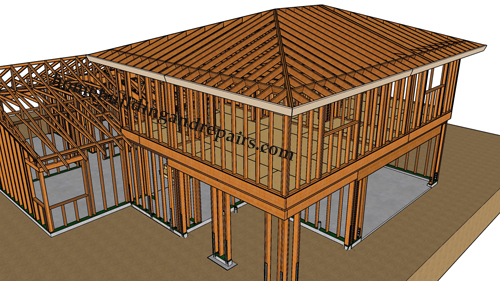
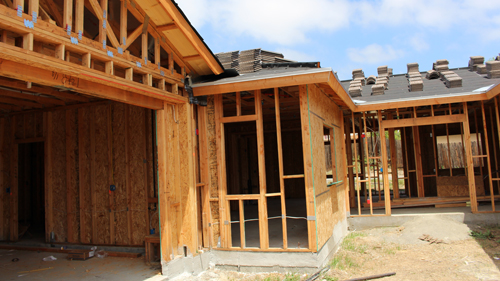
Depending on the specific architectural design, such as utilizing a hip fill method, there will be intersections where the new sheathing does not simply rest on top of the old sheathing. In these corner transitions where the new addition wall intersects with the existing wall, you will encounter a jog in the framing. Here, the roof sheathing butts up against the adjacent plane rather than overlapping it.
To maintain structural integrity, the wood panels must be carefully notched so that the seam sits evenly, bearing exactly half on the hip fill board or structural blocking. Sharing this bearing surface ensures that both the new and existing sheathing planes remain completely flush, transferring weight uniformly across the roof structure.
A secure roof tie-in relies on diligent carpentry, precise cuts, and adherence to proper fastening schedules. By properly utilizing sleeper boards, maintaining solid bearing at all panel joints, and enforcing a strict nailing pattern, the newly framed roof will function as a seamless extension of the original home.
Three Key Construction Tips For Roof Sheathing Tie-Ins
Install Filler Blocks In Valley Gaps
Whenever your sheathing cut leaves a small void near the 2x6 valley sleeper board, custom cut a solid wood block to fill the space. This ensures the panel has continuous backing, preventing soft spots that could lead to structural deflection or roofing material failure.
Maintain Proper Edge Nailing Distances
When securing the perimeter of your roof sheathing into the sleeper board or rafters, keep your nails approximately one inch away from the edge of the panel. Fastening too close to the edge can cause the wood structural panel to splinter or blow out, which compromises the holding power of the nail.
Split The Bearing On Hip Fill Transitions
Where new sheathing meets existing sheathing along a hip fill or structural blocking board, always notch and measure your panels so they land exactly in the center of the board. Both the existing panel and the new panel must share this bearing surface equally to maintain a flush, level roof deck.
Bonus Questions And Answers
To further expand on proper roof tie-in techniques, let us explore some common structural questions that often arise during room addition framing.
What Are The Building Code Requirements For Roof Sheathing Thickness?
Under the International Residential Code, the minimum thickness for wood structural panel roof sheathing depends heavily on the spacing of the rafters or trusses. For standard 16-inch or 24-inch on-center rafter spacing, a minimum of 7/16-inch oriented strand board or 15/32-inch plywood is generally required. This thickness ensures that the roof acts as a rigid diaphragm capable of resisting lateral forces and safely supporting anticipated live loads, such as snow accumulation and construction workers, without excessive sagging.
Do I Need To Remove Existing Shingles Before Tying In A New Roof Valley?
Yes, you must completely strip the existing roofing materials, including all shingles, underlayment, and roofing nails, down to the bare wood sheathing wherever new framing will rest. Standard building practices and codes mandate that structural members, such as valley sleeper boards, must be anchored directly to solid wood framing or structural sheathing. Fastening new framing over compressible materials like asphalt shingles severely compromises the structural connection and creates inevitable points for severe water intrusion.
Why Is Panel Edge Blocking Or H-Clips Required On Certain Roof Spans?
When roof framing members are spaced 24 inches on center, the edges of the wood panels that run horizontally between the rafters lack direct support and can deflect independently under weight. Building codes dictate that these unsupported edges must be reinforced, either by installing solid lumber blocking underneath the seams or by using metal H-clips between the panels. This practice locks the adjacent panels together, forcing them to share the load and preventing uneven deflection that could eventually tear the weather-resistant barriers and shingles above.