Framing A Livable Area Over A Two Car Garage
Building a livable area or storage space above a two-car garage introduces complex structural challenges, from engineering proper load transfers to meeting strict fire safety codes. This guide covers the critical framing stages for an overhead garage addition, including specialized shear wall construction, cantilevered balcony floor systems, hip roof assembly, and code-compliant stairwell layouts.
Designing Shear Walls For Large Garage Openings
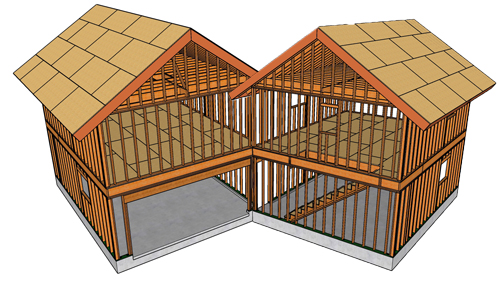
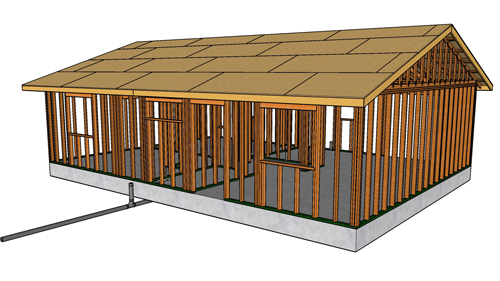
Garages require wide openings for vehicles, leaving minimal wall space to resist lateral forces like wind and seismic activity. To counter this, structural shear walls are installed on the front elevation. A robust shear panel assembly typically utilizes 2x6 framing with 4x6 posts on each end, secured to the foundation via oversized structural hold-downs and heavy-duty anchor bolts.
When installing the bottom framing plate, contractors have two choices: running the plate continuously and notching the shear panel around it, or stopping the plate short so the panel runs completely through the framing. While both methods are structurally viable, cutting the plate allows the shear sheathing to sit flush, avoiding compromised nailing patterns.
Floor Framing And Cantilever Balcony Integration
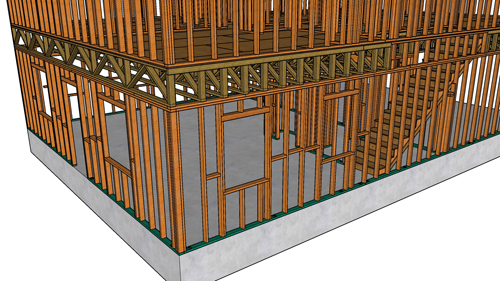
Supporting a second-story floor structure alongside a balcony requires heavy-duty load transfer systems. A substantial structural beam must be routed across the garage opening, supported by posts that transfer weight directly to expanded concrete footings. For a cantilevered balcony, the floor joists must extend beyond the building envelope while sloping slightly downward typically one-quarter inch per foot to shed water.
The cantilever ratio is critical for structural integrity. A standard rule of thumb for balconies is a one-to-three ratio. If the balcony extends 4 feet outward, the joist must extend a minimum of 12 feet back into the main floor structure, requiring a 16-foot continuous joist. Proper solid blocking must be installed over the bearing walls and around the perimeter to ensure joist stability and strong sheathing attachment.
Hip Roof Construction And Ceiling Joist Layout
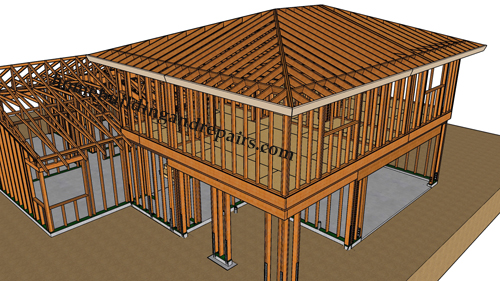
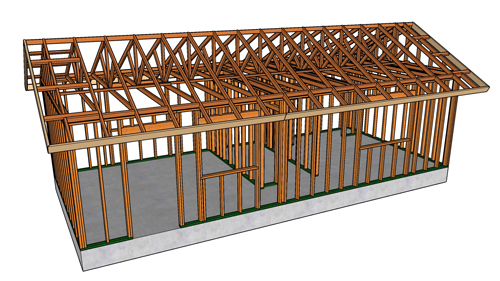
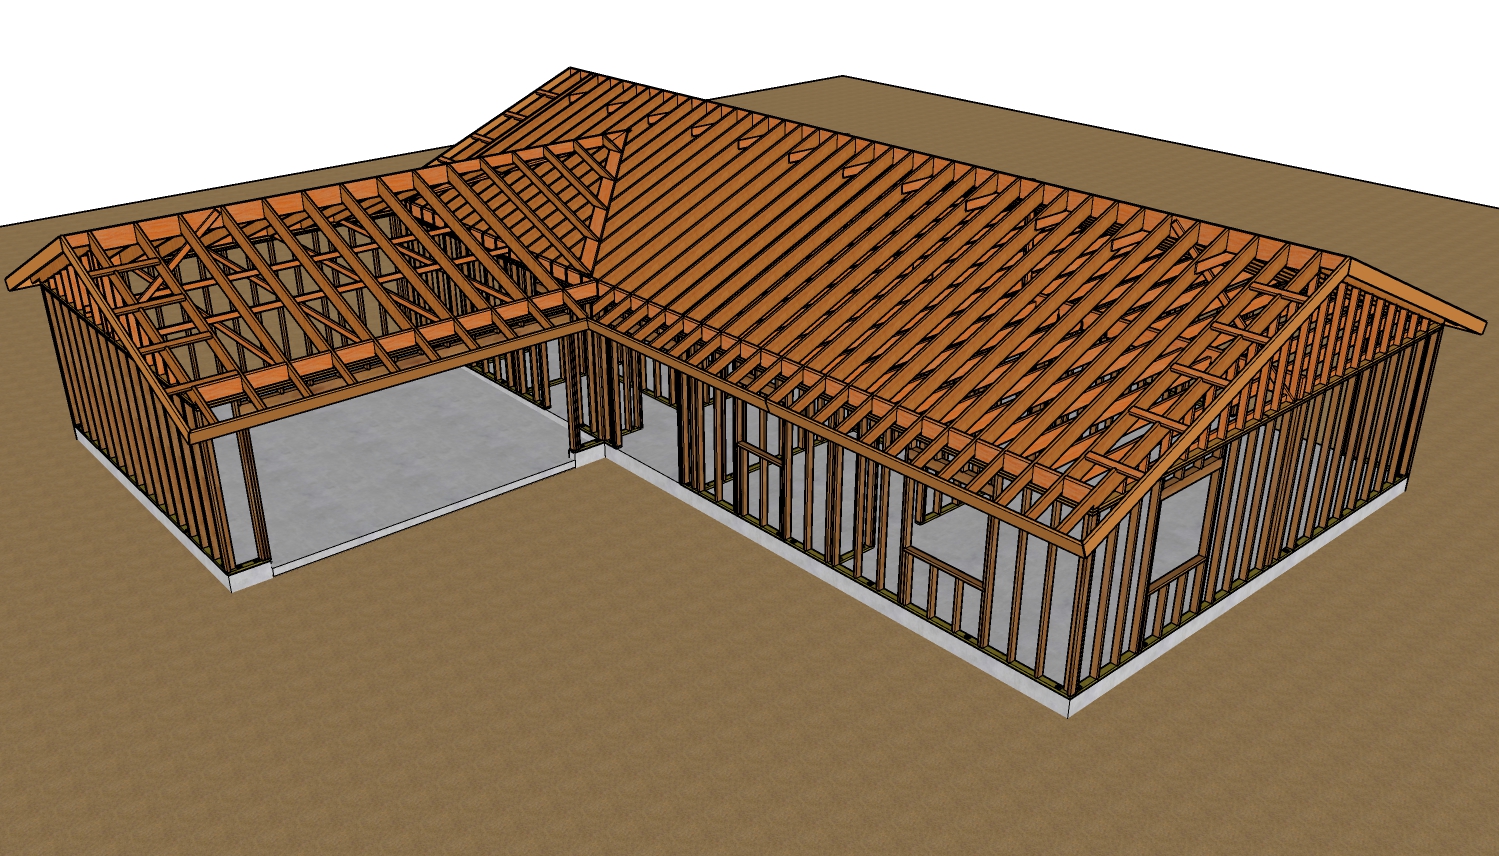
Framing a hip roof over a wide garage span necessitates precise calculation of common rafters, hip rafters, and jack rafters. For a 4/12 roof pitch, standard 2x10 lumber is generally used for the hips, combined with 2x6 common rafters spaced 16 inches on center. To prevent ceiling joists from sagging over wide spans, an interior structural beam can be introduced to halve the span, allowing for the use of smaller dimensional lumber like 2x6s instead of heavy 2x10s.
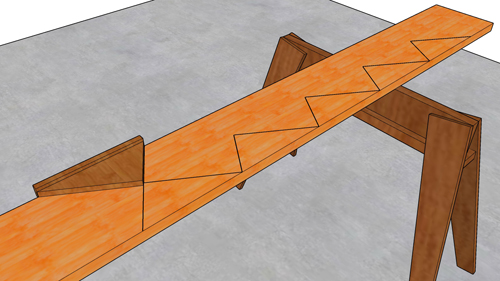
When dealing with intersecting ceiling joists and hip rafters, the corners of the ceiling joists often require notching to maintain an even plane for the roof sheathing. Additionally, continuous mid-span blocking should be added across the ceiling layout to lock the joists together and prevent twisting.
Stairway Landings And Garage Fire Separation
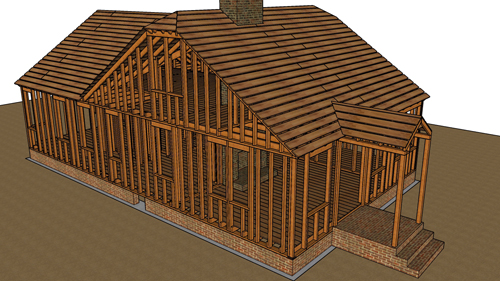
Integrating a stairway into a garage addition requires strict adherence to safety and fire separation building codes. A landing-style stairway is often necessary to navigate the height transition safely. Surrounding the stairwell, a protective fire separation wall must be erected to isolate the upper living space from potential garage fires.
Standard building codes mandate that the garage-side walls and ceilings be separated from the residence by a minimum of 1/2-inch gypsum board, or 5/8-inch Type X drywall if the space above is habitable. To facilitate straightforward drywall installation, specialized spacer boards should be attached to the stair stringers prior to mounting against the wall framing. Finally, guardrails must be installed at a safe height; while residential baseline codes typically require a minimum of 36 inches, extending the height to 42 inches above the tread nosing offers optimal safety.
Three Key Construction Tips
Do not cover shear walls or floor cavities before inspections. Structural inspectors must visually verify the installation of hold-downs, structural screws, anchor bolts, and insulation before you attach exterior sheathing or interior drywall.
Step down your balcony framing. By engineering a floor system that drops one and a half inches from the interior subfloor to the exterior balcony decking, you create a natural vertical barrier that drastically improves waterproofing and prevents wind-driven rain from entering the living space.
Pre-plan your attic access and headroom. If you adjust a roof pitch or ceiling layout, ensure the attic access hatch maintains the minimum required vertical clearance. Avoid placing access panels inside small closets where shelving will obstruct entry.
Advanced Structural And Layout Considerations
To further ensure your garage addition meets the highest structural and safety standards, here are answers to a few common design questions related to upper-floor framing and layout.
How Do Winder Stairs Impact Space Requirements In A Garage Stairwell?
If the garage lacks the linear floor space required for a traditional landing stair, converting the landing into winder steps offers a highly efficient geometric alternative. According to the International Residential Code (IRC), winder treads must maintain a minimum depth of 10 inches when measured 12 inches away from the narrow converging edge, and the absolute narrowest point cannot fall below 6 inches. Achieving this precise geometry requires careful stringer layout but reclaims valuable lower-level square footage for vehicle parking or workbench space.
Why Are Continuous Load Paths Critical For Garage Additions?
A continuous load path ensures that gravity and lateral loads are transferred seamlessly from the roof ridge all the way down to the foundation footing. When framing the second-story rake walls and connecting the top plates, standard common nails are increasingly being replaced by engineered structural screws for superior pull-out resistance. This prevents roof uplift during high wind events and guarantees that the top wall assembly works in unison with the foundation hold-downs.
What Are The Plumbing Code Limitations If Adding A Bathroom Above The Garage?
When routing under-floor drainage lines for a new bathroom or kitchenette above a garage, strict joist drilling and notching codes must be followed to avoid catastrophic structural failure. For solid sawn lumber, plumbing holes cannot exceed one-third of the joist depth and must be located at least 2 inches away from the top and bottom edges. If utilizing engineered I-joists, plumbing lines can only be run through the oriented strand board web; cutting, notching, or drilling the upper or lower wooden flanges is strictly prohibited and immediately voids the structural integrity of the floor.