Framing A Gambrel Roof And Garage Loft
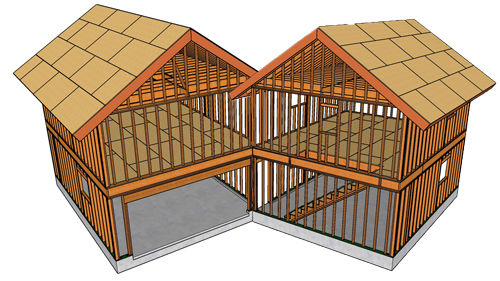
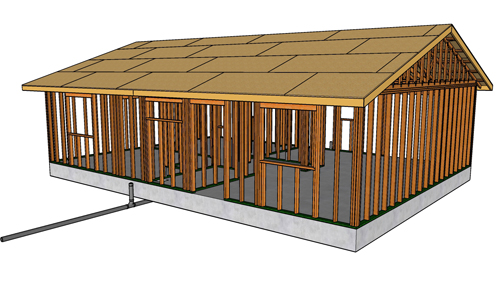
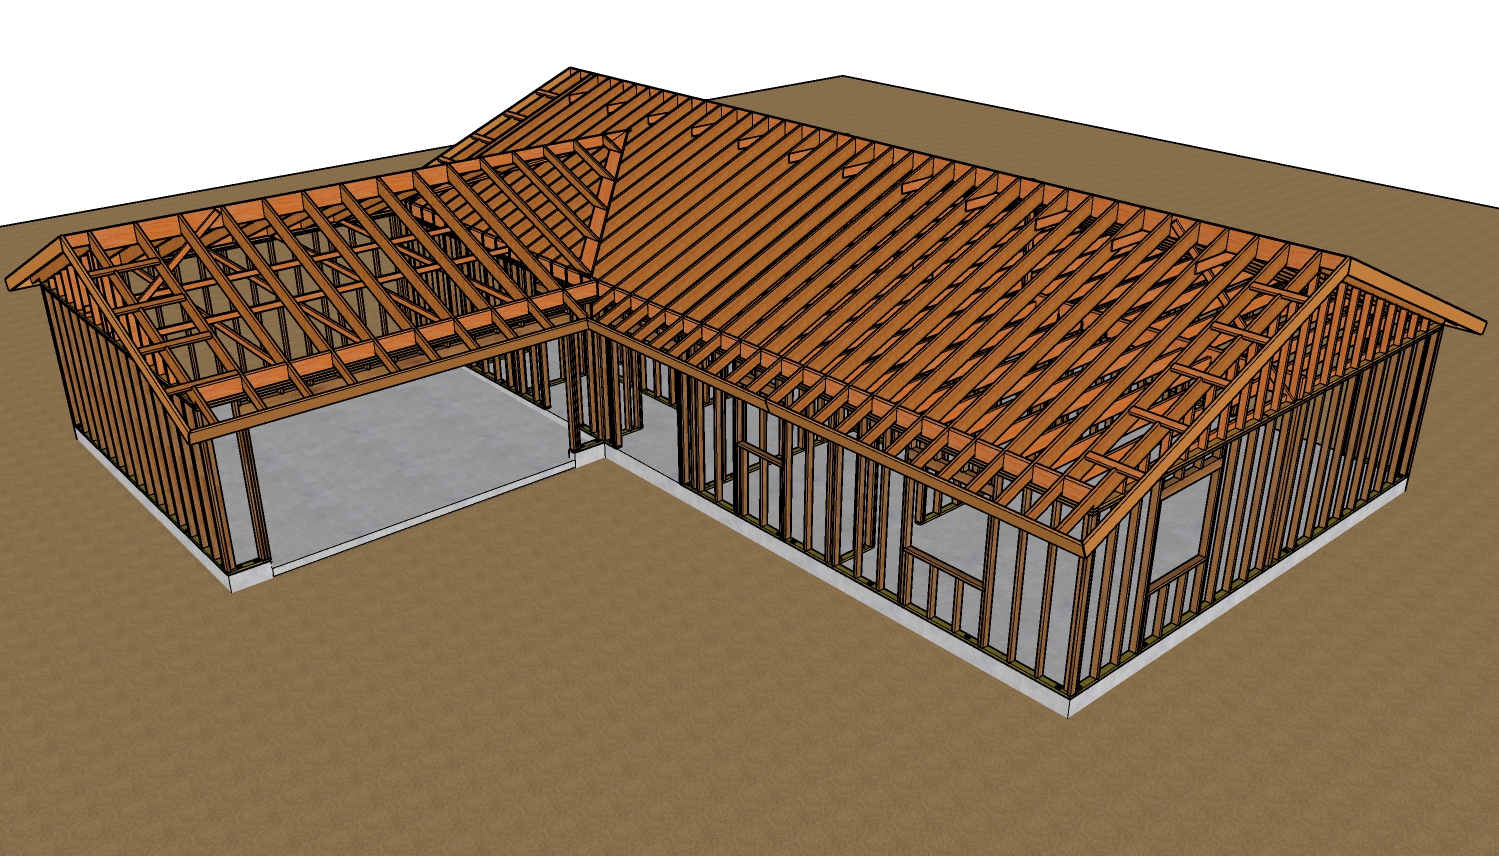
Constructing a gambrel-style roof over a garage to create a functional loft or living space requires careful planning and a deep understanding of load distribution. A gambrel roof provides excellent overhead space, but its steep angles mean that structural framing must be executed flawlessly to prevent the walls from spreading under the roof's weight. Utilizing continuous load paths, proper joist support, and highly secure structural fastening is essential for a safe, code-compliant building.
Structural Floor Framing And Joist Support
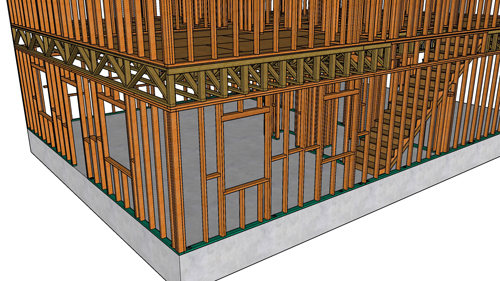
A solid loft starts with a robust floor system. Standard 2x12 floor joists spaced 16 inches on center can work, but reducing the spacing to 12 inches on center will significantly stiffen the floor and reduce deflection. When attaching these joists to the exterior garage walls, relying solely on lag screws through a ledger board may not provide the optimal structural connection for heavy loads.
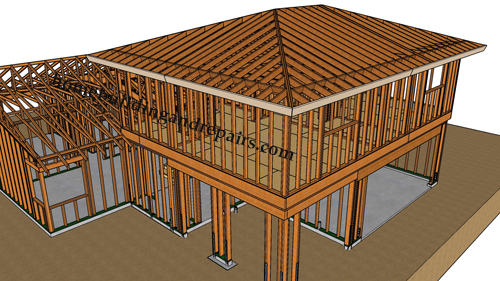
Instead, consider balloon framing variations or continuous bearing supports. Installing a 1x4 or 1x6 ribbon board notched into the wall studs provides a secure bearing ledge for the joists. Alternatively, framing a continuous load-bearing beam supported by posts, or running larger wall framing studs like 4x4s directly under the rim joist, creates a direct vertical load path down to the concrete foundation. Utilizing horizontal blocking between joists over bearing points will also prevent joist rotation.
Roof Framing And Ridge Beam Support
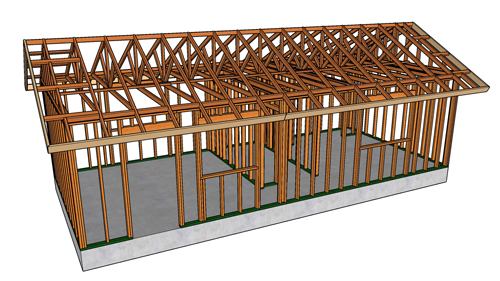
A gambrel roof inherently exerts outward horizontal thrust against the exterior walls. To counteract this without relying entirely on rafter ties, standard construction practices often employ structural ridge beams. Unlike a simple, non-structural ridge board, a true ridge beam carries the downward weight of the roof rafters and must be supported by continuous posts that transfer the load down to the foundation slab.
If an open loft space free of center columns is desired, the ridge beam must be upgraded to an engineered lumber product, such as a glulam or LVL, sized specifically to carry the roof load over the open span. Additionally, the rafter connections at the upper and lower roof planes require rigid fastening. Combining structural screws with traditional framing hardware ensures a tight, immovable connection at the rake wall top plates and horizontal joints.
Modifying Roof Framing For Stairway Headroom
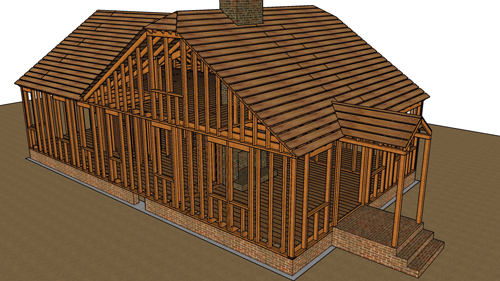
Incorporating a staircase into a loft requires modifying the roof and floor framing to maintain safe, legal headroom. This often involves creating a dormer-style pushout or a secondary intersecting roof plane. When framing the floor opening, double trimmers and headers must be installed to support the interrupted floor joists.
The roof structure above the stairway will rely on a valley rafter system tying into the main roof. The main structural rafters supporting the valley must be doubled to handle the concentrated point loads. Floor sheathing layouts must also be precisely adjusted around the stairway opening, ensuring that no small, unsupported strips of OSB or plywood are left bridging the joist bays without proper blocking.
Conclusion
Framing a garage loft requires a comprehensive approach to load management, from the continuous load path of the ridge beam to the specific spacing and blocking of the floor joists. By utilizing correct structural fastening methods and understanding how every framing member transfers weight to the foundation, you can build a stable, highly functional overhead space.
Three Key Construction Tips
Establish a continuous load path. Any post supporting a structural ridge beam or heavy header must transfer its load directly through solid blocking in the floor framing down to a bearing wall or a properly sized concrete footing below the slab.
Protect against wind uplift. Standard toenailing with common nails is insufficient for roof rafters. Secure the rafter-to-wall plate connection using proper hurricane ties or metal strapping, and install collar ties in the upper third of the roof to resist wind uplift and lateral rafter separation.
Control exterior wall thrust. If a structural ridge beam is not utilized, the roof design must rely on heavily reinforced lower rafter connections, ceiling joists acting as continuous rafter ties, or engineered gusset plates at the gambrel joints to prevent the roof weight from pushing the exterior walls outward.
Bonus Questions And Answers
To further expand on the complexities of loft construction, it is important to look beyond the basic framing members and consider the strict residential codes that dictate access and safety.
What Is The Minimum Headroom Clearance For A Residential Loft Stairway?
When framing out the access for your new loft, you must adhere to the International Residential Code (IRC) requirements for stairway dimensions. The IRC dictates a minimum headroom clearance of 6 feet 8 inches (80 inches) measured vertically from the sloped plane joining the tread nosings. If your gambrel roof slope encroaches on this space, you must frame a dormer or adjust the floor opening geometry to guarantee this vertical clearance is maintained throughout the entire flight of stairs.
Moving beyond the spatial planning of the stairs, another critical element to consider is how the actual floor surface is secured to the joist framing to handle heavy loft storage or active living space.
What Are The Best Practices For Fastening Floor Sheathing To Loft Joists?
To create a rigid floor diaphragm and prevent long-term floor squeaks, relying on nails alone is insufficient. Standard building practices dictate applying a continuous bead of polyurethane subfloor adhesive to the top of each joist before laying the sheathing. The panels should then be secured using ring-shank common nails or structural wood screws spaced 6 inches apart along the panel edges and 12 inches apart in the field, ensuring the panels are laid perpendicular to the joists with fully staggered end joints.
Finally, while understanding how to secure the floor is crucial, it is equally important to understand the strict limitations of altering the vertical wall framing to support that structural floor.
How Much Can You Safely Notch A Load Bearing Wall Stud For A Ribbon Board?
If you choose to notch a ribbon board into your wall studs to support the floor joists, you must strictly follow the IRC limits for notching load-bearing members. The building code allows load-bearing studs to be notched to a maximum of 25 percent of their total depth. For a standard 2x4 (which is actually 3.5 inches deep), a 3/4-inch notch consumes roughly 21 percent of the stud, which is legally permitted but leaves little structural margin for error. Upgrading the framing to 2x6 studs provides a much safer margin, as a 3/4-inch notch only removes about 13.6 percent of the stud's depth.