Advanced Framing And Plumbing Guidelines For Garage Lofts
Constructing a garage with a living space or loft above requires meticulous attention to structural framing connections and plumbing code compliance. Integrating a shed roof with a gable roof demands precise roof rafter layout, while adding plumbing fixtures to lower levels requires a thorough understanding of venting mechanics. This guide breaks down the essential framing techniques for supporting roof overhangs and the critical plumbing requirements for preventing trap siphonage.
Framing Structural Overhangs And Roof Intersections
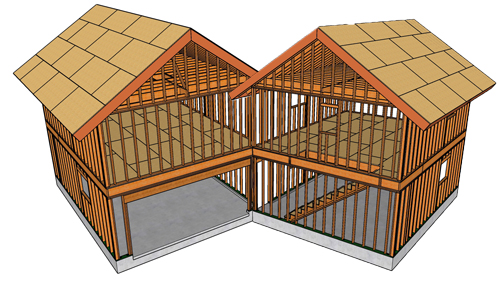
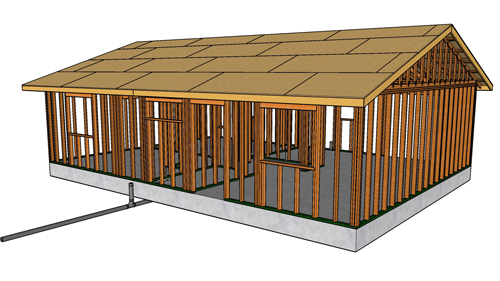
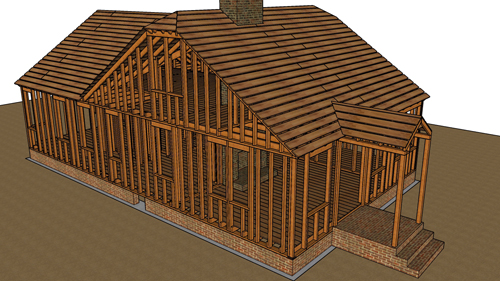
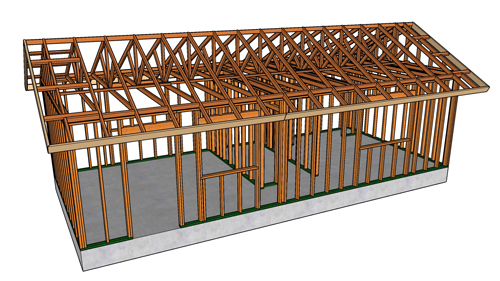
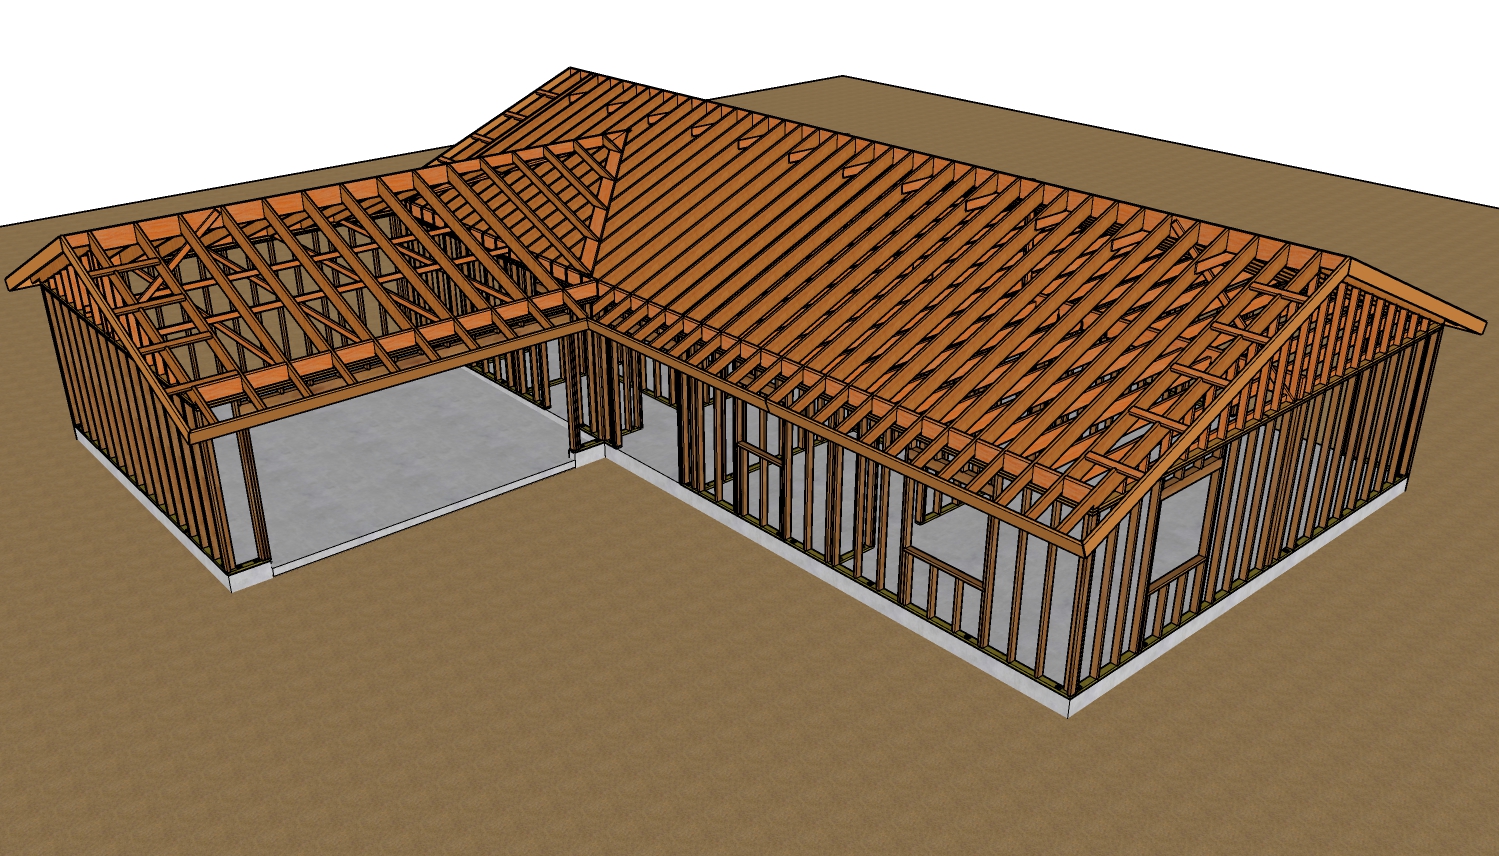
When intersecting a lower shed roof with a primary gable roof, the structural integrity relies heavily on how the rafters overlap and tie together. Standard practice involves laying out the roof rafters at 16 inches on center. Where the shed rafters meet the primary roof rafters, they must lap side-by-side. This overlapping section creates a rigid structural tie between the front and back of the roof assembly.
To maximize the strength of this connection, installers should use appropriate structural fastening. Driving four properly sized framing nails through the face of each lapped rafter from both directions ensures a solid bond. Additionally, each rafter must be securely toenailed into the ridge beam. When laying out the walls beneath these rafters, builders can either construct the wall to sit directly on top of the installed roof sheathing or frame the wall beneath the rafters, utilizing metal framing anchors for a superior structural connection against wind uplift.
Supporting Fascia Boards Without Traditional Lookouts
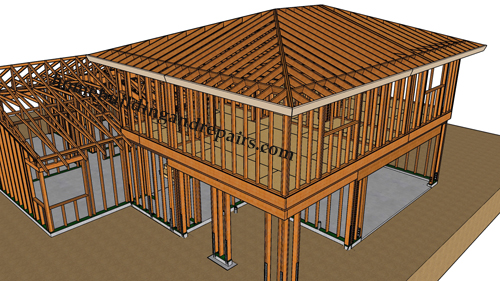
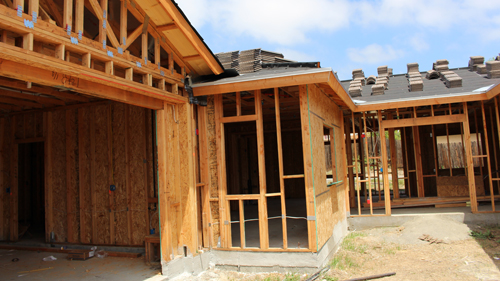
Extended roof overhangs and heavy fascia boards require adequate support to prevent sagging, especially in regions subject to snow loads. The optimal method utilizes traditional wooden lookouts that cantilever over the exterior wall plate and notch into the rafters. However, when architectural designs restrict the use of continuous lookouts, alternative structural supports must be implemented.
One method involves shaping solid support blocks and fastening them directly to the wall framing studs to act as a cantilever for the fascia. For increased capacity, these blocks can be secured using structural screws rather than standard common nails to provide significantly higher pull-out resistance.
Another approach utilizes custom metal brackets bolted to oversized wall studs, such as 4x4 posts, to carry the weight of the overhang. Alternatively, the fascia board can be structurally sandwiched between two continuous wall studs running from the bottom plate to the top plate. Whichever method is chosen, the cantilevered distance should be minimized, keeping the extension to 12 or 24 inches depending on the dimensional lumber used for the fascia.
Plumbing Code Compliance For Lower-Level Sinks
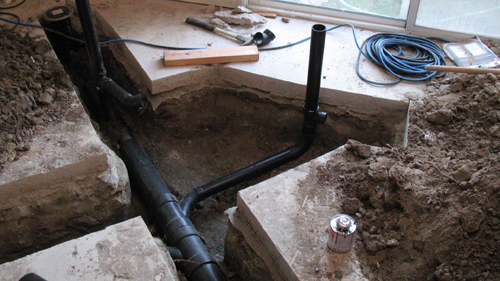
Installing a new sink in a garage or basement directly below an existing second-story apartment requires strict adherence to residential plumbing drain lines and venting codes. A common, yet critical, mistake is tying the new sink drain directly into an existing vertical waste stack without installing an independent vent.
When a large volume of water drains from higher fixtures, such as a washing machine or upper-level kitchen sink, it creates a vacuum effect as it rushes down the vertical pipe. Without proper venting, this siphoning action will forcefully pull the water out of the lower sink's trap. Once the water seal is broken, harmful sewer gases can freely enter the living space.
To prevent this, the new lower-level sink must have its own vent line. This vent can either terminate directly through the roof or tie back into the main vent stack. If tying into the existing stack, the connection must be made at least 6 inches above the flood level rim of the highest plumbing fixture served by that system, which typically means making the connection high up in the second-story wall or attic.
Understanding Fixture Units And Pipe Capacities
Before tapping into existing plumbing, builders must calculate the total Drainage Fixture Units loading the pipe. Standard 1.5-inch drain pipe has a strict maximum capacity. While a single bathroom lavatory typically counts as one fixture unit, a kitchen sink counts as two. If an existing 1.5-inch vertical drain is already servicing an upper kitchen sink, adding a second kitchen sink below will exceed the pipe's allowable limit, leading to slow draining and frequent clogs. Upgrading to a 2-inch drain pipe or utilizing a separate drain line is often necessary to maintain code compliance.
Conclusion
Successful execution of a garage loft addition bridges the gap between robust structural framing and meticulous plumbing layout. By ensuring proper rafter overlaps, reinforcing overhangs, and strictly following vent connection heights and pipe load limits, builders can ensure a safe, long-lasting, and fully compliant structure.
Three Key Construction Tips
Always use inverted sanitary tees when transitioning from a vertical vent to a horizontal branch. This ensures that any condensation or rainwater entering the vent stack flows smoothly down into the drainage system rather than pooling in the fittings.
When relying on a cantilevered block to support a fascia board, the length of the backspan extending into the structure must be sufficient to counterbalance the overhanging weight. A common rule of thumb is a two-to-one ratio, where two-thirds of the board's length is anchored firmly inside the wall system.
Install roof sheathing completely across the transition areas before framing secondary walls on top of the roof deck. This creates a continuous, unbroken diaphragm that significantly increases the lateral shear strength of the building.
Bonus Questions And Answers
While the principles of framing and plumbing outlined above cover the core structural connections, many builders face additional challenges when constructing multi-level garage additions. The following questions address critical aspects of wall stability, alternative venting, and code-compliant framing modifications.
How Can I Stiffen Tall Garage Walls To Prevent Bowing Under The Weight Of A Loft?
Tall structural walls require horizontal blocking to maintain rigidity.
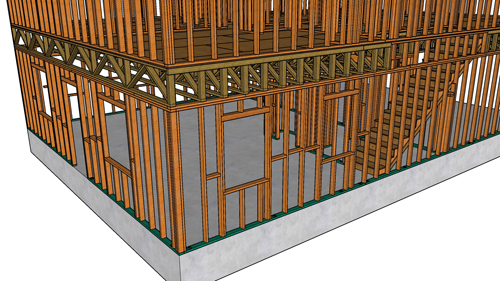
When constructing a garage with a loft, the first-floor walls are often built taller than standard residential heights to accommodate large garage doors and vehicle clearances. Tall studs are highly susceptible to bowing or warping under the vertical load of the upper floor and roof. Installing horizontal blocking at the mid-point of the wall studs drastically reduces the unsupported length of the stud. This practice, deeply rooted in standard structural engineering, prevents the framing members from buckling under load and provides solid backing for drywall installation.
Can I Use An Air Admittance Valve Instead Of Running A Vent Pipe Through The Roof?
Yes, provided local plumbing codes permit their use in your specific application.
Running a new vent pipe all the way to the roof from a basement or lower-level garage can be invasive and destructive to the finished spaces above. An Air Admittance Valve is a one-way mechanical valve installed near the fixture that opens to let air in when water drains, preventing trap siphonage, and then snaps shut to block sewer gases from escaping. The International Residential Code allows Air Admittance Valves for individual fixtures, but they must be installed perfectly plumb, remain accessible for future replacement, and be located a minimum of 4 inches above the horizontal branch drain.
What Is The Proper Way To Frame The Top Plate Of A Rake Wall On A Sloped Ceiling?
The top plate should be beveled to match the roof pitch and secured properly to the rafters.
When building a rake wall that extends up to meet the sloped roof rafters, utilizing standard square top plates creates a weak point with inadequate surface contact. The universally accepted best practice is to bevel the top plate of the rake wall to perfectly match the roof pitch. This allows the wall framing to sit flush against the underside of the rafters or roof decking. Once flush, structural fastening can be applied evenly, ensuring a continuous load path that transfers the roof weight smoothly down through the rake wall top plate connections, into the wall studs, and down to the foundation.