Designing A Gable Roof In Architectural Software: Pitch, Materials, And Wall Breaks
When drafting a new home in architectural design software, generating the roof is often an automated process. Most default settings will automatically create a hip roof over a standard perimeter wall layout. However, modifying that roof into a gable design, adjusting its pitch, and assigning the correct materials requires a few specific steps. This guide will walk you through the structural design settings needed to accurately model a gable roof.
Converting A Hip Roof To A Gable Roof
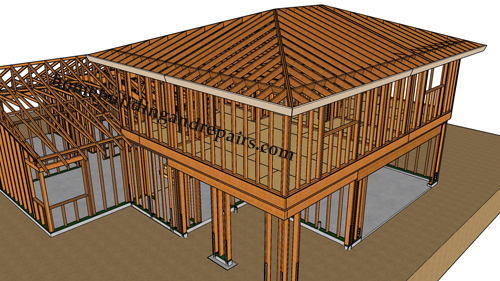
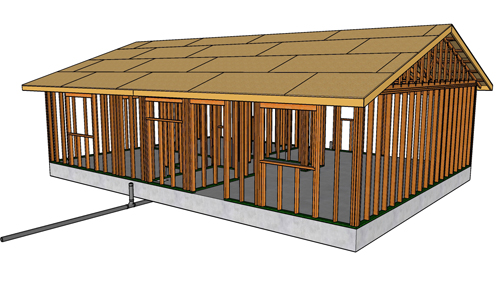
In most architectural drafting programs, placing exterior walls automatically generates a hip roof with a standard default pitch, typically an 8/12 slope. To change a standard hip roof into a gable roof, you must adjust the properties of the specific exterior walls where you want the gable ends to appear. By selecting the end wall and modifying its attributes in the software interface, you can designate it as a gable wall.
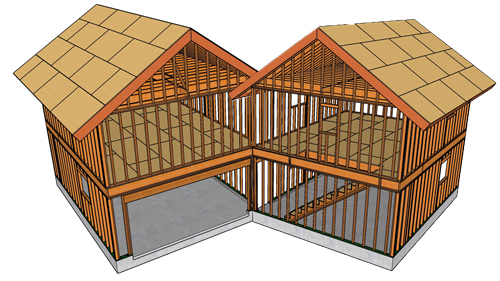
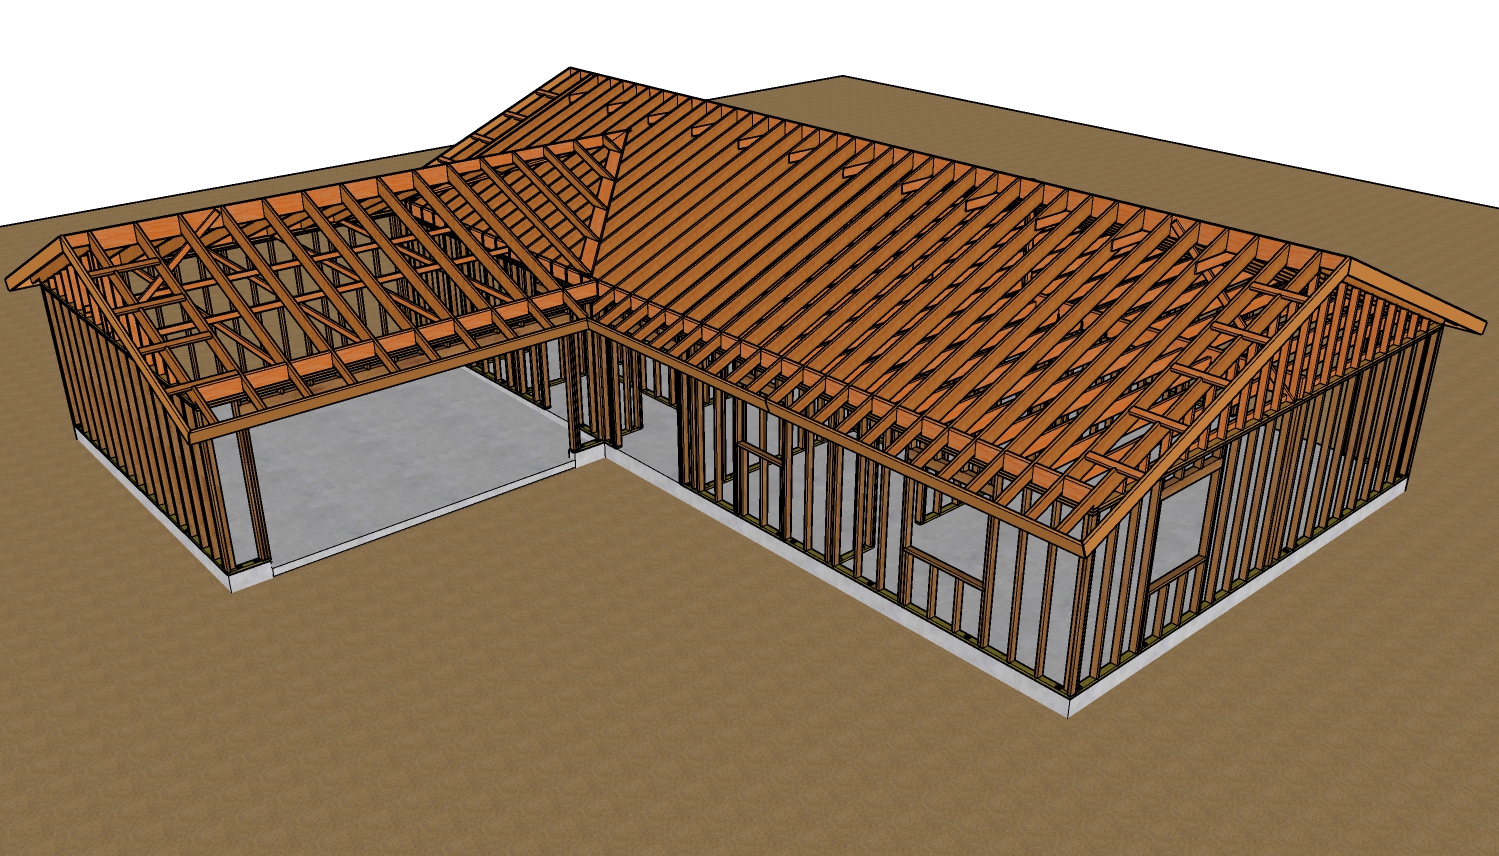
This action prompts the software to extend the wall upward to meet the roof peak, effectively transforming that section from a sloped hip plane into a vertical gable end. If you apply this setting to all exterior walls on a square or rectangular layout, the software will generate a four-sided cross-gable roof.
Adjusting Roof Pitch And Overhang Dimensions
Once the basic gable shape is established, you can refine the roof slope and eave extensions. Accessing the default roof settings allows you to alter the pitch to match your specific climate or design needs. For instance, changing the default 8/12 pitch to a lower 4/12 pitch creates a more walkable, shallower slope. A 4/12 roof pitch corresponds to an angle of roughly 18.5 degrees. Conversely, modifying the pitch to a 12/12 ratio creates a much steeper profile, which is highly beneficial in cold climates because it sheds heavy snow rapidly.
Within these same structural settings, you can also manipulate the overhangs, which are the eaves projecting past the exterior walls. Extending an eave from a standard dimension out to 36 inches provides dramatic visual appeal and excellent weather protection, though deep overhangs must be carefully planned in real-world construction to ensure structural stability.
Updating Roofing And Ridge Cap Materials
Applying realistic materials to your 3D model ensures the visual representation matches the planned construction. When you navigate to the material settings to change the roofing to a specific finish, such as copper shingles or architectural shakes, you might notice that the ridge caps do not automatically match the new field shingles. In many design programs, the ridge cap material is categorized separately from the main roof field. To achieve a uniform appearance, you must manually open the roof cap material settings and select the exact same copper or shake finish so that the ridge correctly blends with the rest of the roof plane.
Using Wall Breaks For Complex Gable Designs
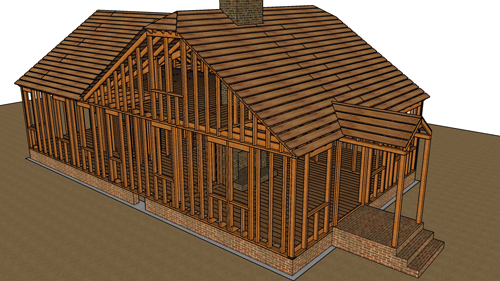
Designing homes with complex footprints, such as adding an intersecting exterior wall extension, can confuse automated roof generation tools. When you extend a room outward, the software might stretch a single gable roof awkwardly across the newly formed irregular wall line. To correct this and create a proper intersecting roofline, you must use the wall break tool.
By placing a break at the exact point where the new exterior wall intersects with the main house wall, you separate them into two distinct segments. You can then define the extended wall as a gable while returning the adjoining main wall segment to a standard bearing wall. This forces the software to calculate the roof planes independently, resulting in a clean, structurally accurate intersecting gable roof.
Three Key Construction Tips
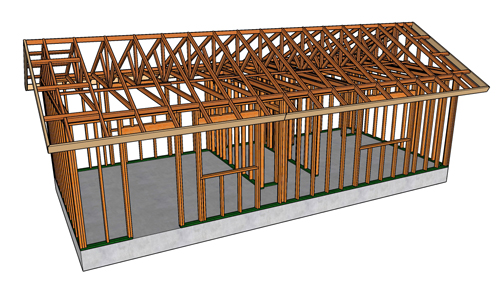
Pitch To Degree Conversion: When setting your roof pitch, it is helpful to know the geometric angle for structural load calculations. A 4/12 roof pitch is exactly 18.43 degrees. Knowing this angle is critical when ordering engineered trusses or cutting birdsmouth joints on traditional rafters.
Managing Deep Overhangs: While the software allows you to easily input a 36-inch eave overhang, real-world structural framing requires special attention here. According to general building framing principles, overhangs extending beyond 24 inches typically require engineered lookouts, larger rafter tails, or specialized cantilever framing to prevent sagging and resist wind uplift forces.
Roofing Material Coordination: Just as the software separates field shingles from ridge caps, real-world roofing requires dedicated ridge cap materials. You cannot simply fold standard stiff architectural shingles over a ridge. Always specify factory-made, matching ridge caps designed to flex over the peak without cracking to ensure a watertight building envelope.
Expanding Beyond The Basics: Common Roof Design Questions
While mastering the software is the first step, understanding the physical building codes behind your digital model ensures your design is actually constructible. Below are three critical building science considerations for gable roof construction.
How Does A Gable Roof Design Manage Attic Ventilation?
A proper gable design must account for airflow to prevent moisture buildup and heat trapping. The IRC (R806) dictates that enclosed attics must have cross ventilation. The standard rule is providing a minimum net free ventilating area equal to 1/150 of the area of the vented space. This is typically achieved on a gable roof by combining continuous soffit vents under the eaves with a continuous ridge vent at the peak, allowing cool air to enter at the bottom and hot air to exhaust at the top.
Do Gable End Walls Require Special Framing For Wind Resistance?
Yes, tall gable end walls present a large flat surface that acts like a sail during high winds. Unlike hip roofs which are aerodynamically sloped on all sides and brace themselves, gable end walls require specific structural bracing. In high-wind zones, building codes require gable end walls to be properly braced into the ceiling diaphragm or roof framing using lateral continuous braces or specialized truss anchors to prevent the wall from bowing or collapsing inward during severe storms.