HOW TO REPAIR GAPS IN ROOF FRAMING AND ATTIC BRACING
Gaps in roof framing can be an alarming sight for any homeowner or inspector entering an attic. Whether you notice space between a rafter and the ridge board, or a gap where a purlin brace meets a support wall, these structural separations compromise the load path of the building. Structural gaps are typically caused by wood shrinkage, seasonal moisture expansion and contraction, building settlement, or inferior original workmanship during the framing phase. Leaving these components uncorrected can lead to sagging rooflines or localized structural failure under heavy snow or wind loads. Fortunately, most framing gaps can be reinforced effectively without dismantling the entire roof assembly.
UNDERSTANDING TRADITIONAL REPAIR METHODS
When structural members separate, simply trying to pull the components back together with fasteners can distort other parts of the building or cause structural damage to the materials the boards were originally nailed into. Instead of replacing the detached framing member, the universally accepted best practice is to reinforce the connection using sistered lumber, filler blocks, and approved engineered hardware.
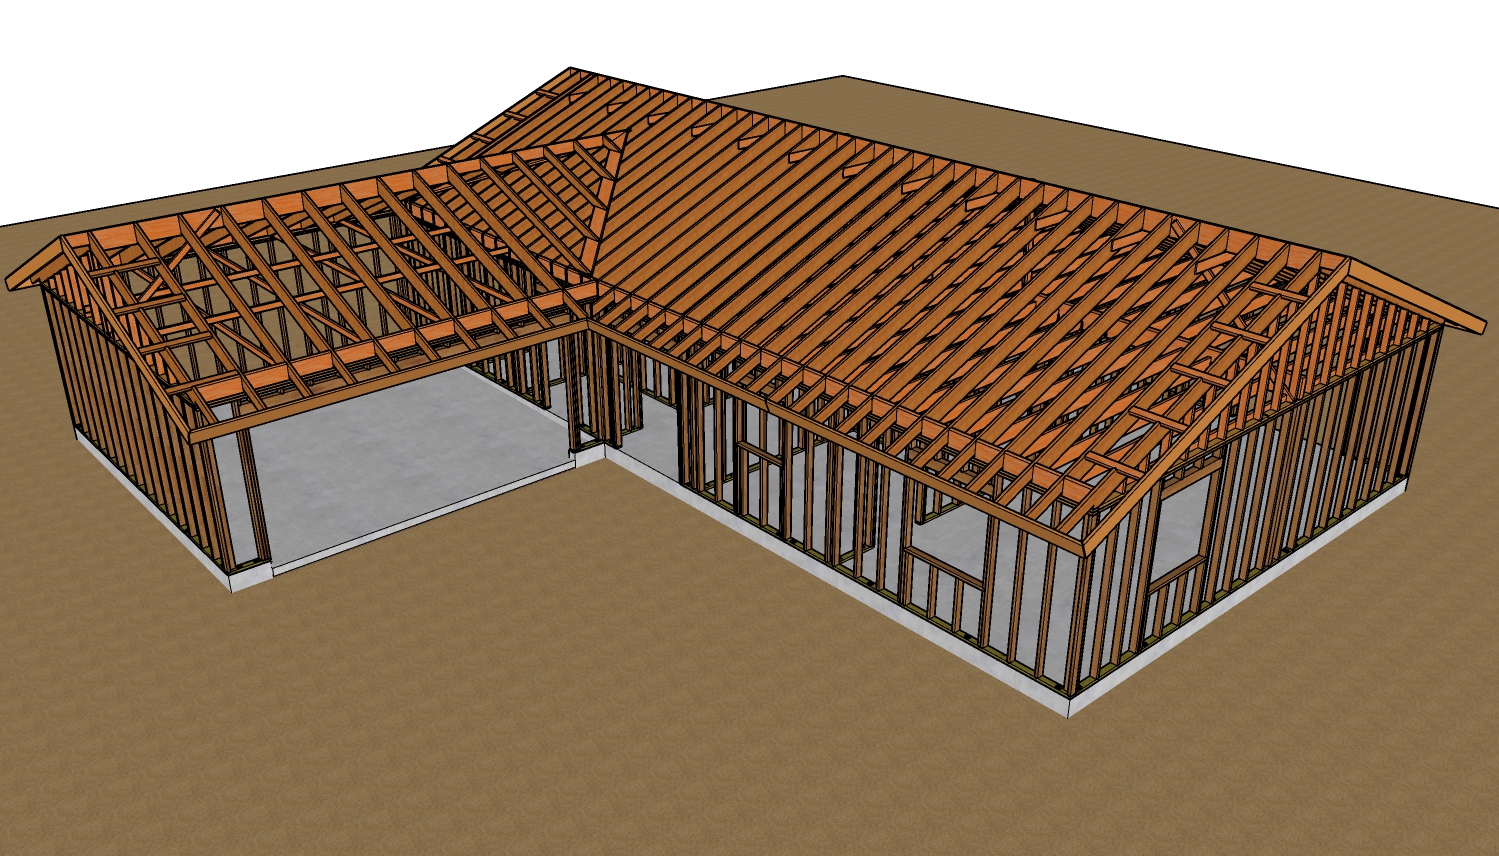
For a gap between a rafter and a ridge board, a reliable approach is to sister a secondary rafter directly next to the original compromised member. The secondary board must be cut to fit tightly against the ridge board and the top plate of the wall below, effectively taking over the structural load. For minor gaps under one inch, you can also fill the void with a precise piece of structural plywood or dimensional lumber, nailing it thoroughly to secure the joint.
THE CRITICAL DIFFERENCE BETWEEN NAILS AND SCREWS
A common mistake made during DIY structural repairs is the over-reliance on standard wood screws or drywall screws. Screws are brittle because of the heat-treatment manufacturing process and the weak points created by their threaded shanks. When subjected to lateral structural movement, standard screws lack the necessary shear strength and tend to snap at the grooves.
In structural framing, common nails or ring-shank nails are mandatory for wood-to-wood connections. Nails are manufactured from ductile steel, allowing them to bend under extreme shear pressure without snapping, maintaining structural integrity during building movement. If screws are preferred for ease of installation, you must use specifically rated structural screws that have been engineered and certified to meet equivalent shear values.
REINFORCING PURLIN BRACES AND COLLAR TIES
Gaps frequently appear where roof purlin braces meet their supporting walls or joists. To repair a gap in these locations, a solid blocking method is highly effective. If you encounter a gap, cut a piece of structural plywood or dimensional lumber to act as a tight shim block. Ensure the block is cut slightly longer than the gap itself, allowing you to secure it firmly into the sides of the adjacent framing members. To guarantee the longevity of the repair and provide extra structural capacity, installing specialized metal building hardware, such as hurricane ties or steel strapping, is highly recommended to bridge the connection securely.
CONCLUSION
Fixing attic framing gaps requires a careful understanding of load paths and proper fastening techniques. By using filler blocks, sistered framing members, and correct structural nails or straps, you can restore structural integrity to your roof. Always inspect the entire attic space for signs of widespread settlement and consult with a structural engineer if you suspect the gaps are caused by foundation movement rather than seasonal wood shrinkage.
THREE KEY ACTIONABLE REPAIR TIPS
Use Ductile Fasteners for Structural Loads: Never use standard drywall or deck screws to repair roof framing. Always use common nails, ring-shank nails, or engineered structural screws that possess the certified shear strength required to withstand lateral building movement.
Implement Shims and Block Extensions: When filling structural gaps with plywood or lumber blocks, cut the repair piece long enough to allow a robust nailing pattern into the healthy surrounding framing. Do not rely on a small wedge that can split or dislodge over time.
Avoid Forcing Settled Framing: Do not attempt to use heavy winches or structural screws to forcibly pull separated framing members back into their original positions. Forcing the wood can cause structural cracking or pull apart connections on the exterior roof decking and trim.
BONUS QUESTIONS AND ANSWERS
QUESTION 1: CAN I USE MY ATTIC SOLELY FOR STORAGE WITHOUT REINFORCING THE FLOOR JOISTS?
ANSWER: In most cases, standard attic joists are only designed to support the weight of the ceiling below it and basic insulation, which is known as a dead load of about 5 to 10 pounds per square foot. According to the International Residential Code (IRC), a space intended for habitable use or light storage requires a live load capacity of at least 20 to 30 pounds per square foot. If you store heavy boxes or furniture on unreinforced joists, you risk bowing the wood, cracking the drywall ceilings underneath, or causing structural sagging. Before converting your attic into a storage unit, a structural engineer or licensed contractor should evaluate if sistering the joists (adding matching lumber directly alongside the existing joists) or installing thicker subflooring is necessary to handle the extra weight safely.
QUESTION 2: WHY IS IT CRITICAL TO SEAL THE ATTIC ACCESS HATCH EVEN IF THE REST OF THE ATTIC FLATS ARE WELL INSULATED?
ANSWER: Leaving an attic access hatch or pull-down ladder unsealed creates a chimney effect that severely degrades your home's energy efficiency and structural health. Warm, moist indoor air naturally rises and seeks out any gaps, a phenomenon known in building science as air leakage or exfiltration. Under Section R402 of the International Energy Conservation Code (IECC), access hatches must be insulated to a level equivalent to the surrounding surfaces and properly weather-stripped. Without a tight seal, hot, humid air from your living spaces flows freely into the cold attic space during winter, where it hits the cold underside of your roof deck. This causes immediate condensation, which leads to wood rot, weakened roof rafters, and toxic mold growth over time.
QUESTION 3: WHAT HAPPENS IF AN ATTIC EXHAUST FAN IS INSTALLED WITHOUT ENOUGH SOFFIT OR INTAKE VENTS?
ANSWER: Installing a motorized attic exhaust fan without sufficient intake ventilation creates a dangerous pressure imbalance known as negative pressure. For an attic ventilation system to function correctly, it relies on a passive balance where hot air escapes through the top vents while fresh, cooler air is drawn in through the soffit or intake vents at the eaves. If the fan pulls out more air than the intake vents can supply, it turns the attic into a vacuum. To satisfy this vacuum, the fan will pull conditioned air straight out of your living space through recessed lights and wall gaps. More dangerously, it can cause backdrafting, where carbon monoxide and toxic combustion gases from gas water heaters or furnaces are pulled backward down the chimney flue and into your home instead of exhausting outside.