How To Safely Level A Sagging Deck
Over time, outdoor decks can settle, slope, or sink due to shifting soil, inadequate footings, or natural wood deterioration. Addressing an uneven deck early prevents further structural stress on the framing and the primary ledger attachment to the home. Lifting and re-leveling a deck is a straightforward procedure, provided you follow strict safety protocols and use the correct heavy-duty equipment.
Evaluating The Structure And Gathering Equipment
Before attempting to move any framing members, assess the entire substructure to understand why the deck settled. The most common structural design involves a series of vertical posts supporting horizontal beams. If a post has sunken, you will need to lift the beam above it to restore a level plane.
For this task, a standard automotive floor jack is often insufficient. Securing a heavy-duty hydraulic bottle jack, typically rated for twelve tons or more, is highly recommended. The lifting capacity must far exceed the estimated weight of the deck section to ensure the internal seals of the jack do not fail under pressure.
The Lifting Process
Place the hydraulic jack directly under the main beam near the affected post. To distribute the pressure and span the gap between the jack and the beam, cut a strong section of timber, such as a sturdy four-by-four post, to act as a lifting column. Never place a jack directly on soft dirt; instead, distribute the load on the ground using a solid base like a thick piece of lumber or a concrete block. Slowly apply pressure to the hydraulic cylinder to raise the beam. Check your progress frequently with a spirit level until the deck is restored to its proper horizontal alignment.
Securing Temporary Support
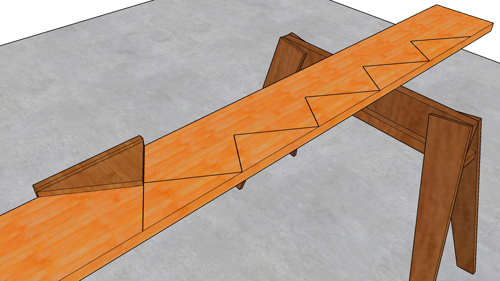
Once the deck reaches the desired elevation, you must immediately build a temporary shoring system. Never rely on a hydraulic jack to hold the structure while you work beneath it, as jacks possess a pivot point that can slip or suffer from sudden hydraulic failure. Create a secondary support by placing a flat piece of structural lumber, such as a two-by-ten, on the ground adjacent to the work area. Wedge another temporary four-by-four post between this ground block and the lifted beam. Only after this fail-safe cribbing is secure should you remove the compromised permanent post and install a newly cut support.
Conclusion
Restoring a sunken deck requires patience, careful observation, and an absolute commitment to safety. By using appropriately rated lifting equipment and establishing redundant temporary supports, you can successfully replace compromised posts and extend the lifespan of your outdoor living space. Always stop and reassess your approach if the lifting mechanism shifts, leans, or feels unstable during the process.
Three Key Tips
Use adequately rated lifting equipment. A heavy deck requires a heavy-duty hydraulic jack, often in the twelve-ton range, rather than a lightweight car jack that could fail under the structural load.
Establish redundant shoring. Never work under a structure supported solely by a jack. Always install temporary timber bracing alongside the jack to carry the load if the primary lifting tool slips or loses pressure.
Create a solid lifting foundation. Prevent the jack from sinking into the soil by placing a wide, flat piece of structural lumber on the ground to act as a stable base for the lifting equipment.
Bonus Questions And Answers
To further assist you with your deck repair project, here are a few additional considerations that go beyond the basic lifting process.
Do I Need To Replace The Concrete Footing When Fixing A Sunken Deck Post?
If your existing post settled because the concrete footing cracked, sank, or was improperly poured, you must replace the footing before installing a new post. According to standard residential building codes, deck footings must extend below your local frost line to prevent frost heave from pushing the structure upward during freezing temperatures. Additionally, the footing must bear on solid, undisturbed soil and be sized appropriately for the load of the deck, which often requires a minimum diameter of twelve inches depending on the soil bearing capacity and the joist span.
What Is The Correct Way To Attach The New Deck Post To The Existing Beam?
When you slide the new support post into place, it is critical to use the proper mechanical fasteners rather than simply driving nails at an angle. Building codes strictly prohibit toenailing as the sole method of attachment for load-bearing post-to-beam connections. You must use an approved galvanized or stainless steel post-to-beam connector, commonly referred to as a post cap bracket. These manufactured metal connectors ensure a positive connection that resists both uplift from severe weather and lateral shifting.
How Do I Prevent The Deck From Swaying After Replacing The Support Posts?
While fixing a sunken post addresses vertical settling, you might notice your deck sways horizontally, which requires the addition of structural bracing. For decks standing more than two feet above the ground, structural standards generally mandate the installation of diagonal sway bracing. This involves attaching heavy lumber, typically two-by-fours or two-by-sixes, at a forty-five-degree angle between the vertical support posts and the horizontal beams. This bracing transfers lateral loads down to the footings, significantly reducing side-to-side movement and stiffening the entire deck framework.