Comprehensive Solutions For Roof Truss Uplift In Residential Construction
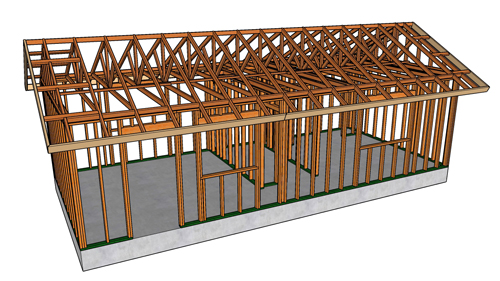
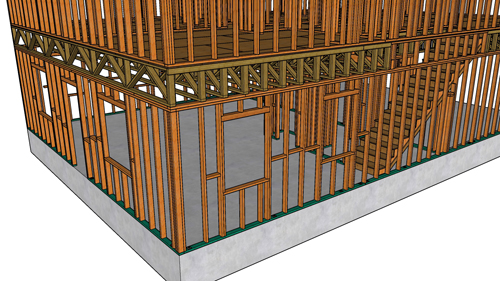
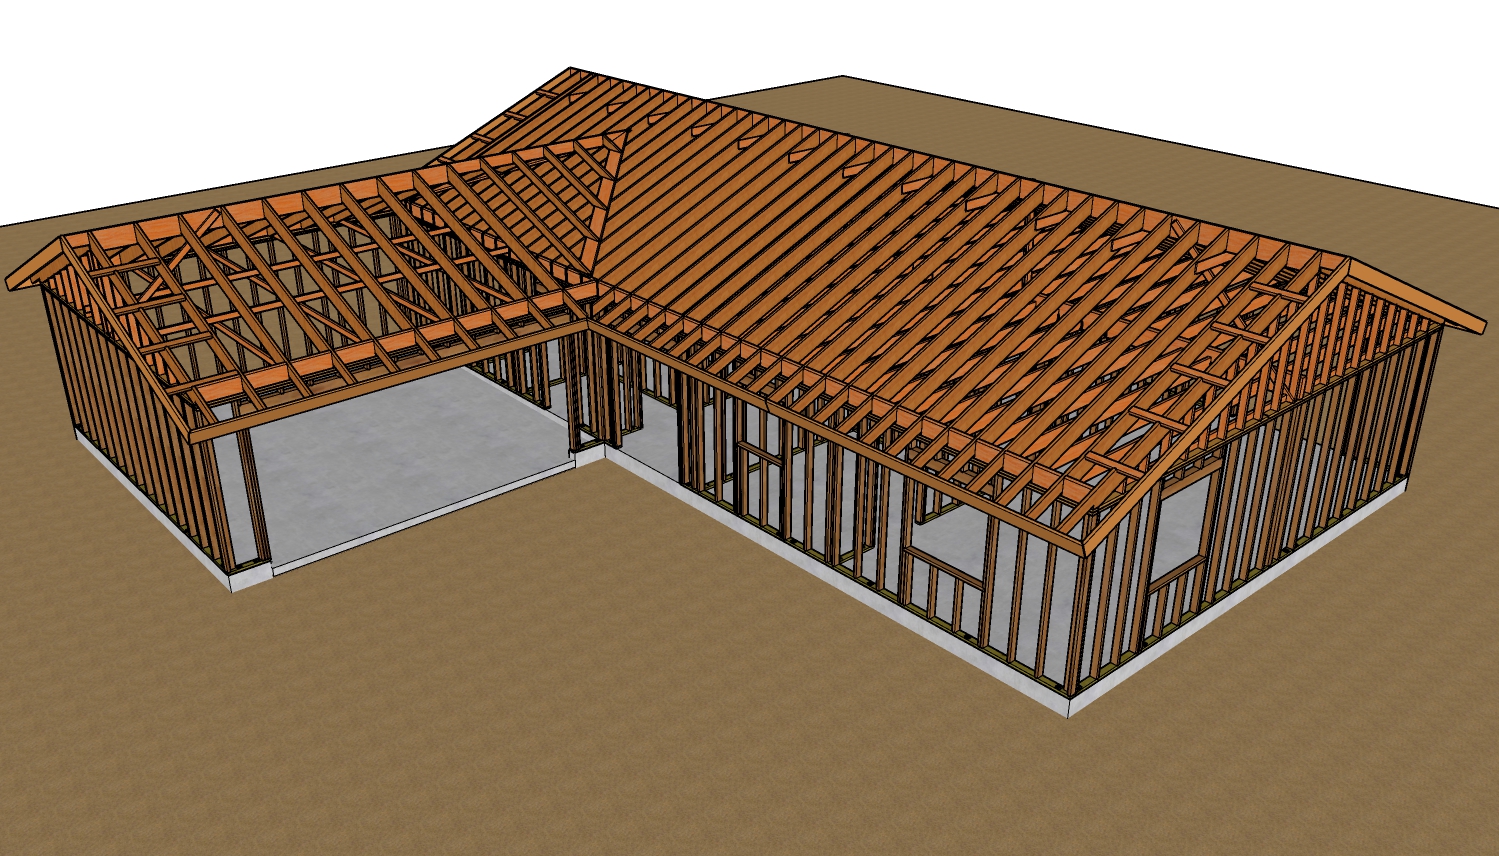
Roof truss uplift is a frustrating but common phenomenon in residential framing that occurs when trusses expand and contract due to temperature and moisture fluctuations. During seasonal changes, the bottom chord of the truss arches upward, lifting the ceiling drywall away from interior partition walls and creating an unsightly cracked gap. Once the season shifts, the truss typically settles back down. Whether you are dealing with damage in an existing home or looking to prevent these issues in new construction, understanding the mechanics of roof movement is essential. Here are several practical methods for addressing truss uplift while maintaining structural integrity.
Cosmetic Concealment For Existing Homes
When a home is already completely finished and experiences seasonal ceiling gaps, tearing out drywall is often impractical. The most effective cosmetic solution is to install crown molding around the perimeter of the room. The critical technique here is to fasten the trim exclusively to the ceiling trusses and not to the wall framing. By leaving a microscopic gap between the bottom of the molding and the wall, the trim will float up and down along the wall face as the truss moves, completely hiding the gap without causing damage.
Alternatively, a simple block of wood or three-quarter-inch trim can achieve the same effect for a more minimalist look. Another inexpensive and easy method to mask the shifting joint is applying a wallpaper border, which will slightly bend and flex as the ceiling moves.
What you must absolutely avoid is filling the gap with rigid compounds. Injecting caulking, plaster, or drywall mud into an uplift gap is a temporary mistake. When the truss lowers back to its original resting position, the extreme downward pressure will squeeze the filler out, crush the corner bead, and cause even more extensive drywall damage.
Preventive Drywall Techniques For New Construction
The best time to mitigate truss uplift is during the drywall installation phase. A highly effective method involves floating the ceiling drywall corners above interior partition walls. To accomplish this, an L-metal bracket or specialized drywall clip is fastened to the top of the interior wall plate, securing the edge of the ceiling drywall.
When securing the rest of the ceiling, fasteners must be held back from the wall intersection, typically twelve to sixteen inches depending on local codes and Gypsum Association guidelines. This creates a flexible zone in the drywall. As the truss arches upward, the ceiling drywall remains pinned to the wall by the metal clip while the unfastened span flexes slightly, preventing the corner joint from cracking.
Before measuring and fastening, always ensure the roof is fully loaded with shingles and roofing materials so the engineered trusses have properly settled into their natural deflected position. Because building departments have varying interpretations of fastener spacing, always verify your floating corner plan with local inspectors.
Addressing Attic Insulation And Thermal Bridging
A theoretical approach to stopping the wood movement itself is altering the attic insulation strategy. While some suggest insulating the top chords of the trusses, standard building science dictates caution here. Insulating only the top chords in a traditional vented attic can trap moisture against the roof deck and cause the webbing to absorb humidity, potentially leading to rot or shifting loads. The standard International Residential Code compliant approach is ensuring adequate, uniform attic ventilation and completely burying the bottom chord in insulation to keep its temperature consistent with the living space below.
Three Key Tips
Attach crown molding only to the ceiling joists so it can slide freely over the wall surface during seasonal truss movement.
Float ceiling drywall by holding fasteners back twelve to sixteen inches from interior partitions to allow the board to flex without cracking.
Never fill seasonal ceiling gaps with caulking or plaster, as the immense downward pressure of the settling truss will crush the corner joint.
Bonus Questions And Answers
Expanding our knowledge on roof structural behavior, here are three common questions regarding truss engineering and residential building codes.
How Does Truss Uplift Differ From Wind Uplift, And Do Hurricane Ties Help?
While truss uplift is a gradual arching caused by thermal and moisture differentials, wind uplift is a sudden aerodynamic force trying to rip the roof off the building during severe weather. Metal structural connectors, like the Simpson Strong-Tie H2AZ or H3 models, are essential for securing trusses to exterior bearing walls to safely resist high wind loads, but they will not stop thermal truss uplift on interior partition walls. Hurricane ties lock the outer walls down, but interior partition walls require vertical slip clips to allow for seasonal thermal movement while still maintaining lateral structural stability.
Can Improving Attic Ventilation Prevent Truss Uplift?
Yes, modifying the attic environment addresses the root cause of the problem rather than just hiding the symptom. Truss uplift happens because the top chords in a damp, cold attic expand while the bottom chords buried in warm insulation dry and shrink. By strictly adhering to International Residential Code requirements for soffit and ridge ventilation, builders can stabilize the attic humidity and temperature, drastically reducing the differential bowing of the lumber.
What Does The International Residential Code Require For Fastening Drywall At Ceilings Subject To Uplift?
The International Residential Code relies on Gypsum Association standards for proper drywall installation. To prevent cracking from roof deflection, the accepted best practice is to omit ceiling fasteners within sixteen inches of all interior partition walls. Additionally, the uppermost wall fasteners should be held down eight inches from the ceiling intersection. This creates a wide, unfastened hinge point that can safely absorb the seasonal lifting of the bottom chord without snapping the joint tape.