How To Support A Hip Rafter Without A Bearing Wall
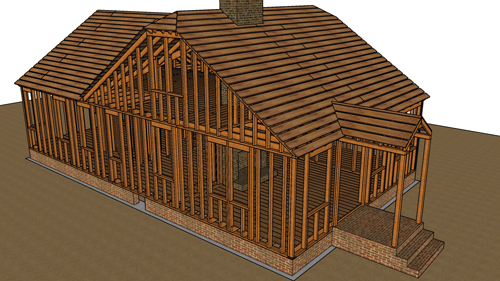
When renovating an older home or addressing a sagging roofline, you may encounter a hip rafter that lacks adequate vertical support from a load-bearing wall beneath it. Modifying roof framing requires careful planning because interrupting the continuous load path can lead to severe structural failures.
While the ideal scenario always involves transferring roof loads directly to the building foundation via load-bearing walls, this is not always possible in open floor plans or retrofits. Fortunately, there are several code-compliant strategies to redistribute the weight safely using ceiling joists and supplemental support beams.
Understanding Ceiling Joist Limitations
Before adding any internal bracing, it is critical to understand the structural limitations of existing ceiling joists. Under standard residential building codes, typical ceiling joists are engineered solely to carry the dead weight of drywall and insulation, plus a minimal live load for light attic storage.
They are not sized to carry the massive dead and live loads of a roof, including roofing materials, wind uplift, or snow accumulation. Placing a vertical support brace directly onto a single, isolated ceiling joist will almost certainly cause downward deflection, cracking the ceiling drywall below and potentially leading to joist failure.
Distributing The Load Across Multiple Joists
If you must use the ceiling structure to support a hip rafter brace, the load must be distributed. One effective method is to install a perpendicular support beam, often referred to as a strongback, across the top of several ceiling joists. By laying a heavy timber, such as a 4x6 or 6x6, flat across six or more joists, the point load from the hip rafter is spread across a much wider area. The vertical brace can then be securely fastened between the bottom of the hip rafter and the top of this perpendicular beam.
Alternatively, you can sister the existing ceiling joists directly beneath the hip rafter. Installing additional joists alongside the original ones significantly increases the bending strength of that specific section. This helps prevent localized sagging when a vertical support is introduced.
Utilizing Parallel Support Beams
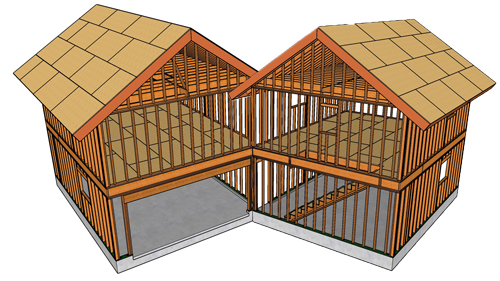
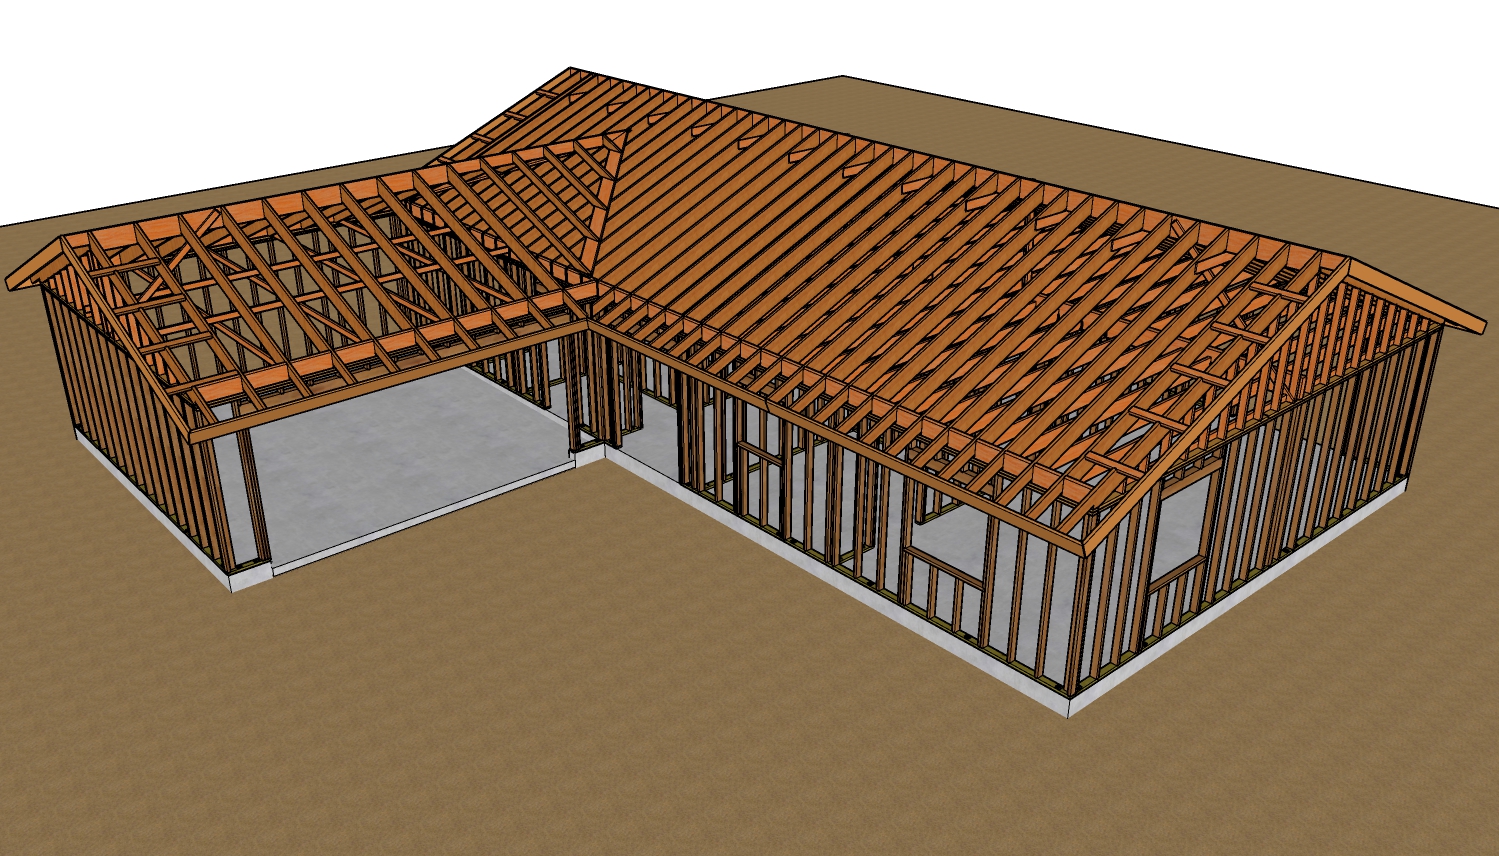
For a more robust structural repair, consider running a heavy support beam parallel to the hip rafter, resting it securely on top of the exterior wall plates. By keeping the load off the ceiling joists entirely, you create a much safer load path. The parallel beam can span across the attic space, supported by exterior walls or interior bearing walls at either end. You can then install vertical braces from the top of this new beam directly to the underside of the hip rafter.
The most efficient solution involves a system of beams where a primary support beam rests on the wall top plates, completely bypassing the ceiling joists. Supplemental beams can then be stacked or cross-braced to transfer the roof weight directly down to the foundation. When executing any of these structural upgrades, do not attempt to force decades-old sagging lumber completely straight, as this can fracture the wood fibers. Focus instead on arresting further movement and securing the structural integrity of the roof system.
Three Key Construction Tips
Use Structural Screws Instead Of Nails: When attaching support braces to ceiling joists, driving 16d framing nails with a hammer causes severe vibration that will pop drywall nails and crack the plaster below. Pre-drill your connections and use heavy-duty structural screws to ensure a tight, vibration-free installation.
Never Point-Load A Single Joist: Never land a vertical roof brace onto a solitary ceiling joist. Always transfer the weight to a load-bearing wall top plate, or distribute the weight across a minimum of four to six joists using a perpendicular spreader beam.
Accept Existing Deflection: If a hip rafter has been sagging for thirty years, the wood has permanently deformed into that shape. Attempting to jack the rafter back to a perfectly straight line will likely lift the exterior walls or crack the rafter. Your goal is to add support to prevent future collapse, not to reverse decades of settling.
Bonus Questions And Answers
Do I Need To Install Structural Hardware When Adding Support Beams To A Hip Rafter?
Transitioning from standard wood blocking to engineered hardware is always recommended for long-term stability. The International Residential Code requires a continuous load path to resist wind uplift and seismic forces. When landing a new support beam on a wall plate or attaching a brace to a hip rafter, you should use rated structural hardware, such as hurricane ties or heavy-duty angles, rather than relying solely on toenailing, which can pull apart under severe wind loads.
Can I Use Standard Deck Screws To Attach Roof Support Bracing?
While using screws prevents drywall damage during installation, selecting the right type of fastener is critical for safety. Standard deck screws or drywall screws are incredibly brittle and have highly limited shear strength, meaning they can easily snap in half under the shifting weight of a roof. You must use code-approved structural fasteners or traditional 16d common nails, which are designed to bend rather than snap when subjected to heavy lateral shear forces.
How Does Roof Pitch Affect The Load Transfer On A Hip Rafter?
Understanding the geometry of your roof is essential before adding vertical supports. Lower pitched roofs exert a massive amount of horizontal outward thrust against the exterior walls, while steeper pitched roofs direct more of their weight downward as a vertical dead load. If you are supporting a low-pitch hip rafter, simply adding a vertical brace is not enough; you must also ensure the ceiling joists or rafter ties are properly secured to the exterior walls to prevent the walls from bowing outward under the pressure.