Comprehensive Guide To Repairing And Coating Concrete Garage Floors
A garage floor is subjected to immense structural stress, chemical exposure, and temperature fluctuations. Over time, these factors can lead to severe deterioration, leaving homeowners wondering whether to patch the damage, apply a surface coating, or tear out the slab entirely. Understanding the underlying causes of concrete failure and the structural anatomy of your garage is the first step in determining the correct repair strategy.
Identifying Efflorescence And Surface Spalling
One of the most common issues found on aging concrete is efflorescence. This condition presents as a chalky, white powder on the surface. It is the result of moisture migrating through the concrete slab, dissolving internal salts, and depositing them on the surface as the water evaporates. While efflorescence itself is a cosmetic symptom, chronic moisture intrusion severely weakens the concrete matrix over time.
If you can scrape the surface easily with a hand tool and expose the internal aggregate, the concrete is actively spalling and breaking down. Resurfacing products and epoxy coatings require a sound, dense substrate to achieve a mechanical bond. Applying advanced coatings over crumbling, salt-damaged concrete will inevitably result in delamination and total coating failure.
Understanding Your Garage Foundation System
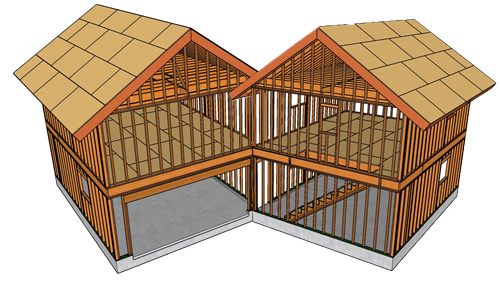
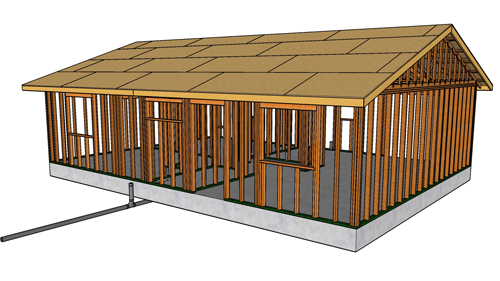
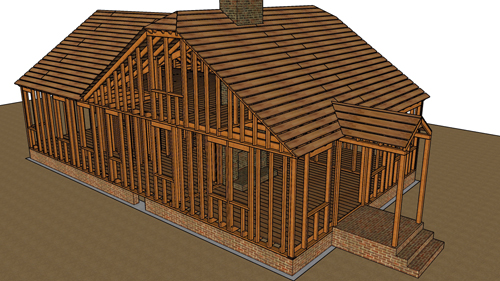
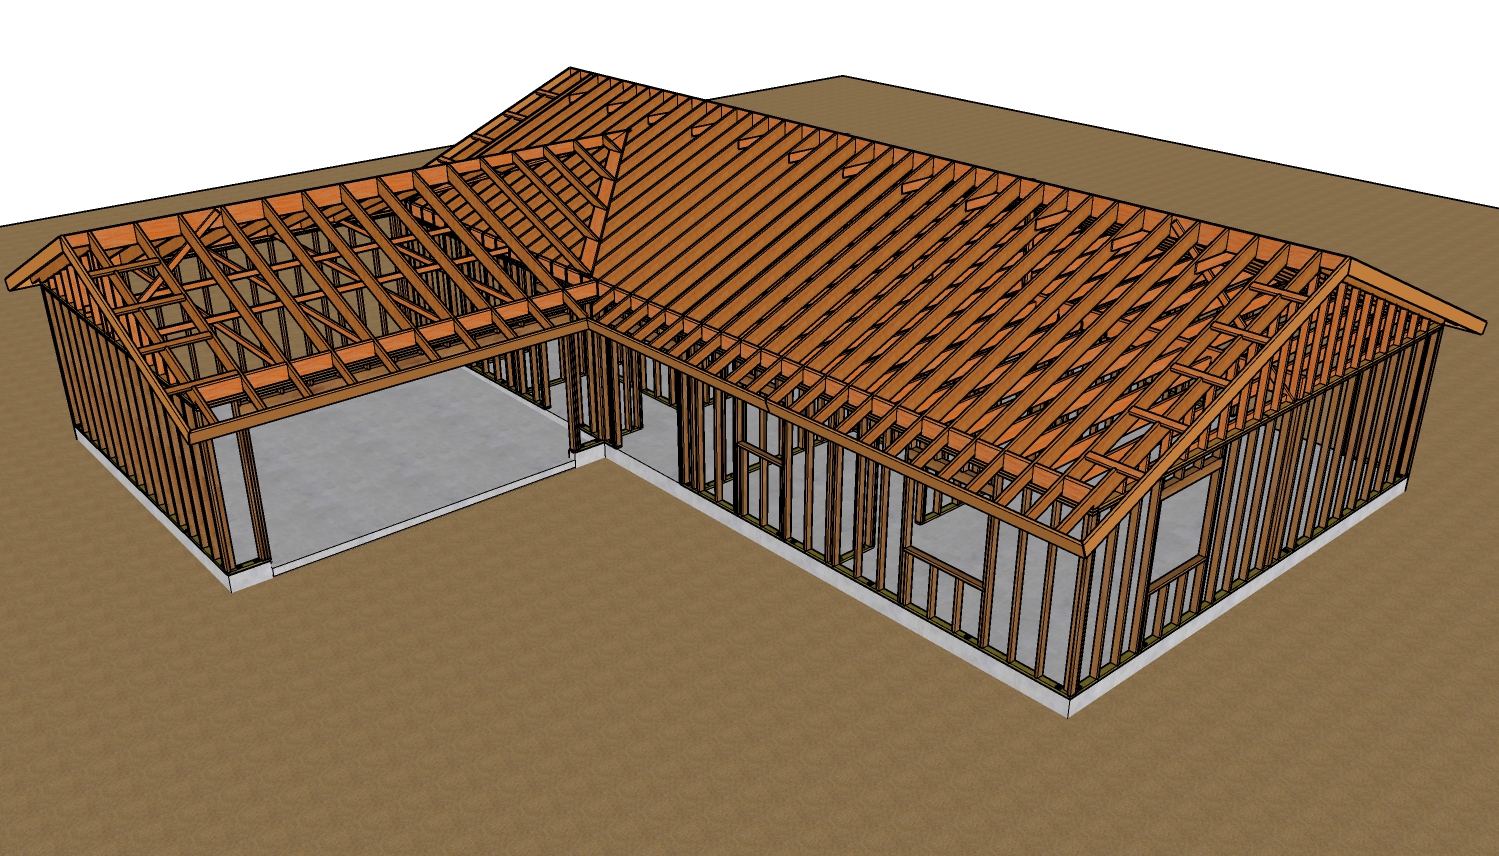
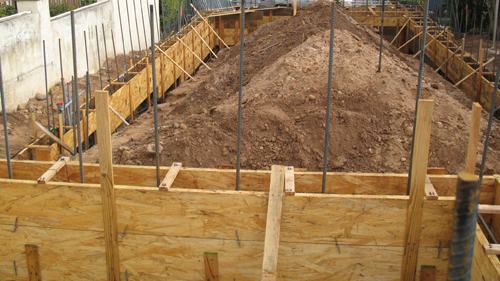
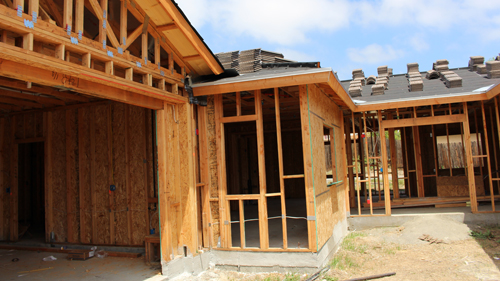
Before deciding to replace a failing slab, it is critical to identify how the garage foundation was originally constructed. A two-pour stem wall foundation features perimeter footing walls that support the framing, with the concrete floor poured independently inside the walls. In this scenario, the garage slab can be broken up and removed without compromising the structural integrity of the building.
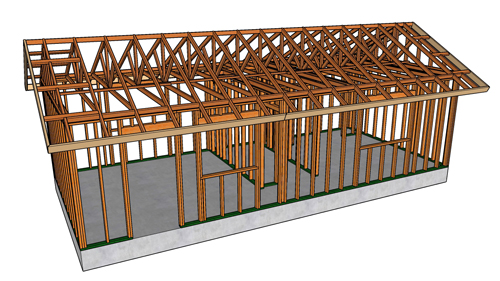
Conversely, a monolithic slab involves pouring the structural perimeter footings and the garage floor at the exact same time. The slab and the load-bearing foundation are tied together as a single structural element. Removing a damaged monolithic floor is a complex, high-risk undertaking that requires precise saw cutting and heavy demolition to ensure the perimeter footings remain perfectly intact to support the walls above.
Evaluating Patches, Coatings, And Alternatives
For minor, localized damage, cleaning the divots and applying a high-quality cementitious patching compound is a viable strategy. However, cracks that run continuously across the slab require deeper investigation. If a slab crack aligns with a vertical fracture in the adjacent stem wall, the building is likely experiencing differential settlement or underlying soil erosion. Patching this type of structural crack is a temporary band-aid, as the ongoing earth movement will quickly split the new patch.
If the slab has widespread, shallow pitting but remains structurally sound, installing a high-quality epoxy system can protect the concrete from further degradation. For those looking for an immediate, budget-friendly alternative to expensive coatings or intensive concrete replacement, heavy-duty outdoor carpeting or interlocking rubber garage tiles can effectively conceal cosmetic damage without the risk of adhesive failure.
Making The Right Choice For Your Garage
Successful concrete restoration relies on honest assessment. Minor pitting and hairline shrinkage cracks are excellent candidates for patching and floor systems. However, if the slab is suffering from deep structural fracturing or severe aggregate exposure, investing in temporary surface coatings is a poor financial decision. In those severe cases, a complete tear-out and repour is the only permanent, structurally sound solution.
Three Key Construction Tips
Test patches before committing to full coatings. If you fill large voids or cracks, allow the repair compound to cure and observe it for several months. If the patch cracks along its perimeter, the slab is still moving, and a rigid floor coating will fail if applied over it.
Inspect stem walls before treating slab cracks. A crack in the center of the floor is often benign shrinkage, but if that crack continues outward and fractures the load-bearing perimeter stem wall, you must address the underlying soil erosion or settlement before attempting cosmetic floor repairs.
Do not apply coatings over friable concrete. If a hand tool can effortlessly gouge out loose rocks and sand from the slab surface, the concrete has lost its structural integrity. Floor coatings require a minimum concrete compressive strength to adhere properly; they will simply peel the weak top layer off if applied to a failing slab.
Bonus Questions And Answers
To expand your knowledge beyond basic repairs, it is important to understand the building science that dictates how concrete floors interact with modern coating systems.
What Is The Correct Way To Prepare A Concrete Surface For A New Coating?
Washing the floor with consumer-grade degreasers is rarely sufficient for a professional-grade coating. Industry standards require achieving a specific concrete surface profile. For most resinous coatings, this usually means a profile that feels similar to medium-grit sandpaper. This is achieved through mechanical profiling, such as diamond grinding or captive shot blasting, which opens the pores of the concrete and removes the slick, troweled finish so the material can deeply penetrate and lock into the slab.
Should You Fill Control Joints With Epoxy Before Coating The Floor?
Control joints are intentionally placed straight lines cut into the concrete to encourage the slab to crack in a neat, controlled location as it cures and shrinks. Because these joints are designed to accommodate microscopic expansion and contraction, filling them with a rigid material like standard epoxy or cement patch will cause the floor to crack alongside the joint. Instead, building science dictates that moving joints must be filled with a flexible, elastomeric material like a polyurea joint filler that can stretch and compress with the thermal movement of the slab.