How To Install Solid Roof Sheathing Over Existing Spaced Boards
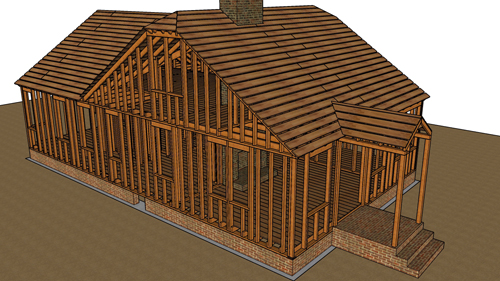
When replacing an older cedar shingle or wood shake roof with modern composition shingles, homeowners and contractors frequently encounter an underlying framing method known as spaced sheathing. Because asphalt and composition shingles require a completely continuous and solid nailing surface, the existing spaced boards cannot serve as the direct substrate for the new roof.
To meet modern building codes and ensure structural integrity, a new layer of solid sheathing, such as plywood or Oriented Strand Board, must be installed directly over the existing framework.
Understanding Spaced Sheathing
Spaced sheathing, also commonly referred to as skip sheathing, consists of horizontal wooden boards installed with intentional gaps between them. This traditional method was explicitly designed for wood roofing products. Cedar shakes and wood shingles require active air circulation around all sides of the material to dry out properly after precipitation.
Without these intentional gaps to allow airflow, wood roofing materials trap moisture, leading to accelerated wood rot, curling, and premature failure of the roofing system. When transitioning to modern asphalt shingles, this ventilation method is no longer necessary beneath the shingles, but the gaps present a structural problem that must be covered.
Creating A Solid Roof Deck
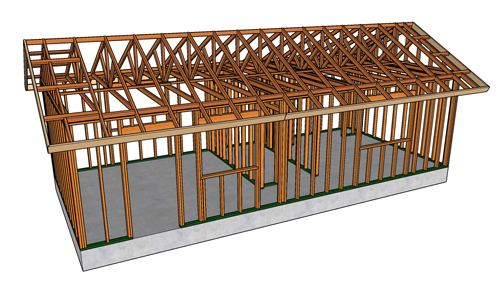
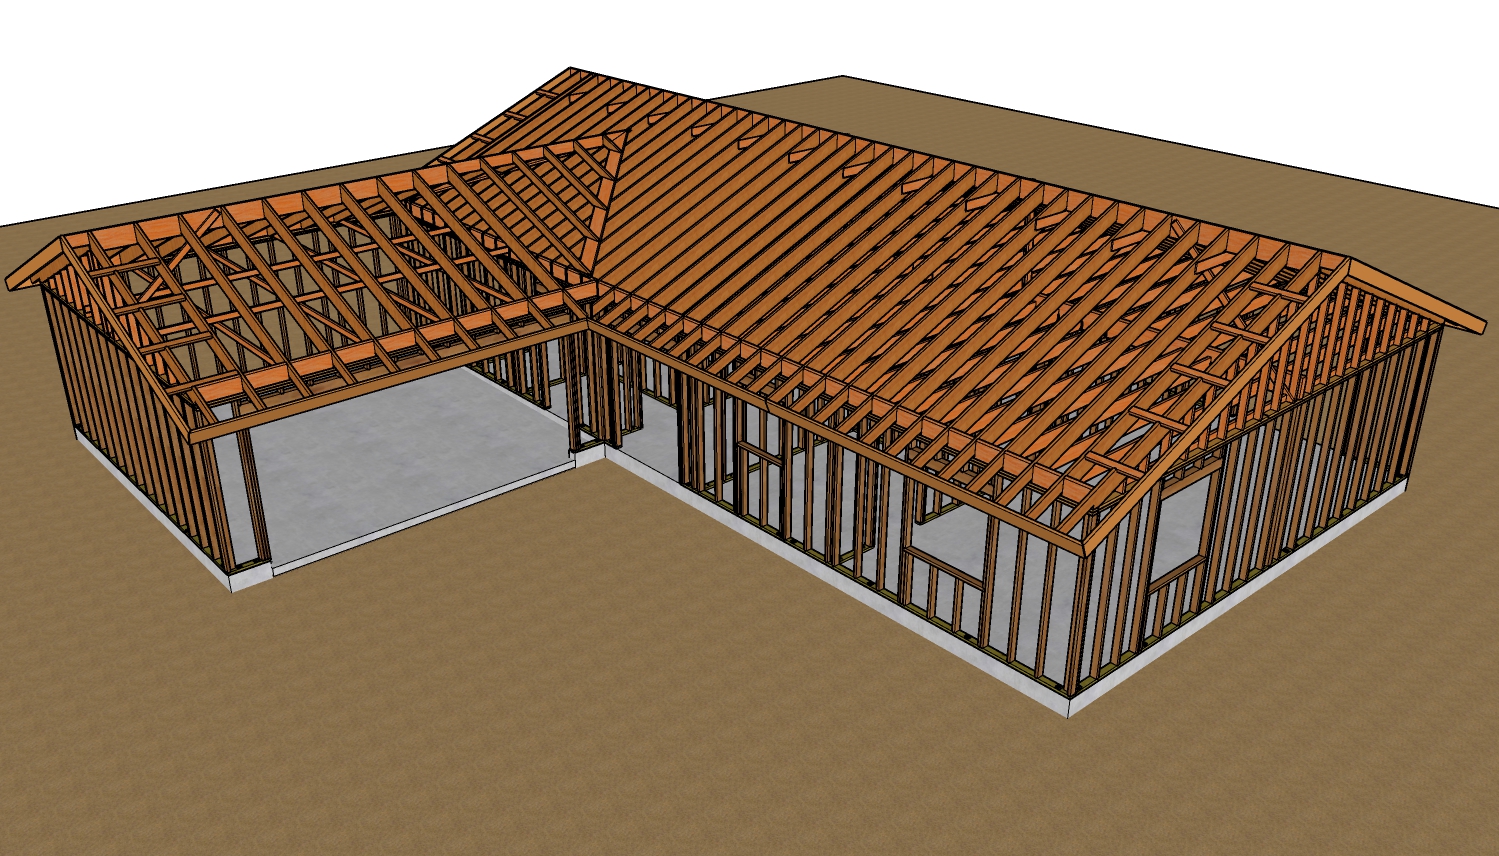
Installing new plywood or OSB over spaced sheathing requires careful attention to panel placement and structural framing. The installation can begin at any lower corner of the roof system, working upward toward the ridge. The most critical structural requirement is that every vertical seam where two sheathing panels meet must break exactly centered over a roof rafter or truss. Floating seams between framing members will severely compromise the structural integrity of the roof diaphragm and will fail building inspections.
Installing Filler Boards For Proper Support
As you install horizontal rows of new sheathing, you will likely find that the horizontal edges of your plywood do not naturally align with the underlying spaced boards. A panel edge cannot simply float over an empty gap. Driving nails into unsupported plywood without a solid backer board beneath it will result in a wavy, uneven roof plane and insufficient nail penetration.
To solve this, you must install dimensional lumber as filler boards into the gaps of the existing spaced sheathing wherever a horizontal plywood seam occurs. This provides a continuous, solid backing for the panel edges, allowing for proper fastening and a perfectly flat finished roof deck.
Nailing Schedules And Structural Integrity
A roof does not merely keep the rain out; it acts as a massive structural diaphragm that stabilizes the entire building against high winds and seismic activity. Because of this, fastening the new sheathing correctly is paramount. The perimeter of the roof, the ridge, and all panel edges must be fastened according to a strict edge nailing schedule.
While you must always verify the exact requirements with your local building department, a standard baseline is the 6/12 nailing schedule. This dictates that nails must be placed every 6 inches along all supported edges of the panel, and every 12 inches through the field of the panel where it crosses intermediate supports. The structural blocking that runs along the perimeter of the building must also be fastened using this edge nailing schedule. Local jurisdictions in high-wind or seismic zones often require even tighter fastening, such as 4 inches on center at the edges.
Three Key Construction Tips
Always center vertical panel joints directly over the middle of a roof rafter or truss to ensure the structural load is properly transferred to the framing.
Install custom-cut filler boards into the gaps of the skip sheathing wherever a horizontal plywood seam lands, ensuring 100 percent edge support for every sheathing panel.
Treat the new sheathing layer as a structural diaphragm by strictly adhering to the edge nailing schedule required by your local building code, which is typically a minimum of 6 inches on center along all panel edges.
Frequently Asked Questions About Roof Deck Transitions
As you prepare for a comprehensive roof replacement, you may encounter additional technical considerations beyond the standard sheathing installation process. Below are answers to common questions regarding structural roofing upgrades.
Do I Need To Remove The Spaced Sheathing Before Adding Plywood
In most residential remodeling scenarios, you do not need to remove the existing spaced sheathing. The standard building practice is to install the new plywood or OSB directly over the existing boards. This overlay method is highly efficient and actually provides a thicker, more robust nail base for the new shingles. The primary exception is if the original framing shows significant rot, or if a structural engineer determines the roof framing cannot support the minor additional dead load of the new sheathing layer.
Should I Use Plywood Or Osb For The New Solid Deck
Both exterior-grade plywood and Oriented Strand Board are fully approved by the International Residential Code for roof decking, provided they meet the minimum thickness requirements for your rafter spacing (typically 7/16-inch or 15/32-inch). OSB is widely used because it is highly cost-effective and structurally sound. Plywood is often preferred by high-end contractors because it is slightly lighter, tends to hold moisture better without edge-swelling, and provides a stiffer deck, though it comes at a higher material cost.
Are Panel Edge Clips Required When Installing Over Spaced Boards
Panel edge clips, commonly known as H-clips, are required by the building code when horizontal sheathing joints are unsupported between framing members, as they prevent the panels from deflecting unevenly under a load. However, when you install continuous filler boards to support the horizontal seams between your skip sheathing, the panel edges are considered fully supported. Therefore, H-clips are generally not required in this specific application, though confirming with your local municipal building inspector is always recommended to ensure regional compliance.