Understanding T1-11 Siding For Residential Construction
When planning an exterior cladding project, builders and homeowners frequently encounter the term T1-11 siding. At its core, T1-11 is a specialized type of exterior grade plywood siding manufactured with vertical grooves. This design mimics the traditional look of vertical board-and-batten or tongue-and-groove siding while providing the structural strength and installation efficiency of a solid plywood panel. It remains a staple in residential construction for homes, sheds, and exterior structures.
Material Thickness And Groove Depths
T1-11 is primarily manufactured in two distinct thicknesses, and selecting the correct profile is critical for both structural integrity and visual appeal. The most common thickness for residential exterior walls is 5/8 of an inch. At this thickness, the vertical grooves are milled approximately 1/4 of an inch deep, providing a pronounced, shadow-casting reveal.
Alternatively, manufacturers produce a thinner 3/8 of an inch profile. Because the material itself is thinner, the grooves are milled much shallower, typically reaching only 1/8 of an inch in depth. The 3/8-inch thickness is generally not recommended as a standalone exterior wall cladding over bare framing. It lacks the structural rigidity of the 5/8-inch panels and is better suited as a cosmetic overlay applied over an existing structural sheathing layer.
Standard Sheet Dimensions And Availability
To align with standard residential framing practices, T1-11 siding panels are manufactured at exactly 4 feet wide. The standard height found at most building supply centers is 8 feet, which perfectly covers a traditional wall built with standard pre-cut studs and bottom plates.
However, residential wall heights vary depending on the architectural design. To accommodate taller walls without creating vulnerable horizontal seams, these panels can be special-ordered in extended lengths. Builders can readily source panels measuring 9 feet, 10 feet, or even 12 feet tall, allowing for continuous coverage on gables, vaulted walls, or custom framing layouts.
Wall Framing And Installation Layout
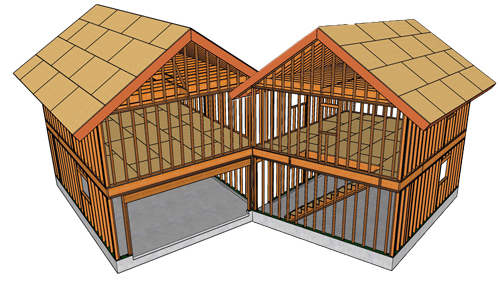
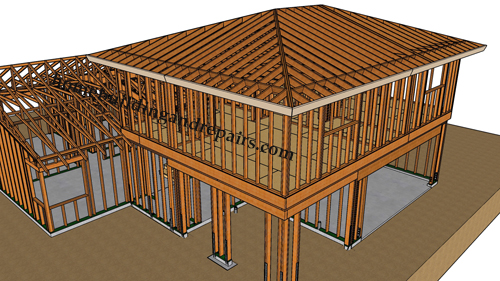
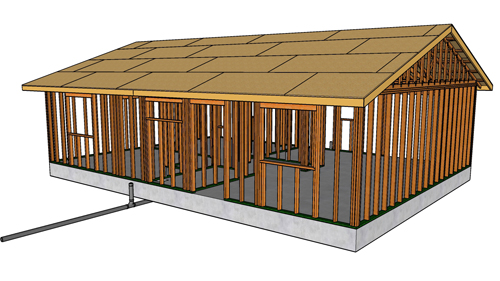
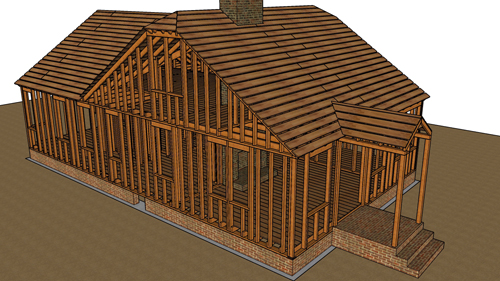
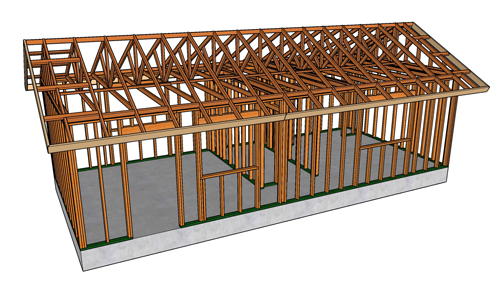
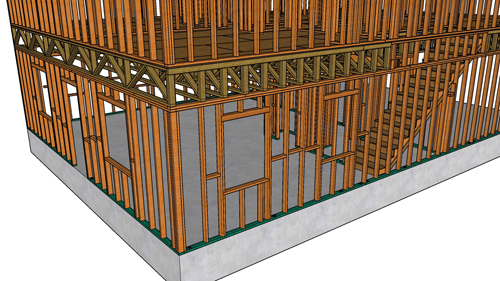
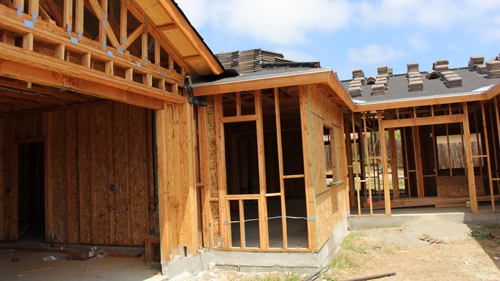
Proper structural alignment is essential when installing panelized siding. The 4-foot width of the panels is engineered to break directly over wall studs framed at 16 inches on center. This spacing allows the edges of two adjoining sheets to meet precisely over the center of a single stud, providing a solid surface for secure fastening. When inspecting an installation, the nailing pattern should clearly trace the framing layout, securing the panel edges and the intermediate studs spaced every 16 inches.
Three Key Construction Tips
Select the 5/8-inch thickness for primary exterior cladding projects, as it provides the necessary structural rigidity and weather resistance required for exterior walls.
Utilize custom sheet lengths for walls exceeding 8 feet in height to eliminate horizontal panel joints, which reduces the potential for water intrusion and creates a stronger wall assembly.
Verify that your wall studs are laid out accurately at 16 inches on center before ordering material, ensuring that the edges of every 4-foot panel will terminate directly on a solid structural support.
Beyond the basic material specifications outlined above, a successful and code-compliant installation requires attention to advanced building science practices.
What Are The Fastening Requirements For Wood Panel Siding?
According to the International Residential Code, structural wood siding must be attached using corrosion-resistant fasteners, typically hot-dipped galvanized or stainless steel ring-shank nails. For standard 5/8-inch panels over 16-inch stud spacing, the code generally requires 8d nails driven every 6 inches along the exterior edges of the panel and every 12 inches along the intermediate framing members in the field of the panel. Proper nailing is critical because T1-11 often serves as the lateral shear bracing for the structure, preventing the building from racking during high winds or seismic events.
How Do You Protect Horizontal Joints Between Siding Panels?
While ordering extended panel lengths can reduce horizontal seams, multi-story buildings will inevitably require stacked panels. To prevent water from rotting the lower panel, building codes dictate the use of metal Z-flashing at all horizontal joints. This corrosion-resistant metal flashing is installed over the top edge of the lower sheet and sits behind the bottom edge of the upper sheet. The Z-bar effectively intercepts water draining down the building envelope and directs it outward, maintaining the integrity of the weather-resistant barrier.
What Is The Minimum Required Ground Clearance For Wood Siding?
A common failure point in exterior cladding is installing wood panels too close to the soil. Standard building codes mandate that all untreated wood siding must maintain a minimum clearance of 6 inches from the finished exterior grade. This separation is vital to prevent the wood from wicking ground moisture, which leads to rapid fungal rot. Furthermore, this 6-inch gap provides a visible inspection area to monitor for subterranean termite tubes attempting to breach the structure.