AN INSIDE LOOK AT WALL FRAMING AND CEILING JOISTS FOR A 434-SQUARE-FOOT HOME
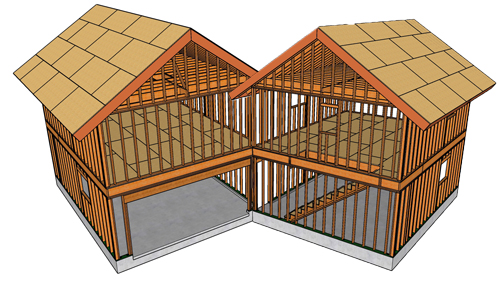
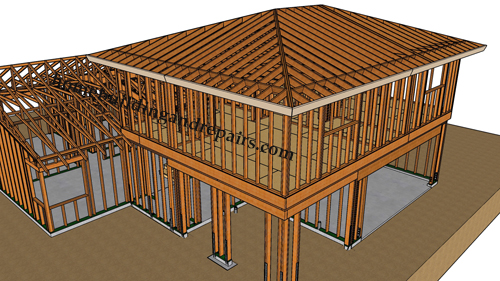
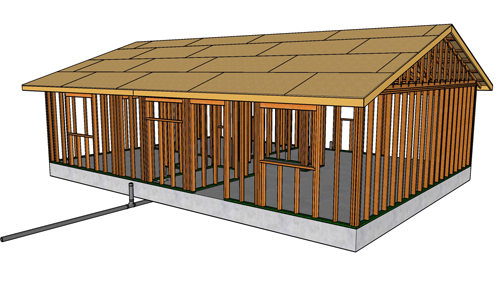
Framing a compact home requires a balance of spatial efficiency and structural integrity. In a 434-square-foot residential layout, every stud, plate break, and joist must be meticulously planned to ensure building code compliance and structural stability. This article breaks down the essential framing techniques used in this small home design, focusing on wall layouts, plumbing walls, and ceiling joist installation.
UNDERSTANDING WALL FRAMING AND PLATE BREAKS
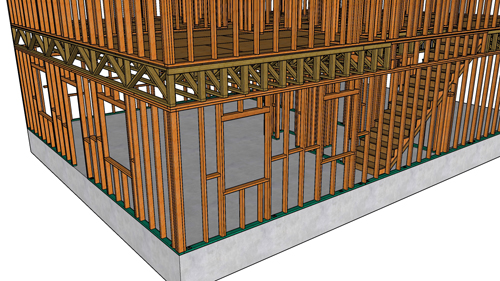
Proper alignment and spacing are critical when assembling the perimeter and interior walls. Throughout this structure, studs are spaced at a maximum of 16 inches on center, which aligns with standard residential structural requirements for load-bearing walls.
A key focus during the framing layout is the positioning of top and bottom plate breaks. To maintain a rigid and continuous structural tie across long wall spans, standard building practices require a minimum overlap of 4 feet between the joints of the lower top plate and the upper top plate (often referred to as the cap plate).
Foundation anchor bolts are positioned strategically near these plate breaks and structural openings. To meet standard code requirements, anchor bolts must be placed within 12 inches of any bottom plate break, wall corner, or door/window opening to properly secure the sill plate to the foundation.
NAVIGATING WINDOW OPENINGS AND INTERIOR WALL CHANNELS
Window openings, such as those in the bathroom and living room, utilize dedicated headers to transfer structural loads around the openings down to the foundation. The interior walls connecting to the perimeter shell use standard wall channels (or backing assemblies) to ensure a secure, continuous tie between intersecting walls.
For the interior closet configuration, the framing can be easily adapted to accommodate user preferences. If a wider closet opening is desired, the rough opening header can be extended, or the framing can be run continuously from wall to wall to maximize access.
PLUMBING WALL CONSIDERATIONS
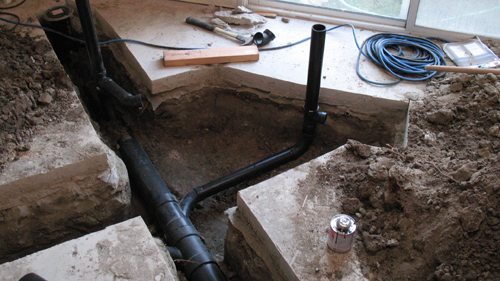
The mechanical wall dividing the living room from the bathroom serves a dual purpose, acting as both a structural partition and a chase for utilities. This wall contains the main plumbing lines for the kitchen sink, washing machine, and bathroom facilities, as well as the primary waste vent stack that routes upward through the roof.
While a standard 2x4 wall (measuring 3.5 inches in actual depth) can successfully accommodate standard 2-inch drain lines and vents if carefully centered and protected with steel nail plates, upgrading to a 2x6 wall (5.5 inches in actual depth) is a highly recommended alternative. A 2x6 plumbing wall provides additional structural cross-section, simplifies the installation of larger 3-inch waste lines, and allows ample room for bathroom backing hardware, such as blocking for bathtubs and heavy shower doors.
CEILING JOIST INSTALLATION AND DRYWALL BACKING
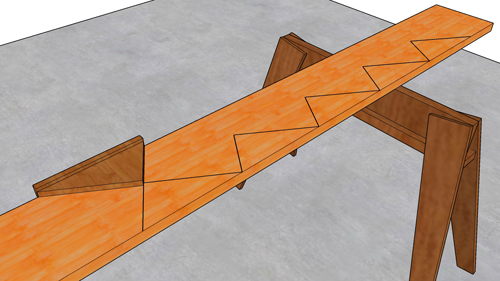
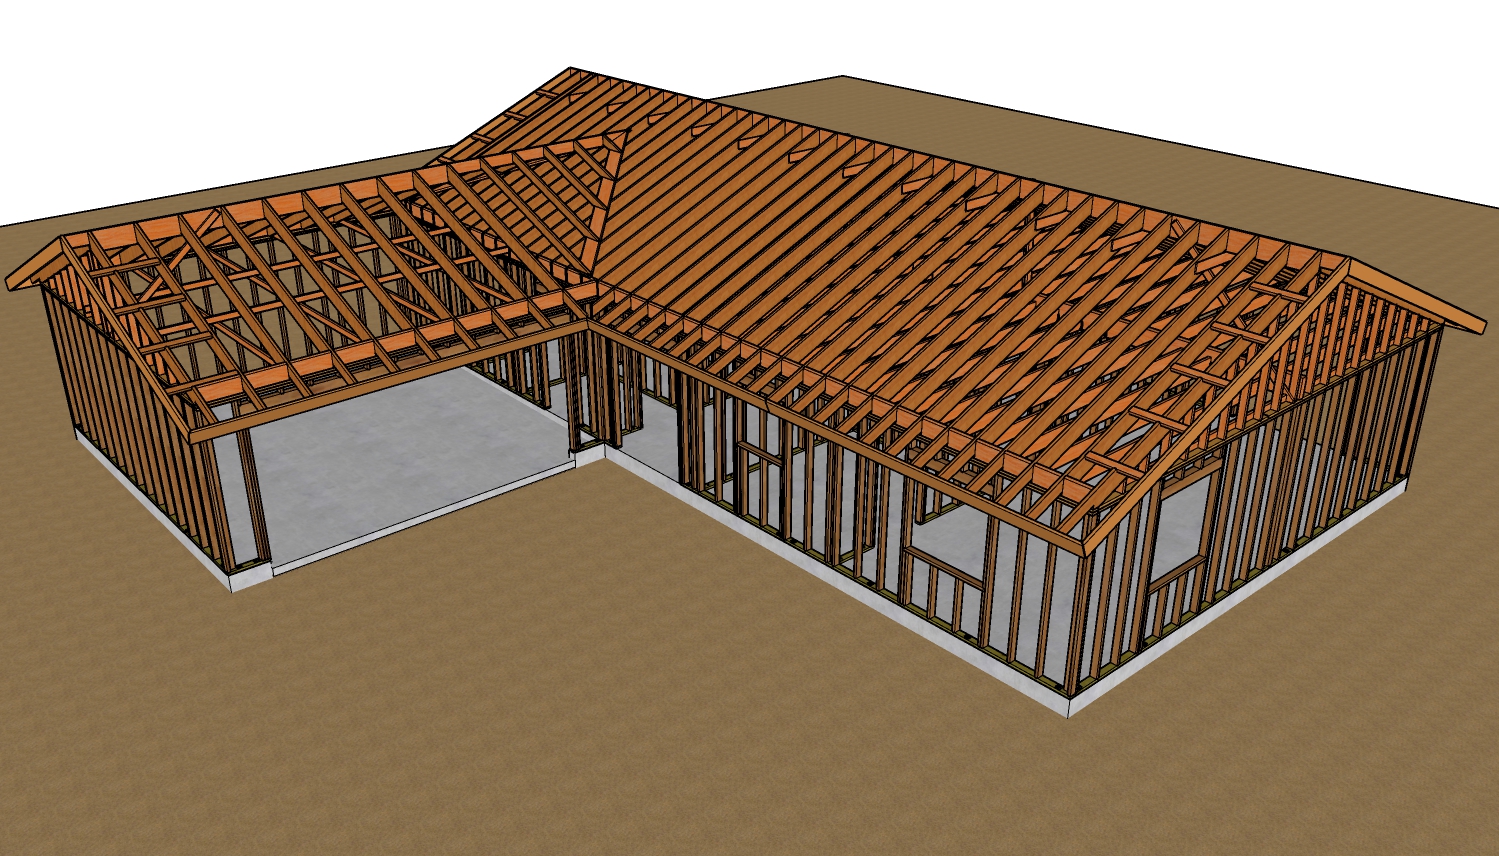
The ceiling structure consists of 2x8 ceiling joists spaced at 16 inches on center, spanning the width of the building. To prevent the top outer corners of the joists from interfering with the sloped roof sheathing, the joist ends are carefully notched or tapered along their upper edges according to IRC span and trimming guidelines.
To stabilize the joists at their mid-span and prevent lateral twisting under load, staggered mid-span blocking is installed through the center of the building. Structural integrity can be enhanced further by installing metal framing ties, hurricane straps, or tension ties to mechanically bridge the joists across opposing sides of the building.
For interior finishes, proper drywall backing is essential. In the corners and where walls meet the ceiling, blocking must be present to give the drywall edges a solid fastening surface. A highly effective method demonstrated in this layout involves placing a 2x6 cap plate over a 2x4 interior wall partition. Because a 2x6 plate is two inches wider than a 2x4 stud wall, it naturally creates a consistent 1-inch ledge on both sides of the wall, providing perfect, continuous backing for the ceiling drywall panels.
CONCLUSION
Framing a small home requires strict adherence to structural fundamentals. By prioritizing proper plate overlaps, precise anchor bolt placement, robust plumbing walls, and systematic drywall backing, you create a structure that is both highly functional and fully code-compliant. Always consult a local licensed structural engineer and your local building department to verify that your specific framing plans meet the wind, seismic, and snow load requirements of your geographic region.
THREE KEY ACTIONS FOR STRUCTURAL FRAMING SUCCESS
Maintain Top Plate Overlaps: Always ensure that the joints in the upper and lower top plates are staggered by a minimum of 4 feet to preserve the structural continuity and tension-tie capability of the wall assembly.
Verify Anchor Bolt Proximity: Secure the bottom plate by placing foundation anchor bolts no further than 12 inches away from any plate break, wall termination, or rough opening, while ensuring a minimum of two bolts per plate segment.
Utilize Oversized Plates for Drywall Backing: Save time and eliminate extra blocking by using a 2x6 top plate over 2x4 interior partitions, creating an automatic 1-inch fastening flange for ceiling drywall on both sides of the wall.
BONUS QUESTIONS AND ANSWERS
Moving beyond the specific layout of this 434-square-foot home, it is important to understand the broader mechanical and structural mandates dictating safe residential framing practices.
QUESTION: What are the exact building code structural limits for cutting, notching, or boring holes into load-bearing wall studs to accommodate plumbing pipes?
ANSWER: According to the International Residential Code (Section R602.6), any hole bored into a load-bearing wood stud cannot exceed 40 percent of the stud's width. This limit can be increased to 60 percent only if the stud is doubled up and no more than two successive doubled studs are bored. For notches, a cut in a load-bearing stud cannot exceed 25 percent of the stud's depth. In a standard 2x4 wall, this means a bored hole cannot exceed 1.37 inches in diameter, and a notch cannot exceed 0.87 inches. If your plumbing infrastructure requires a 2-inch or 3-inch pipe, you must utilize a 2x6 wall to maintain structural safety, and any stud bored beyond 40 percent must be reinforced with a certified steel stud shoe to protect the integrity of the framing and prevent fasteners from piercing the pipes.
Transitioning from vertical wall framing to the horizontal components overhead introduces unique structural constraints regarding how joists behave under load.
QUESTION: Why must ceiling joists be installed with the crown facing upward, and what is the code requirement for their minimum bearing layout on top plates?
ANSWER: Wood joists naturally possess a slight vertical curvature or warp along their narrow edge, known as the crown. Installing joists with the crown facing upward ensures that when dead loads (drywall and insulation) and live loads are applied, the joist deflects downward toward a flat, neutral position rather than sagging excessively. Regarding structural support, the International Residential Code (Section R802.6) dictates that ceiling joists must have a minimum bearing length of 1.5 inches when resting on wood surfaces, such as a top wall plate, or a minimum of 3 inches when resting on masonry or concrete. This ensures adequate surface area to transfer vertical loads without crushing the wood grain at the support points.
Finally, ensuring that the walls and roof assembly act as a unified system is critical for protecting the building against severe environmental forces.
QUESTION: What role does mid-span blocking play in a ceiling joist system, and when does the building code require mechanical framing anchors instead of standard toenailing?
ANSWER: Mid-span blocking serves to prevent lateral-torsional buckling, which is the tendency of deep, narrow joists to twist or rotate sideways when subjected to vertical loads. By tying the joists together, blocking distributes concentrated loads across multiple framing members. While standard toenailing (using 8d or 16d nails driven at an angle) is sufficient for normal gravity loads in calm environments, the International Residential Code requires engineered mechanical framing anchors (such as hurricane ties or joist hangers) in regions prone to high winds or seismic activity. These metal connectors provide a continuous load path by positively securing the ceiling joists and rafters directly to the double top plates, preventing the roof assembly from lifting off the walls during a high-wind event.