If you have ever come across a brick walkway with loose, flaking mortar, you know how frustrating it can be. Not only does it look unsightly, but an uneven, cracked walkway is difficult to walk on. The most common culprit behind this damage is the surface underneath the bricks. Whether your path sits on regular dirt, sand, clay, or a specific fill, the natural expansion and contraction of that base layer will eventually force the bricks up and down. Over time, this constant movement cracks the mortar and ruins the walkway. Fortunately, there are a few proven ways to build a brick path that avoids these issues entirely.
THE BEST FOUNDATION FOR MORTARED BRICKS
If you want the classic look of a brick walkway with mortar in the joints, you cannot simply lay the bricks on top of soil. When the soil gets wet, it expands and pushes the bricks up, causing cracks. When it dries and shrinks, the bricks sink, causing even more cracking.
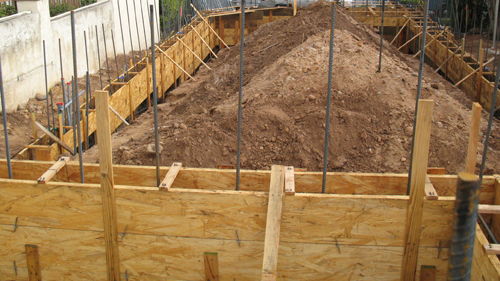
The ultimate solution for a mortared brick walkway is to pour a concrete slab underneath it. By pouring a solid concrete walkway and sinking it into the ground, you create an immovable base. To ensure maximum durability, reinforce the concrete with number three or number four rebar (3/8-inch or 1/2-inch diameter), spaced 16 to 24 inches on center. This prevents the concrete itself from cracking if the soil underneath erodes or heaves. Once your reinforced slab is cured, you can safely mortar your bricks on top without worrying about future movement.
CALCULATING YOUR WALKWAY DEPTH
When using a concrete base, you need to account for the total thickness of your materials. A standard recommendation is a 4-inch thick concrete slab. Standard bricks are usually 2.5 inches thick. This gives you a total walkway thickness of 6.5 inches. If you want your finished brick surface to sit one inch above the surrounding dirt, you will need to dig a trench 5.5 inches deep. Adjust your trench depth accordingly to achieve your desired final height.
LAYING BRICKS WITHOUT MORTAR
Not all brick walkways require mortar. If you prefer a flexible paver style where the bricks sit tightly against one another with no mortar in the joints, you have much more flexibility.
For this style, you can lay the bricks directly on top of flattened soil. If the ground expands and causes dips or bumps over time, the fix is incredibly simple. You just pull the affected bricks up, re-level the soil beneath them, and set the bricks back into place.
USING A GRAVEL BASE
Another popular option for non-mortared brick walkways is using a gravel base. You can dig a trench, fill it with gravel or a recommended regional mix of sand, dirt, and crushed rock, and lay your bricks on top. While gravel offers excellent compaction, keep in mind that it can still slowly sink into the underlying soil over time. Heavy traffic, like driving a vehicle over a dry-laid brick path on wet soil, can still cause damage or shifting. However, for standard foot traffic, a well-tamped gravel base is highly effective.
CONCLUSION
Building a beautiful, long-lasting brick walkway comes down to pairing your desired aesthetic with the correct foundation. If you want solid mortared joints, always invest the time in pouring a reinforced concrete base. If you prefer a simpler, dry-laid paver approach, a flat soil or gravel base will serve you well and allow for easy maintenance down the road. By understanding how the ground moves, you can reduce the chances of your walkway cracking and failing in the future.
THREE KEY TIPS FOR A PERFECT BRICK WALKWAY
MATCH THE BASE TO THE DESIGN: If you are using mortar between your bricks, you must build on a solid, reinforced concrete slab. If you are not using mortar, a flat soil or gravel base is perfectly fine.
REINFORCE YOUR CONCRETE: When pouring a concrete base, always use 3/8-inch or 1/2-inch rebar spaced 16 to 24 inches on center to prevent the slab from cracking due to soil erosion or heaving.
ACCOUNT FOR TOTAL THICKNESS: Before digging, add the thickness of your concrete (typically 4 inches) and your bricks (typically 2.5 inches) to calculate the exact trench depth needed for your path to sit at the perfect height.