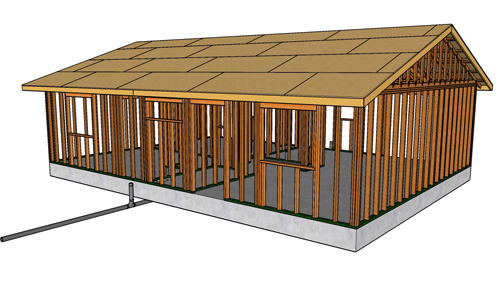
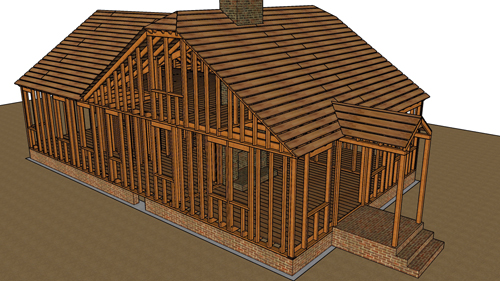
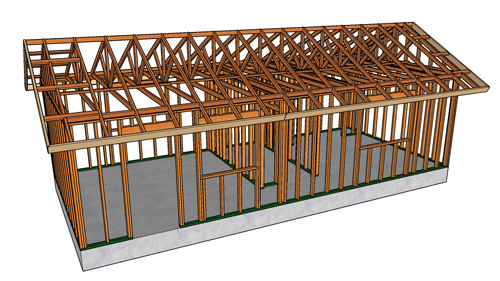
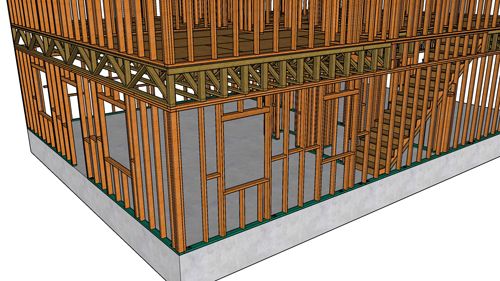
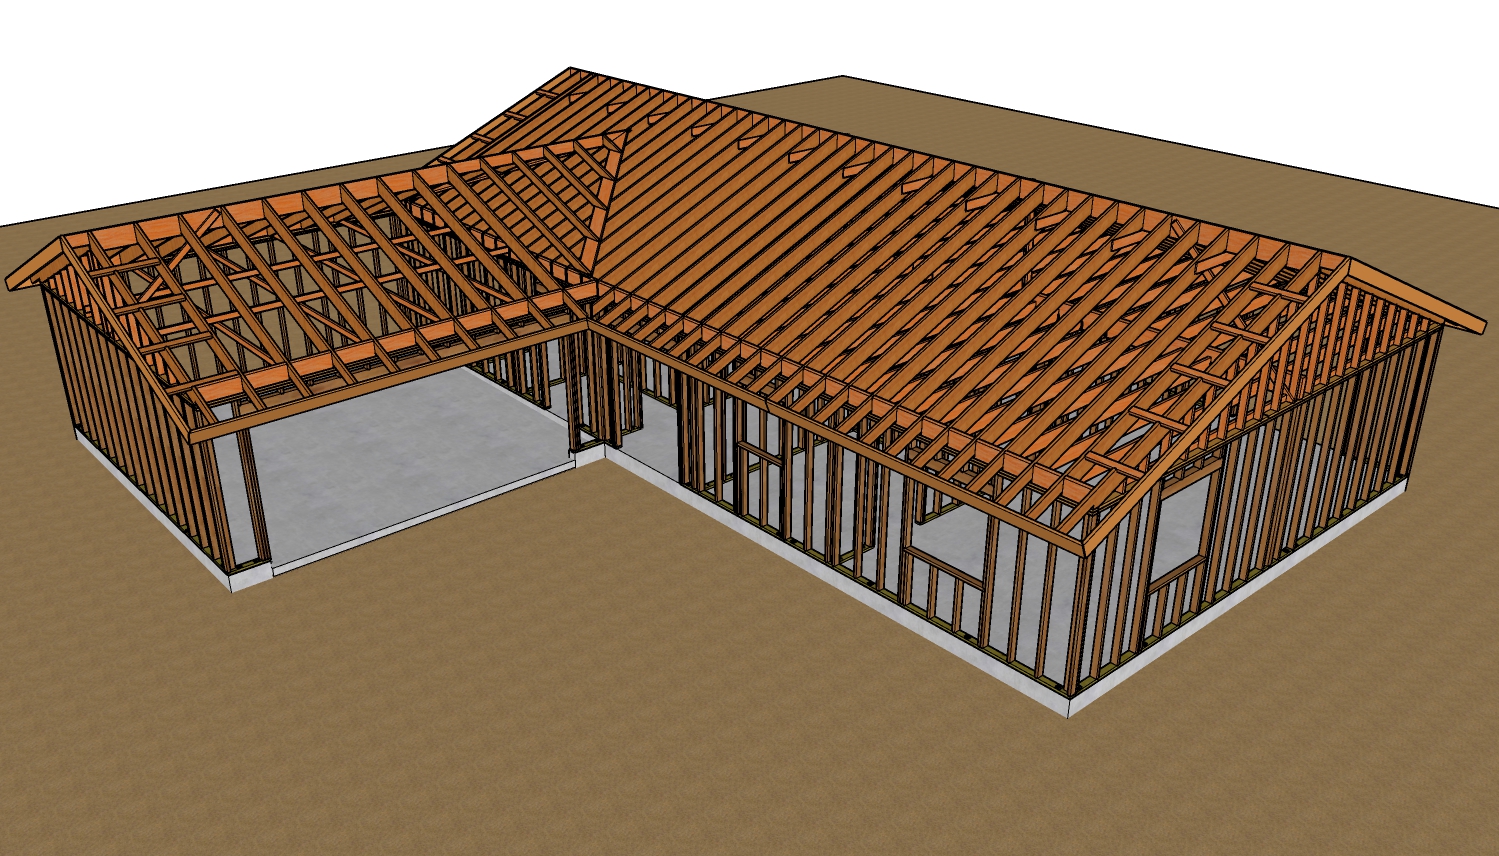
Walking through a residential construction site before the walls are fully assembled reveals a distinct language written directly on the subfloor. Around window and door locations, framers use lumber crayons to note specific cut lists and structural components. Understanding this shorthand is essential for ensuring that the rough framing matches the architectural plans and meets structural requirements.
The Anatomy Of A Window Opening Layout
When you look at the floor directly beneath a planned window, the handwritten list of measurements typically represents the vertical assembly of the window opening from the top down. A standard sequence provides the exact cuts required for every piece of lumber in that specific opening.
The top number usually dictates the length of the top cripples, which are the short wall studs positioned between the top plate and the header. Below that, the layout will list the dimensions of the header, the heavy structural beam that carries the load across the opening. Next, the framer will list the dimensions for the sill plate, often referred to as the rough sill or subsill, which forms the bottom ledge of the window. Finally, the bottom number indicates the height of the lower cripples, the short studs supporting the sill from the floor plate.
Identifying Door Framing Measurements
A door layout looks remarkably similar to a window layout but with one glaring difference. By reading the components listed on the floor from top to bottom, builders can immediately identify a door because the list will lack a subsill and bottom cripples. The markings will specify the top cripples and the header. Below the header, the space remains open to the floor plate, which is eventually cut out to allow foot traffic. Trimmer studs, also known as jack studs, will run full length from the floor plate directly up to the bottom of the header to support the structural load.
The Finished Floor Exception
While marking layouts directly on the floor is standard practice for subfloors that will eventually be covered by carpet, tile, or hardwood, there is a notable exception. You will rarely find these measurement notes written on a garage floor. Because a garage slab acts as the final finished floor surface, using permanent markers, keel, or heavy chalk can leave unsightly, lasting stains. In these environments, framing lists are kept on paper plans or marked discreetly on the bottom wall plates rather than the concrete surface itself.
Three Key Framing Tips From The Field
Read assembly notes from top to bottom. Framers traditionally list window and door components in descending structural order, starting with upper cripples, followed by the header, the rough sill, and the lower cripples.
Utilize full-length trimmer studs for structural integrity. When a wall requires shear paneling for lateral stability, using continuous jack studs from the bottom plate to the header provides a superior nailing surface and better load transfer than piecing blocking together.
Protect finished concrete surfaces. Never write cut lists or layout notes directly on a garage slab or any concrete floor that will serve as the final exposed surface, as construction crayons penetrate the porous concrete and are incredibly difficult to remove.
Advanced Framing Requirements And Code Compliance
Now that you understand how to read floor layouts, let us look at some crucial structural framing rules that dictate how these components are sized and assembled on the job site to meet safety standards.
How Do Building Codes Determine The Size Of A Window Header?
The size of a header is dictated by the International Residential Code based on the width of the opening and the structural load it must carry. A header located in a load-bearing exterior wall must be thicker and deeper than one in a non-load-bearing interior partition. Engineers calculate the required lumber dimensions, such as upgrading from a double two-by-four to a double two-by-eight, by factoring in the roof span, snow load, and the number of stories above the opening. Always consult your local jurisdiction and structural plans, as regional wind and snow requirements can alter baseline code maximums.
How Many Trimmer Studs Are Required For Wider Openings?
Under standard residential building codes, the number of trimmer studs, or jack studs, required to support a header increases as the opening gets wider. While a standard interior door might only require a single trimmer on each side, window and door openings exceeding a specific width, generally five to six feet depending on the load, require double trimmers on each end. This ensures the crushing weight transferred from the header has adequate vertical wood grain to support it without bowing or failing.
What Is The Proper Nailing Pattern For Window And Door Framing?
Framing is only as strong as its connections, and building codes provide strict fastening schedules for assembling these openings. Jack studs must be securely face-nailed to the adjacent full-height king studs. Headers must be end-nailed through the king studs and properly toe-nailed or secured with approved metal framing hardware to the trimmers. Using the exact nail size, type, and spacing outlined in the standard fastening schedule ensures the wall can withstand both vertical gravity loads and lateral wind or seismic forces.