Grooved Fascia Board Installation And Corner Mitering
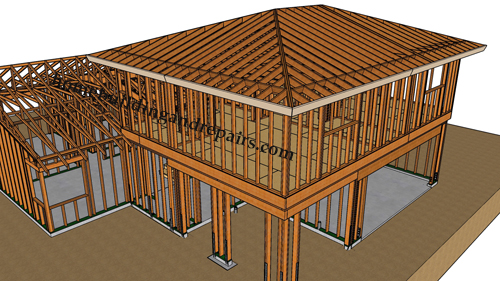
Unique architectural details can significantly enhance the curb appeal of a building, and grooved fascia boards offer a striking visual upgrade over standard flat trim. While this custom millwork adds depth and character to the roofline, it also introduces specific challenges during the installation process. Properly executing this exterior detail requires precise planning to ensure structural integrity and a seamless aesthetic finish.
The Challenge Of Mitering Profiled Exterior Trim
The primary difficulty when working with grooved or profiled fascia boards lies in executing clean inside and outside corners. Standard miter cuts are straightforward on flat stock, but when a board features continuous longitudinal grooves, the location of the cut becomes critical. If an angled cut falls directly within or adjacent to a groove, the resulting joint can be structurally weak and visually misaligned. The varying thickness of the material at the groove creates an uneven mating surface, making it difficult to achieve a tight, weather-resistant seal at the corner.
Strategic Layout And Installation Planning
To avoid compromised joints, carpenters and building designers must carefully calculate the lengths of the fascia boards before making any cuts. The goal is to arrange the layout so that all inside and outside corner miters land on the solid, full-thickness sections of the board rather than intersecting the decorative grooves. Taking the time to map out the installation ensures that the final product maintains its architectural beauty without sacrificing the durability required for exterior roof edge components.
Three Key Tips
Evaluate the trim profile before cutting to see exactly how the depth and placement of the longitudinal grooves will interact with a standard 45-degree corner angle.
Plan board lengths strategically across the entire roof edge to ensure that your corner cuts fall on the solid, flat portions of the wood rather than directly across a weak groove.
Adjust your starting board length to shift the entire installation layout if a basic calculation indicates a critical corner miter will land poorly on a grooved section.
Bonus Questions And Answers
What Are The Fastening Requirements For Exterior Fascia Boards?
To expand on proper installation techniques, it is crucial to use the correct fasteners to secure your exterior trim. The International Residential Code requires that all exterior fasteners be corrosion-resistant. For fascia boards, this typically means using hot-dipped galvanized, stainless steel, or polymer-coated nails or screws. Standard steel fasteners will rust when exposed to the elements, leading to unsightly stains and eventual structural failure of the trim connection. Fasteners must penetrate the rafter tails or structural sub-fascia deep enough to provide secure holding power, generally requiring at least one and a half inches of penetration into the solid framing.
How Does Drip Edge Flashing Protect The Fascia Assembly?
Beyond just the visual alignment of the boards, protecting the underlying structure from water damage is a vital part of roof edge construction. Building science dictates that a metal drip edge must be installed along the eaves, extending over the top edge of the fascia board. According to standard roofing codes, this flashing directs roof runoff away from the wood surface and into the gutter system, preventing capillary action from drawing moisture behind the trim. Without a properly installed drip edge, water can easily seep behind a grooved fascia board, leading to wood rot, mold growth, and the degradation of the roof decking.
Should Inside Corners On Profiled Fascia Be Mitered Or Coped?
While careful layout planning helps with standard miters, some builders prefer an alternative joining method for highly detailed trim. For inside corners on heavily grooved or profiled wood, a coped joint often provides a superior, longer-lasting fit than a standard miter. Wood naturally expands and contracts with changes in temperature and humidity, which means an inside miter joint will often open up over time due to this movement. By cutting one board square to the wall and precisely cutting the profile of the second board to overlap it, a coped joint accommodates seasonal movement while keeping the decorative grooves perfectly aligned and the corner visually tight.